 Save
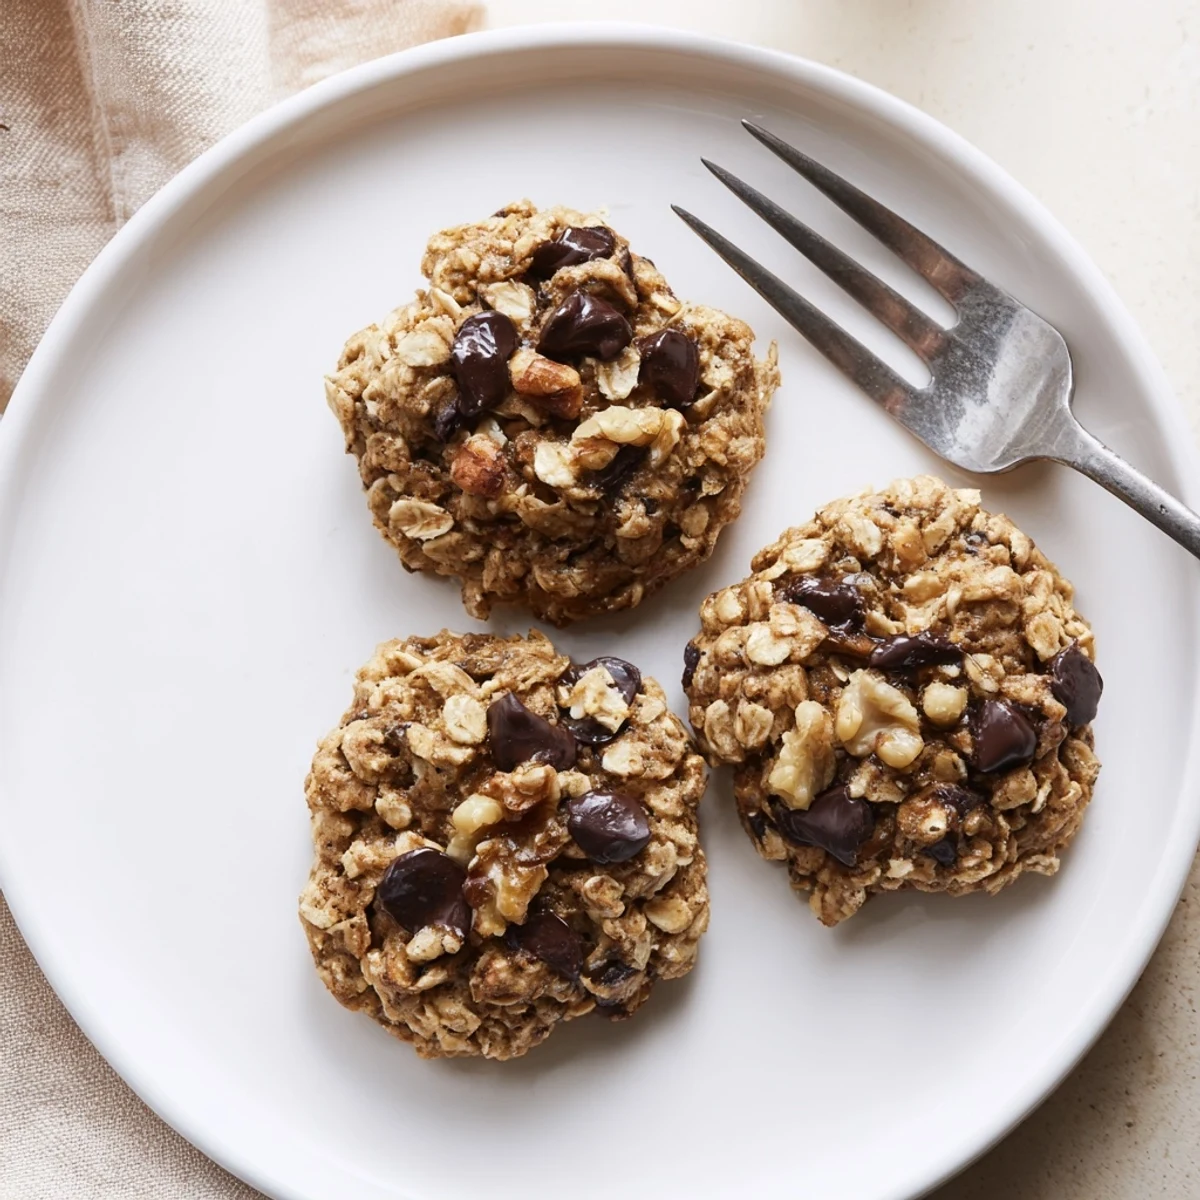
Save These chewy, nutty treats feature Irish oats and browned butter for deep flavor. The brown butter adds a toasted, caramel note that pairs beautifully with the hearty texture of old-fashioned oats. Bake until edges are golden and centers barely set for the perfect chewy consistency. Optional chocolate chips, raisins, or chopped walnuts add variety. Each cookie delivers 145 calories of comforting sweetness.
The first time I browned butter for cookies, I honestly thought I'd ruined it. That foaming, hissing sound made me nervous, but then this incredible nutty aroma filled my entire kitchen and I realized something magical was happening. These Irish oat cookies have become my go-to whenever I need a dessert that feels both comforting and slightly sophisticated. The combination of toasted oats and brown butter creates depth you just can't get from regular butter alone.
I made a double batch of these for my sister's housewarming last autumn, and her brother-in-law quietly ate seven of them over the course of the evening. Later he admitted they reminded him of the oatmeal cookies his grandmother used to make, except better, which I consider the highest possible compliment. Now whenever I visit, she subtly hints about whether I've brought any.
Ingredients
- All-purpose flour (160 g): Creates the structure for the cookie without overwhelming the delicate oat flavor
- Old-fashioned Irish oats (135 g): These thicker cuts retain their texture better than rolled oats, giving pleasant chew
- Baking soda: Provides just enough lift for a tender, not cakey, crumb
- Salt: Essential for balancing the sweetness and enhancing the brown butter's nutty notes
- Ground cinnamon (optional): Adds warmth that pairs beautifully with both oats and chocolate
- Unsalted butter (225 g): Starting with unsalted butter lets you control exactly how much salt goes in
- Packed light brown sugar (200 g): The molasses content contributes moisture and deep caramel flavor
- Granulated sugar (50 g): Helps create those irresistible crisp edges we all love
- Large eggs: Bind everything together while adding richness and structure
- Vanilla extract: Pure extract is worth it here since vanilla shines alongside brown butter
- Chocolate chips or raisins (175 g, optional): I prefer chocolate chunks that melt slightly, creating little puddles
- Chopped walnuts or pecans (60 g, optional): Toast them first for even more nutty dimension
Instructions
- Get your oven ready:
- Preheat to 350°F (175°C) and line two baking sheets with parchment paper for easy cleanup
- Brown the butter like a pro:
- Cook butter in a medium saucepan over medium heat, stirring often, until foaming subsides and milk solids turn deep golden brown with a nutty aroma, about 4 to 6 minutes, then let cool 10 minutes
- Whisk the dry team:
- In a medium bowl, combine flour, oats, baking soda, salt, and cinnamon until evenly distributed
- Build the cookie base:
- Beat browned butter with both sugars until well blended, add eggs one at a time, then stir in vanilla until smooth
- Bring it all together:
- Gradually mix in dry ingredients just until combined, then fold in your chocolate or raisins and nuts if using
- Scoop and space:
- Drop rounded tablespoons onto prepared sheets, leaving about 2 inches between each for spreading
- Bake to golden perfection:
- Bake 10 to 12 minutes until edges are golden but centers still look slightly soft, then cool on sheets 5 minutes
 Save
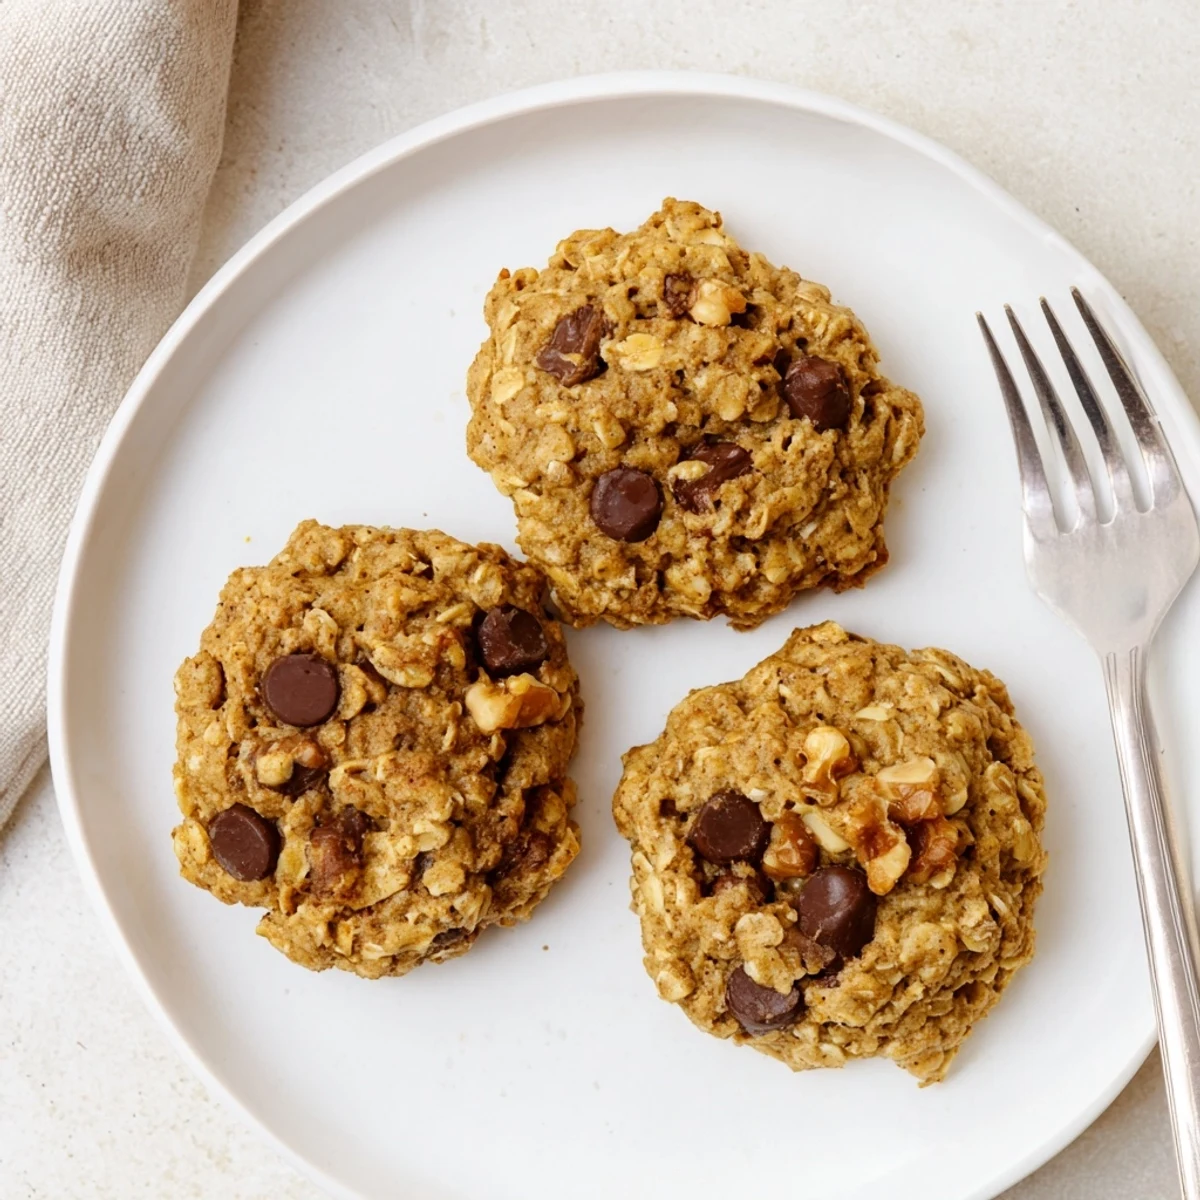
Save What I love most about these cookies is how they somehow taste even better the next day, assuming they last that long. The flavors deepen and the texture becomes wonderfully chewy, like the oatmeal cookies from proper bakeries that always seem impossible to replicate at home.
Making Brown Butter Without Fear
I've burned my fair share of butter learning this technique, so here's what I wish someone had told me. Use a light-colored stainless steel saucepan so you can actually see the color change, and once you hear the foaming quiet down, pay very close attention. Those golden brown milk solids at the bottom can go from perfect to burnt in seconds. Swirl the pan constantly and trust your nose more than your eyes.
The Secret to Chewy Centers
After years of making cookies that turned into crispy discs, I finally discovered that removing them from the oven when the centers still look slightly underbaked is crucial. As they cool on the hot baking sheet, they finish cooking while setting into that perfect tender chewiness everyone craves. This is especially important with oat cookies, which can become dry and crumbly if overbaked.
Storage and Make-Ahead Tips
I've learned through experience that these cookies keep exceptionally well in an airtight container at room temperature for up to five days, though they rarely last that long in my house. For longer storage, the cookie dough scoops freeze beautifully and can be baked straight from frozen, just add an extra minute or two to the baking time. This means you can have warm, fresh-baked cookies anytime the craving strikes.
- Place a slice of bread in the container with baked cookies to keep them soft longer
- If your dough feels too soft to scoop, chill it for 15 minutes in the refrigerator
- For uniform cookies, use a spring-loaded cookie scoop instead of tablespoons
 Save
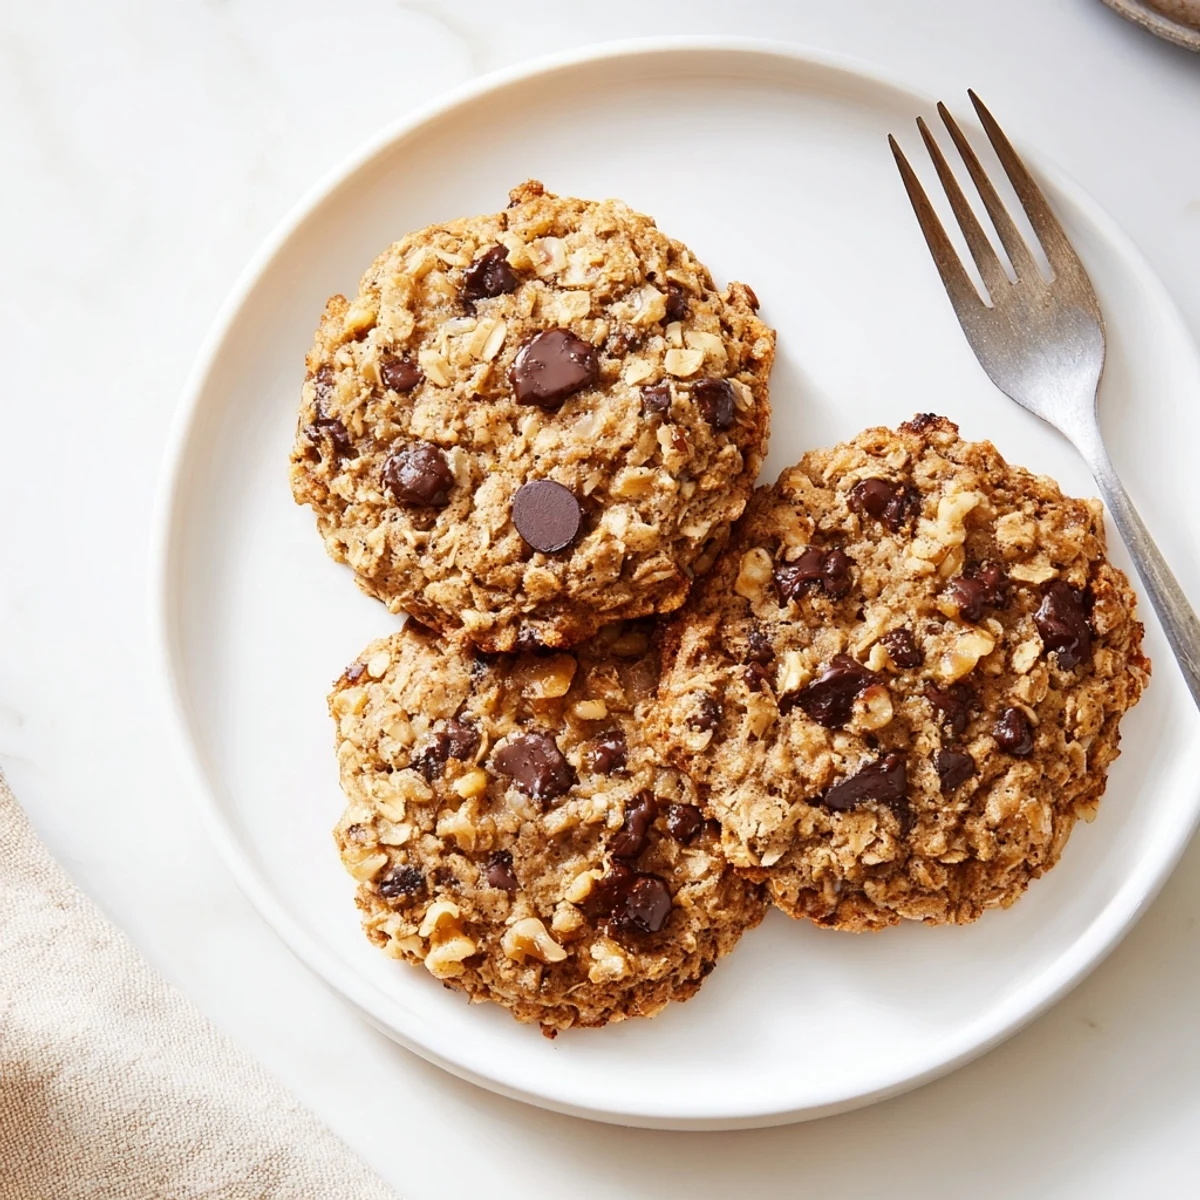
Save There's something deeply satisfying about the alchemy of transforming simple oats and butter into something so extraordinary. I hope these cookies find their way into your kitchen and become part of your own story.
Questions & Answers
- → What makes brown butter special?
-
Brown butter develops a deep, nutty flavor and golden color when milk solids toast during cooking. This intensifies the overall richness of the dough.
- → Can I use quick oats instead of old-fashioned?
-
Old-fashioned Irish oats provide better texture and chewiness. Quick oats will produce softer, less substantial results.
- → How do I know when they're done?
-
Look for golden brown edges while centers appear slightly underbaked. They continue cooking on the hot sheet, ensuring chewy texture.
- → Why cool on the baking sheet first?
-
Resting for 5 minutes allows structure to set, preventing cookies from breaking apart during transfer to the wire rack.
- → Can I make dough ahead of time?
-
Yes, refrigerate dough for up to 48 hours. Bring to room temperature before scooping. This actually enhances flavor development.
- → What pairs well with these?
-
Irish breakfast tea or coffee complement the nutty, buttery flavors perfectly. Also excellent with cold milk for dunking.
