 Save
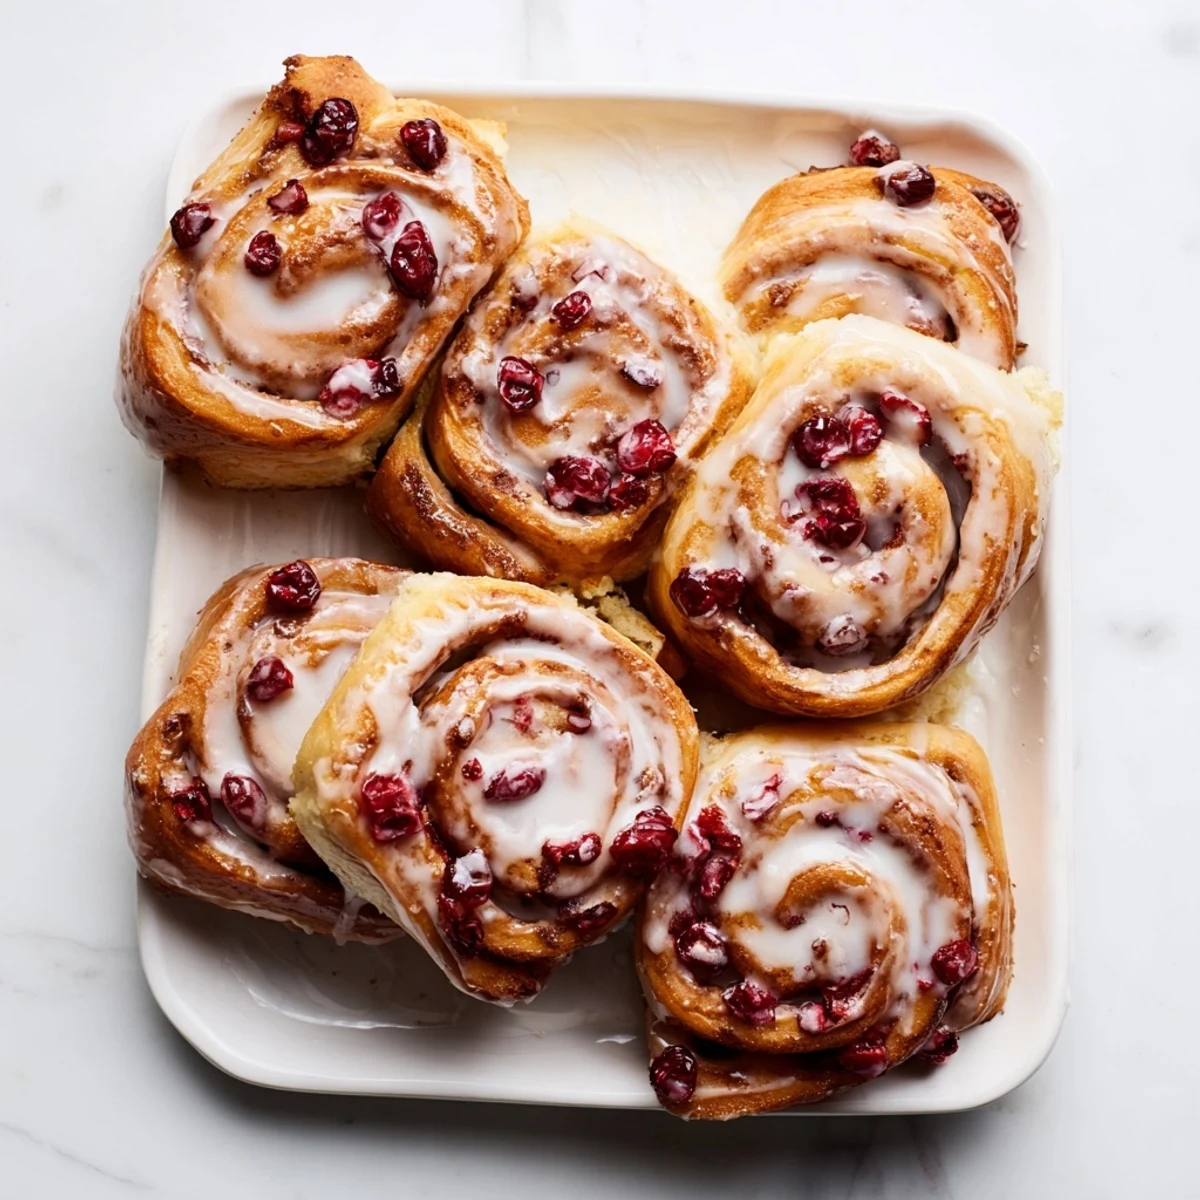
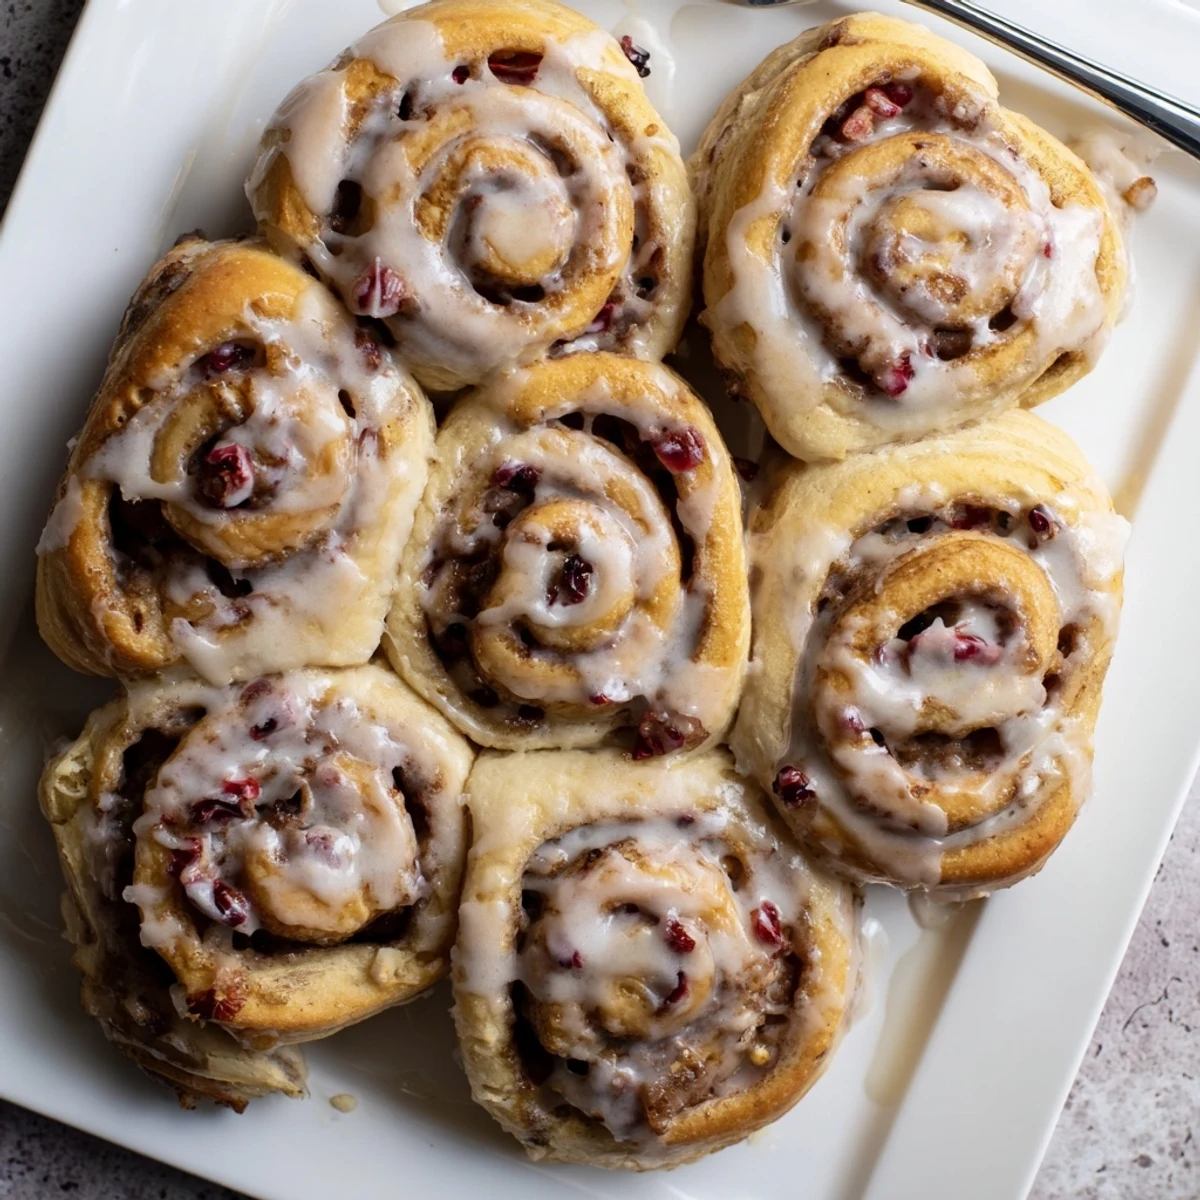
Save These cherry cinnamon rolls feature pillowy homemade dough filled with brown sugar, warm cinnamon, and fresh cherries. After two rises, the rolls bake until golden and get topped with a creamy vanilla glaze that seeps into every warm layer.
The dough comes together with simple pantry staples and requires just 30 minutes of active prep time. While the yeast works its magic during the first rise, you can prep the filling by chopping cherries and mixing the cinnamon sugar blend.
The filling strikes a perfect balance between tart cherries and sweet cinnamon sugar, creating pockets of fruit throughout each spiral. A generous layer of softened butter ensures the rolls stay tender while baking.
The vanilla glaze uses just three ingredients—powdered sugar, milk, and vanilla extract—and transforms into a silky topping that perfectly complements the warm spices. Apply it while rolls are still warm for maximum absorption.
Customize easily by swapping cherries for raspberries, blueberries, or adding chopped nuts for crunch. These freeze beautifully and reheat well for quick weekday breakfasts.
The smell of cinnamon hitting warm butter still stops me in my tracks every single time. I discovered cherry cinnamon rolls on a rainy Sunday morning when I was out of walnuts but had a pint of cherries threatening to turn in the fridge. That happy accident created something so much more interesting than the usual cinnamon spiral. These rolls have become my go-to for lazy weekends when I want something that feels special without requiring actual restaurant skills.
Last summer I made these for my nieces who swore they hated cherries in baked goods. They watched the kitchen with wide eyes while the dough rose, then practically inhaled the entire pan. The older one asked if I could teach her how to make them, and we spent the next afternoon covered in flour. Sometimes food is just the excuse for making memories.
Ingredients
- 3 ½ cups all-purpose flour: I learned the hard way that measuring by weight creates the most consistent dough but spooning and leveling works too
- 2 ¼ tsp active dry yeast: Always check the expiration date because dead yeast is the most heartbreaking kitchen disappointment
- ¼ cup granulated sugar: This feeds the yeast for a good rise without making the dough itself too sweet
- ½ tsp salt: Do not skip this even in a sweet dough because it balances and deepens all the flavors
- ¾ cup whole milk lukewarm: The temperature should feel like a comfortable baby bath or your yeast will be unhappy
- ¼ cup unsalted butter melted: Melt it completely and let it cool slightly so it does not cook the eggs when you add them
- 2 large eggs room temperature: Cold eggs can shock warm dough and mess with your rising time
- 1 cup pitted cherries chopped: Frozen cherries work brilliantly but thaw and drain them well so your filling is not soupy
- ½ cup brown sugar packed: Dark brown sugar gives a deeper molasses flavor but light works perfectly fine
- 2 tsp ground cinnamon: This is the backbone of the whole operation so use fresh cinnamon that smells potent
- ¼ cup unsalted butter softened: Room temperature butter spreads evenly without tearing the dough
- 1 cup powdered sugar sifted: Sifting prevents lumps in your glaze and takes thirty seconds
- 2–3 tbsp milk: Start with less because you can always add more but you cannot take it back
- ½ tsp pure vanilla extract: The real stuff matters here because artificial vanilla can taste oddly chemical in such a simple glaze
Instructions
- Wake up the yeast:
- Combine the warm milk with yeast and one tablespoon of sugar in your largest bowl then walk away for five minutes until it is foamy and alive
- Build the dough base:
- Whisk in the remaining sugar melted butter eggs and salt until everything is incorporated
- Bring it together:
- Add flour gradually and mix until a shaggy dough forms then turn it out onto a floured surface
- Knead until smooth:
- Work the dough for five to seven minutes until it feels like a soft earlobe and springs back when you poke it
- First rise:
- Place the dough in a greased bowl cover it and let it double in size which takes about an hour in a warm spot
- Prep for filling:
- Punch down the dough roll it into a sixteen by twelve inch rectangle and preheat your oven to 350°F
- Layer the goodness:
- Spread softened butter over the dough then sprinkle brown sugar cinnamon and those beautiful chopped cherries
- Roll and slice:
- Roll the dough tightly from the long edge then cut it into twelve equal pieces using a sharp knife or unflavored dental floss
- Second rise:
- Arrange the rolls in a greased nine by thirteen inch dish cover and let them puff up for thirty minutes
- Bake until golden:
- Bake for twenty two to twenty five minutes until they are golden brown and smell like heaven
- Make the glaze:
- Whisk powdered sugar with milk and vanilla until smooth then drizzle generously over the warm rolls
 Save
Save My sister called me at 6 AM once because she needed these rolls for a work brunch and had forgotten to start them the night before. I talked her through the whole recipe on speakerphone while she panicked her way through the steps. They turned out perfectly and she texted me later saying her boss asked for the recipe. Some of my favorite kitchen moments are the ones we share across phone lines and frantic morning texts.
Make Ahead Magic
I assemble these rolls the night before then cover the pan tightly and refrigerate overnight. In the morning I pull them out while the oven preheats and they finish their final rise right on the counter. Fresh baked cinnamon rolls without the morning effort feels like cheating but nobody has to know.
Fruit Swaps That Work
Berries are the easiest switch and I have used raspberries blueberries and even chopped strawberries with great success. Dried fruit like tart cherries or cranberries works beautifully too but skip the fresh fruit that releases tons of juice. Peaches are amazing in season just make sure to pat them dry really well so your filling does not turn into soup.
Getting Even Rolls Every Time
The trick to uniform rolls is starting with a truly even rectangle of dough and using unflavored dental floss to slice instead of a knife. Slide the floss under the log cross it over the top and pull through for perfect cuts without squishing your beautiful spiral.
- A bench scraper helps keep your rectangle edges straight as you roll
- Chill the log for ten minutes if it feels too soft and squishy to cut cleanly
- Arrange cut side up in the pan so they bake evenly and rise beautifully
 Save
Save There is something deeply satisfying about pulling a pan of warm cinnamon rolls from the oven especially when they are studded with tart cherries. Hope these become a weekend tradition in your kitchen too.
Questions & Answers
- → Can I use frozen cherries instead of fresh?
-
Yes, frozen cherries work perfectly. Thaw them completely and drain excess liquid before chopping to prevent soggy dough. Pat them dry with paper towels for best results.
- → How do I store cherry cinnamon rolls?
-
Keep cooled rolls in an airtight container at room temperature for 2-3 days. For longer storage, refrigerate for up to a week or freeze individually wrapped for 2-3 months. Reheat gently before serving.
- → Can I prepare these rolls the night before?
-
Absolutely. After slicing and placing rolls in the baking dish, cover tightly with plastic and refrigerate overnight. Let them sit at room temperature for 30 minutes before baking the next morning.
- → Why didn't my dough double in size?
-
This usually means the yeast wasn't active or the environment was too cold. Ensure your milk is warm (105-110°F) but not hot. Find a warm, draft-free spot for rising, or create one by turning on your oven light.
- → What's the best way to slice rolls evenly?
-
Use unflavored dental floss or a sharp serrated knife. Slide the floss under the roll log, cross ends over the top, and pull through. This compresses the dough less than cutting and creates clean slices.
- → Can I make these without a stand mixer?
-
Yes, mix ingredients with a wooden spoon until combined, then turn onto a floured surface and knead by hand for 7-10 minutes until smooth and elastic. The dough should bounce back when poked.
