
 Save
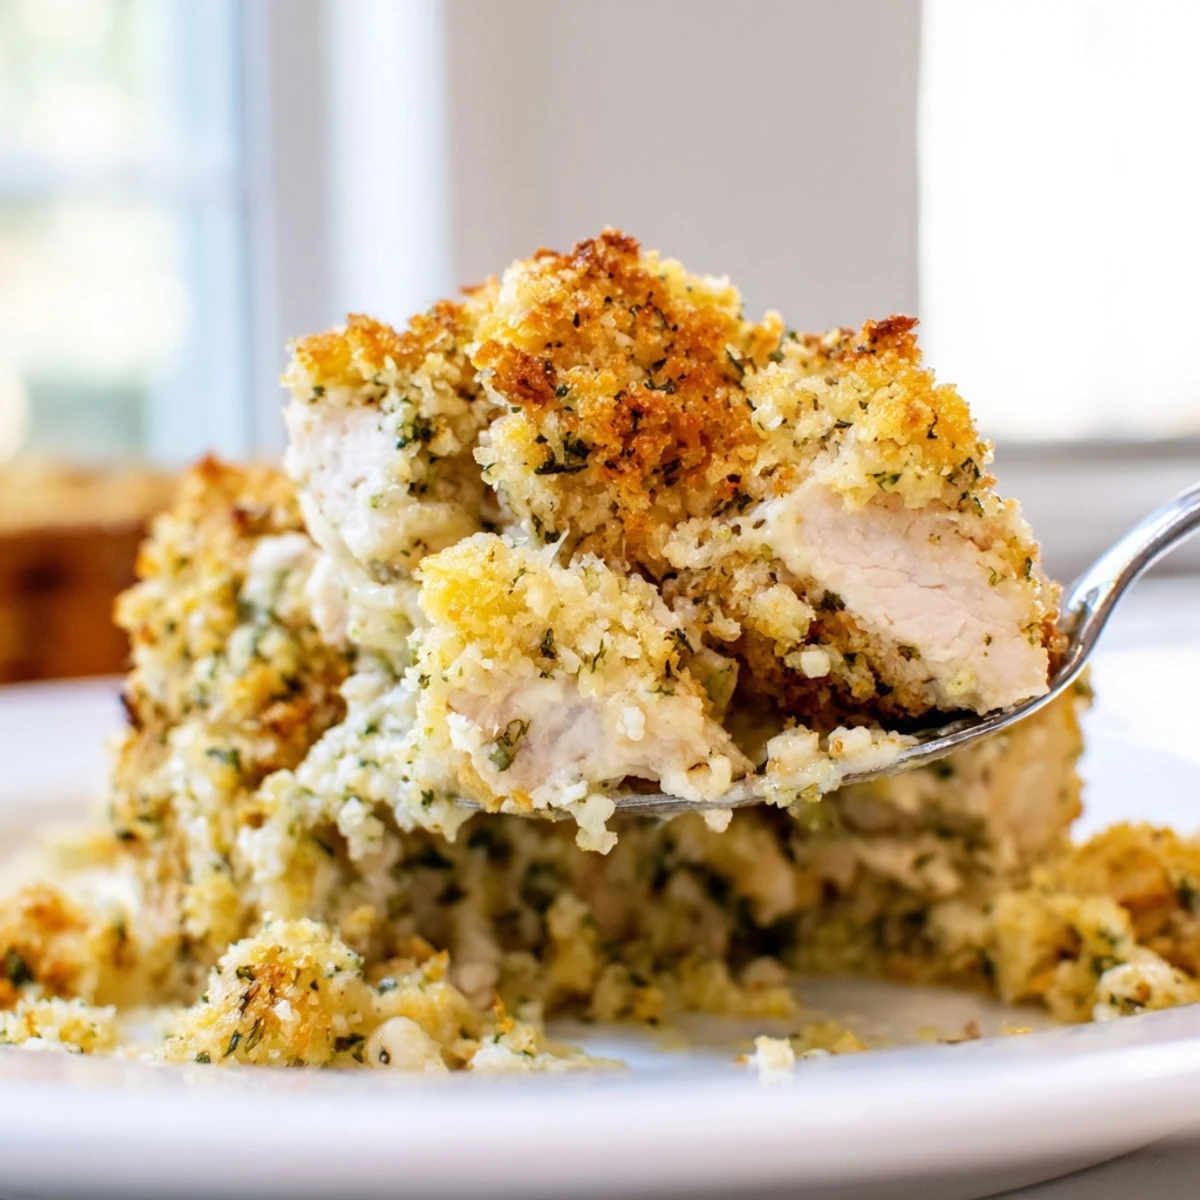
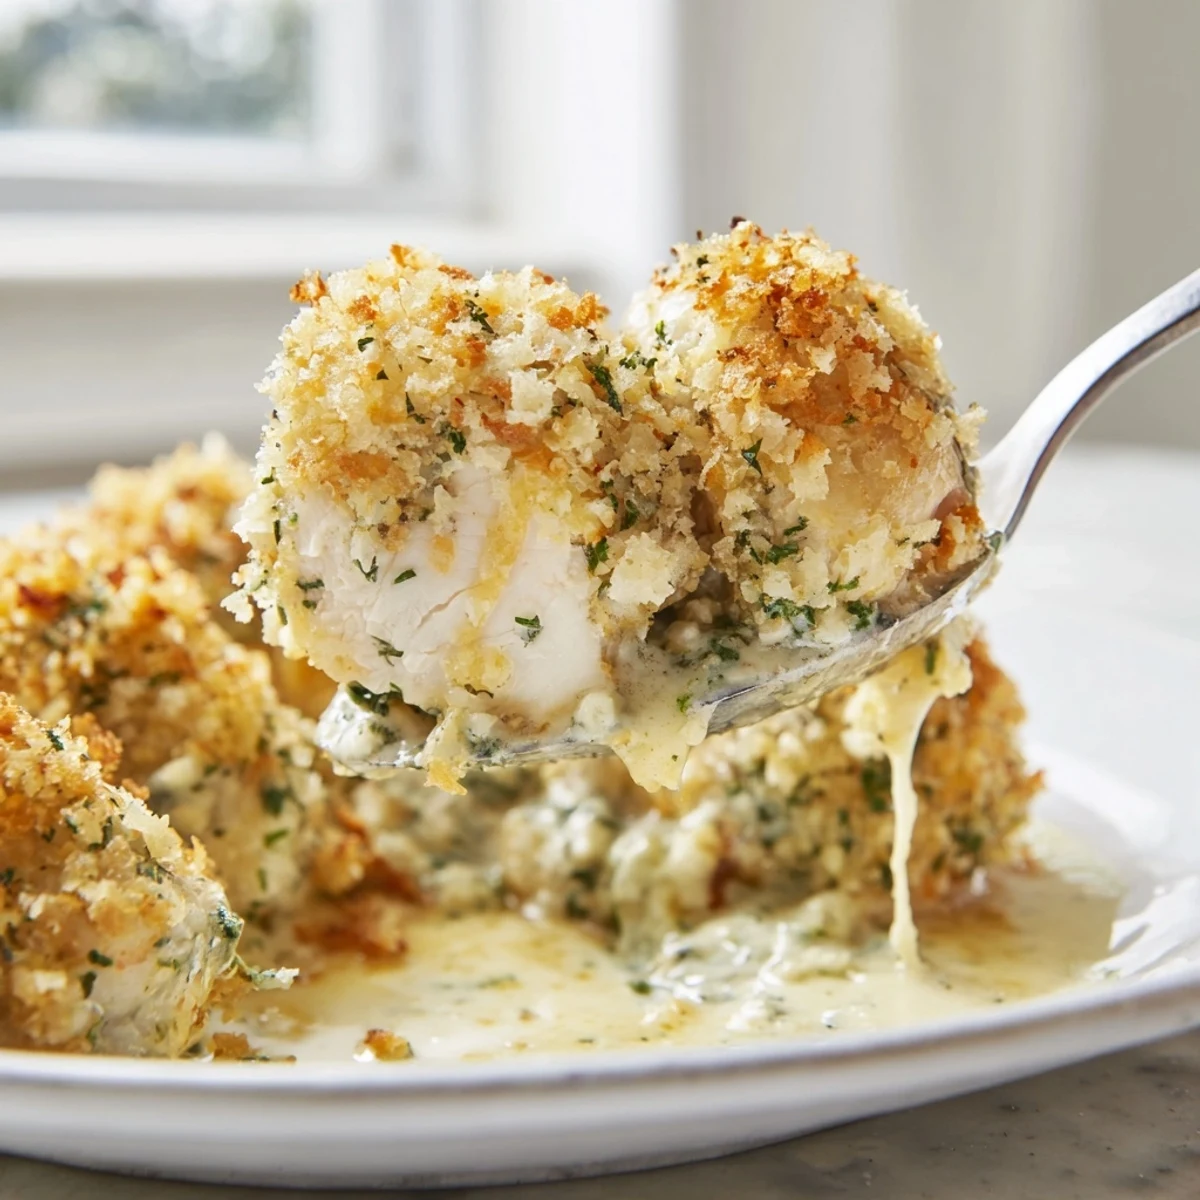
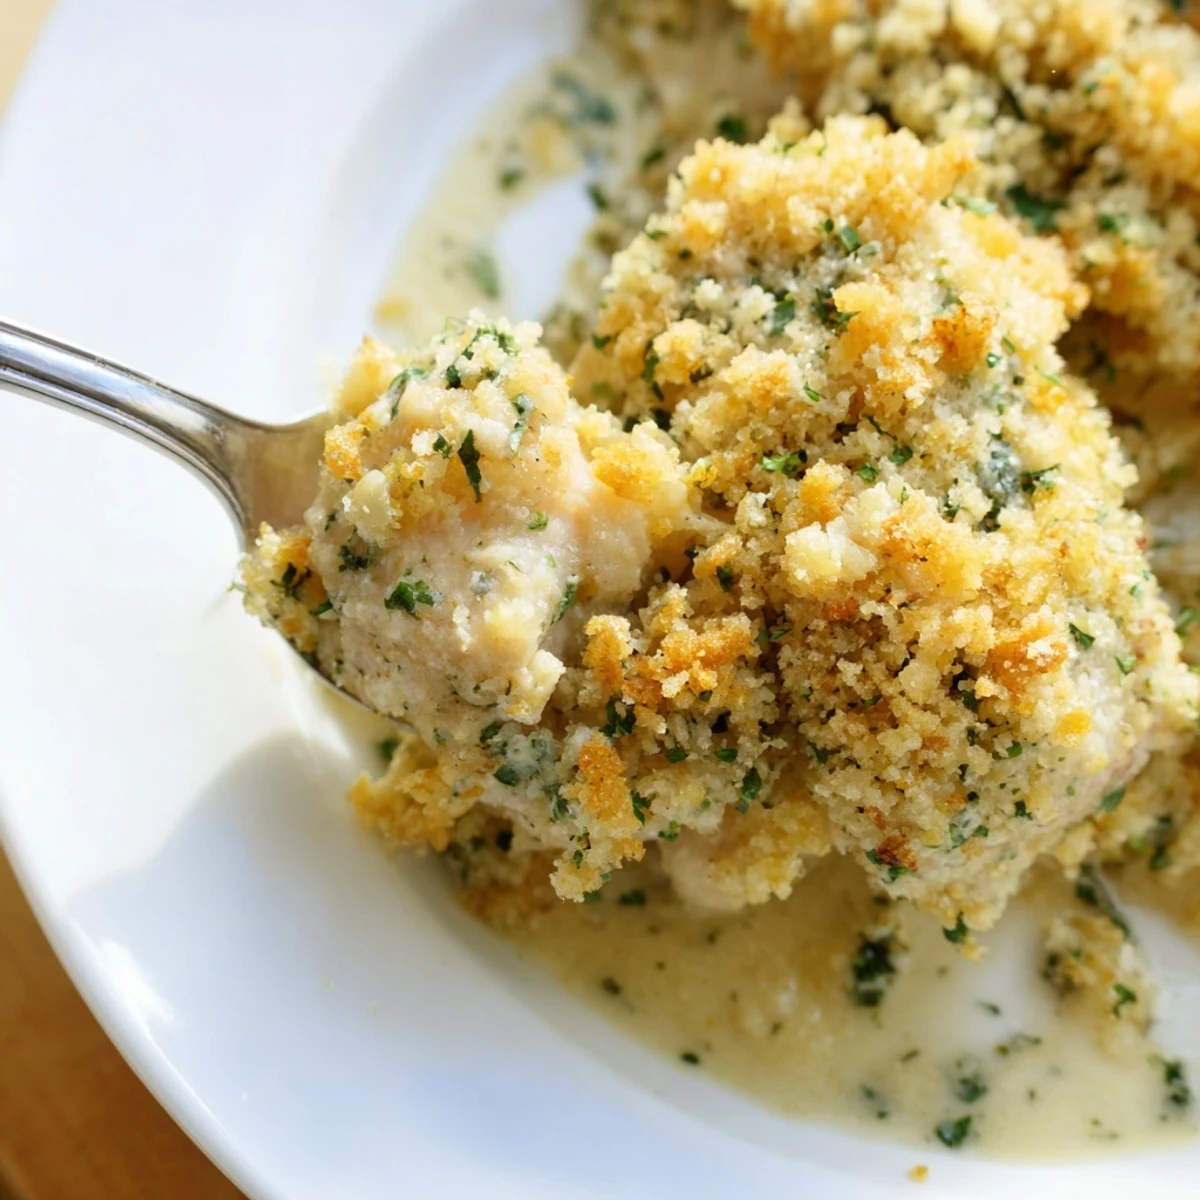
Save This Chicken Kiev Casserole takes everything you love about the classic Eastern European dish — juicy chicken, rich garlic-herb butter, and crispy coating — and turns it into a cozy, family-friendly baked dinner.
Bite-sized chicken pieces are sautéed until golden, then nestled in a creamy sauce made from a homemade garlic-butter roux. A generous layer of panko breadcrumbs mixed with Parmesan and melted butter creates that signature Kiev crunch on top.
Ready in about 55 minutes with just 20 minutes of hands-on prep, it feeds six and reheats beautifully the next day.
My apartment smelled like a Eastern European grandmother kitchen for three days straight and honestly I was not mad about it. The garlic butter had seeped into every surface and even the dish towel seemed seasoned. This casserole was born from a botched attempt at rolling and frying proper Chicken Kiev that ended with butter shooting across my stovetop like a greasy geyser. Deconstructing it turned out to be the smartest kitchen accident I ever had.
I brought this to a potluck last winter and watched a friend who claims to hate casseroles go back for thirds. She now texts me every October asking when I am making it again. That dish earned a permanent spot in my rotation and a handwritten card in my recipe box.
Ingredients
- 1.5 lbs boneless skinless chicken breasts cut into bite sized pieces: Cut them fairly uniform so everything cooks evenly and you do not end up with rubbery chunks mixed with raw ones.
- 6 tbsp unsalted butter softened: This is the heart of the dish so use good quality butter and let it truly come to room temperature before mixing.
- 3 garlic cloves minced: Fresh is non negotiable here as the jarred stuff tastes flat against the rich sauce.
- 2 tbsp fresh parsley chopped: Adds brightness that cuts through all that richness and makes the whole thing taste alive.
- 1 tbsp fresh dill chopped optional: I always include it because that subtle anise note is what makes this taste like actual Kiev.
- 1/2 tsp salt and 1/4 tsp black pepper: These go into the herb butter to season it from within rather than just on the surface.
- 1 tsp lemon juice: Just a squeeze wakes up the butter mixture and keeps it from feeling heavy.
- 1 cup whole milk: Whole milk creates a velvety sauce that low fat simply cannot replicate.
- 1 cup low sodium chicken broth: Low sodium lets you control the salt level since the Parmesan adds its own punch.
- 2 tbsp all purpose flour: This small amount thickens the sauce just enough to coat the chicken without turning it into gravy.
- 1 tbsp olive oil: Used for searing the chicken and it leaves behind flavorful fond for building the sauce.
- 1 cup panko breadcrumbs: Panko stays lighter and crispier than regular breadcrumbs which makes all the difference on top.
- 1/4 cup grated Parmesan cheese: Mixes into the topping and creates those irresistible golden cheese flecks across the surface.
- 2 tbsp unsalted butter melted: This binds the crumb topping together and helps it brown into a crunchy lid.
- 2 tbsp fresh parsley chopped for garnish: A final shower of green makes it look as good as it tastes.
Instructions
- Preheat and prep the dish:
- Set your oven to 375 degrees F and grease a 9 by 13 inch baking dish with a little butter or oil so nothing sticks later.
- Build the garlic herb butter:
- Mash together the softened butter minced garlic parsley dill salt pepper and lemon juice in a small bowl until it looks like a fragrant green flecked paste and smells absolutely incredible.
- Sear the chicken:
- Heat olive oil in a large skillet over medium high heat and cook the chicken pieces with a light sprinkle of salt and pepper until they are just golden on the outside and cooked through then transfer them to your baking dish.
- Make the sauce:
- In the same skillet sprinkle the flour and stir constantly for one minute then gradually whisk in the milk and broth until smooth and let it simmer until it thickens enough to coat the back of a spoon.
- Enrich the sauce with herb butter:
- Pull the pan off the heat and drop in the garlic herb butter whisking until it melts completely into a silky sauce then pour every drop over the chicken in the dish.
- Assemble the topping:
- Toss the panko Parmesan and melted butter together in a bowl until the crumbs are evenly coated then scatter the mixture across the entire surface of the casserole in an even layer.
- Bake until golden and bubbling:
- Slide the dish into the oven uncovered and bake for about 25 minutes until the top is deeply golden and you can see the sauce bubbling up around the edges.
- Rest and garnish:
- Let it sit for five minutes after removing from the oven so the sauce settles slightly then scatter fresh parsley over the top and serve.
 Save
Save There is something deeply satisfying about pulling a bubbling golden casserole from the oven on a cold evening. It feels like you have accomplished something real and tangible.
A Note on Butter Temperature
That softened butter really does need to be soft. I once tried making the herb butter straight from the fridge and ended up with chunks of cold butter that refused to incorporate. Now I set it on the counter two hours before I plan to cook and the difference is night and day. The herbs distribute evenly and the flavor permeates every bite instead of clustering in random salty pockets.
Swaps That Actually Work
Chicken thighs work beautifully here if you prefer dark meat because they stay juicier through the baking process. I have also layered shredded Gruyere under the crumbs for a friend who believes no dish has enough cheese and she declared it a revelation. For a gluten free version, almond flour thickens the sauce decently and crushed rice crackers make a surprisingly crunchy topping.
Serving and Storing
This casserole is a complete meal on its own but it really shines next to something green and crisp like a simple vinaigrette salad or steamed green beans. Leftovers keep well covered in the fridge for up to three days and the topping stays surprisingly crunchy if you reheat it uncovered in a 350 degree oven.
- A dollop of sour cream on top is never a bad idea.
- Freeze individual portions in airtight containers for up to two months.
- Always let frozen portions thaw overnight in the fridge before reheating.
 Save
Save Some dishes are just warm blankets for your soul and this is one of them. Share it with someone who needs a little comfort tonight.
Questions & Answers
- → Can I use chicken thighs instead of breasts?
-
Yes, boneless skinless chicken thighs work well and will stay even juicier. Just trim excess fat and cut them into similar-sized pieces so everything cooks evenly.
- → What can I serve with Chicken Kiev Casserole?
-
Steamed green beans, roasted broccoli, or a simple mixed green salad are all great sides. Mashed potatoes or crusty bread also pair nicely to soak up the extra sauce.
- → Can I make this casserole ahead of time?
-
Absolutely. Assemble the dish up to the baking step, cover tightly, and refrigerate for up to 24 hours. Add an extra 5–10 minutes to the baking time if going straight from the fridge.
- → How do I store and reheat leftovers?
-
Store leftovers in an airtight container in the refrigerator for up to 3 days. Reheat individual portions in the oven at 350°F (175°C) for about 10 minutes to keep the topping crispy. The microwave works too, though the breadcrumbs will soften.
- → Can I freeze Chicken Kiev Casserole?
-
Yes, you can freeze it before or after baking. Wrap the dish tightly in foil and freeze for up to 2 months. Thaw overnight in the fridge before baking or reheating. Note that the breadcrumb topping may lose some crispness after freezing.
- → Is there a gluten-free version of this dish?
-
You can swap the all-purpose flour for a gluten-free blend and use gluten-free panko breadcrumbs. The texture will be slightly different but still delicious. Check that your chicken broth is also certified gluten-free.