 Save
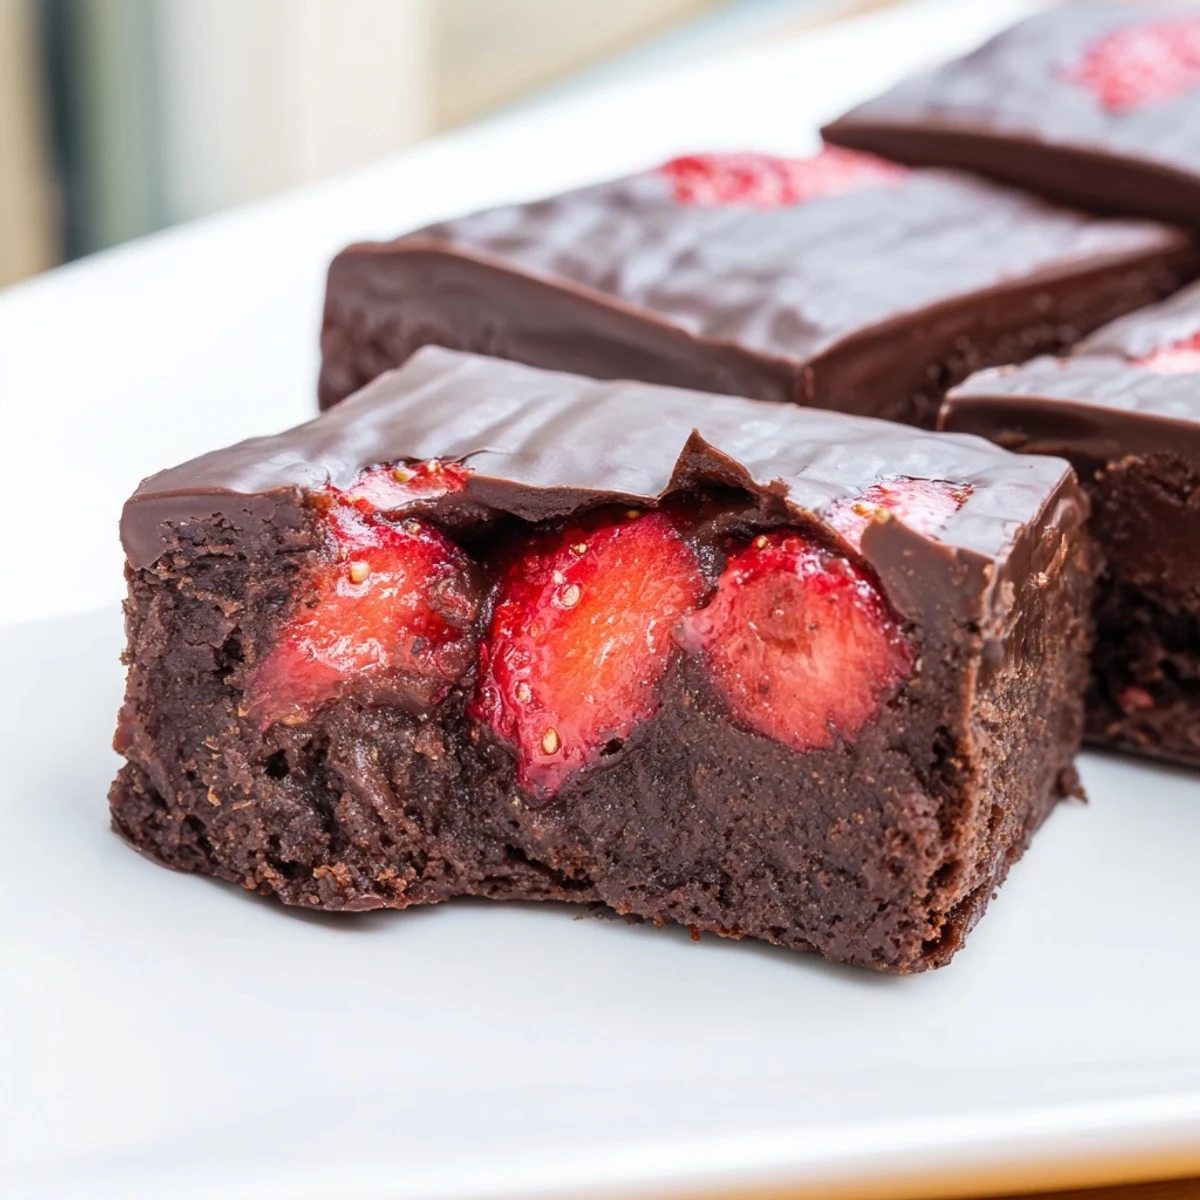
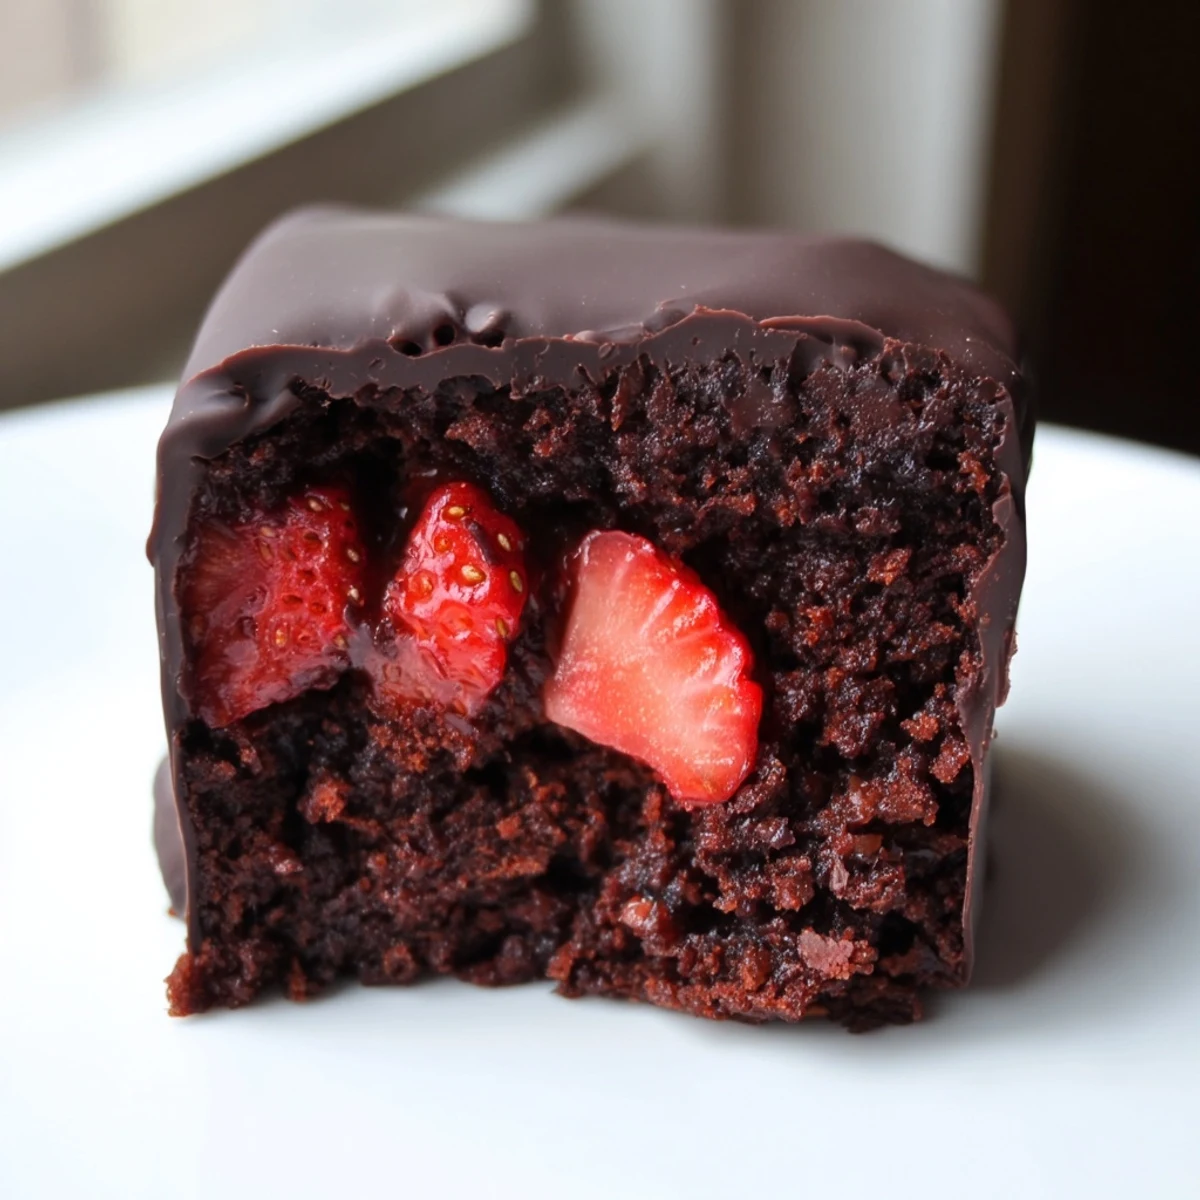
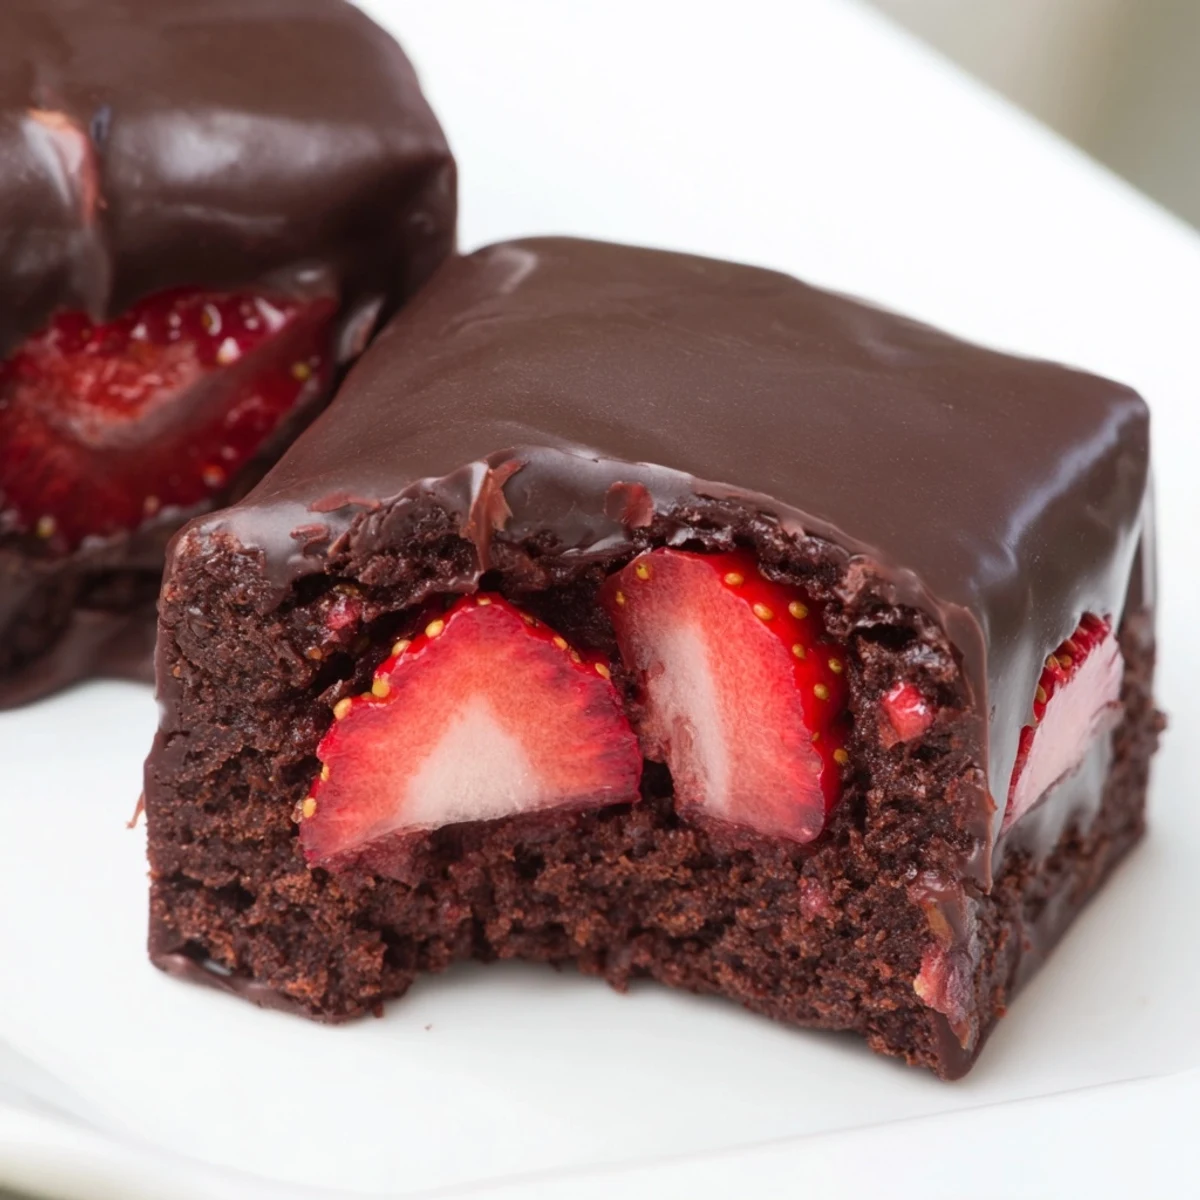
Save These chocolate covered strawberry brownies bring together a dense, fudgy brownie base with a layer of juicy fresh strawberries and a smooth chocolate coating on top. The contrast of textures — chewy brownie, soft fruit, and snappy chocolate shell — makes every bite satisfying.
They take about an hour from start to finish, including cooling and setting time. You'll need basic baking tools and a 20x20 cm pan. Perfect for Valentine's Day, dinner parties, or anytime you want an impressive homemade dessert.
The rain was hammering against my kitchen window the afternoon I stumbled onto the idea of pressing fresh strawberries into brownie batter. I had a box of fading berries and a half eaten bar of dark chocolate sitting on the counter, neither of which deserved to be wasted. What started as a desperate pantry cleanout turned into the most requested dessert at every dinner party I have hosted since. Something about that glossy chocolate shell cracking under a knife feels unnecessarily dramatic in the best way.
My neighbor Karen knocked on my door the first time I made these, drawn entirely by the smell of melted chocolate drifting through the hallway. She stood in my kitchen eating a still warm square off a paper towel and declared them dangerous. I had to hide the rest just to have enough for the potluck the next evening.
Ingredients
- Unsalted butter (120 g): The backbone of a fudgy brownie, always use unsalted so you control the salt level yourself.
- Dark chocolate at least 60% cacao (150 g): A decent bar makes all the difference here, skip the cheap baking squares.
- Granulated sugar (150 g): This amount keeps the brownie tender without turning it into a sugar bomb because the chocolate balances it out.
- Large eggs (2): Room temperature eggs blend more smoothly into the warm chocolate mixture.
- Vanilla extract (1 tsp): A small amount but it rounds out the cocoa flavor beautifully.
- All-purpose flour (80 g): Measure by weight if you can, extra flour is the enemy of a fudgy center.
- Unsweetened cocoa powder (25 g): Intensifies the chocolate depth without adding sweetness.
- Salt (1/2 tsp): Do not skip this, salt makes chocolate taste like itself.
- Fresh strawberries (250 g): Use the ripest ones you can find and hull them carefully so they lay flat.
- Semi-sweet chocolate chips (180 g): The coating layer needs a slightly sweeter chocolate to contrast the dark brownie base.
- Coconut oil or unsalted butter (1 tbsp): This tiny addition makes the coating glossy and helps it snap when chilled.
Instructions
- Preheat and prep:
- Set your oven to 175 degrees Celsius (350 degrees Fahrenheit) and line a 20x20 cm square pan with parchment, leaving the sides hanging over like handles.
- Melt the base:
- Set a heatproof bowl over simmering water and melt the butter with the dark chocolate, stirring gently until the mixture is completely smooth and velvety.
- Build the batter:
- Off the heat, stir in the sugar first, then crack in the eggs one at a time, beating after each until the batter looks thick and glossy before adding the vanilla.
- Fold in the dry:
- Sift the flour, cocoa powder, and salt directly into the bowl, then fold with a spatula just until you stop seeing dry streaks.
- Bake and cool:
- Pour the batter into your lined pan, smooth the top, and bake for 20 to 25 minutes until a toothpick comes out with a few moist crumbs clinging to it, then let it cool completely.
- Arrange the strawberries:
- Press each halved strawberry cut side down onto the cooled brownie in a snug single layer so every square gets at least one berry.
- Make the coating:
- Melt the semi-sweet chocolate with the coconut oil in 30 second microwave bursts, stirring between each round until the mixture is shiny and pourable.
- Enrobe and chill:
- Pour the melted chocolate over the strawberries and spread it with an offset spatula to seal every edge, then refrigerate for 20 to 30 minutes until set.
- Slice and serve:
- Lift the whole slab out using the parchment overhang and cut into squares with a sharp knife, wiping the blade between each cut for clean edges.
 Save
Save The moment I carried a tray of these into my friend Marias engagement party, the room went quiet for three full seconds before anyone reached for a plate.
Timing and Serving
These brownies taste best served slightly chilled, which also makes the chocolate coating snap satisfyingly between your teeth. They hold beautifully in the fridge for up to two days but the strawberries will start weeping after that so plan accordingly. A glass of chilled prosecco alongside them turns an ordinary Tuesday into something worth remembering.
Tools That Actually Help
A proper offset spatula is the one tool I underestimated until I tried spreading chocolate with a butter knife and made a complete mess of it. Parchment overhangs are your best friend because lifting the entire block out before slicing gives you perfectly clean edges every single time. A double boiler sounds fancy but a heatproof bowl balanced over a saucepan of barely simmering water works exactly the same.
Variations and Final Thoughts
Toasted pecans or walnuts folded into the brownie batter add a welcome crunch that plays beautifully against the soft berries and smooth coating. I once swirled a tablespoon of raspberry jam through the batter before baking and the result was almost too much, almost. Whatever you change, keep the strawberry layer intact because that juicy surprise in the middle is what makes people close their eyes when they take a bite.
- Check your chocolate labels for nut or soy cross contamination if allergies are a concern.
- These freeze surprisingly well for up to a month if you wrap each square individually.
- Always let frozen brownies thaw in the fridge so the coating stays smooth.
 Save
Save Every time I make these I think about that rainy afternoon and how the best things in my kitchen were never planned, they just happened because I refused to throw away good chocolate. That is a philosophy I intend to keep.
Questions & Answers
- → Can I use frozen strawberries instead of fresh?
-
Fresh strawberries are strongly recommended for this preparation. Frozen berries release excess moisture as they thaw, which can seep into the brownie layer and prevent the chocolate coating from setting properly. If frozen is your only option, thaw them completely and pat thoroughly dry with paper towels before arranging on the brownies.
- → How should I store leftover brownies?
-
Store them in an airtight container in the refrigerator for up to two days. The fresh strawberries are best consumed within that window. Let the brownies sit at room temperature for about 10 minutes before serving, or enjoy them slightly chilled — many people actually prefer them cold.
- → Why did my chocolate coating crack when cutting?
-
Cracking usually happens when the chocolate layer is too cold or too thick. Use a sharp knife wiped clean between each cut, and consider running the blade under hot water, then drying it, before slicing. Cutting while the chocolate is just set but not fully hardened also helps achieve clean edges.
- → Can I make the brownie base ahead of time?
-
Yes, the brownie base can be baked a day in advance. Let it cool completely, wrap the pan tightly in plastic wrap, and keep at room temperature. When ready to assemble, add the strawberry layer and chocolate coating following the same instructions. This approach is great for spreading out the work before a gathering.
- → What type of chocolate works best for the coating?
-
Semi-sweet chocolate chips or chopped baking chocolate both work well. The addition of coconut oil or butter thins the melted chocolate slightly, giving it a smoother pour and a glossy finish once set. Avoid using chocolate with lower cocoa content, as it may be overly sweet alongside the brownie base.
- → How do I know when the brownies are fully baked?
-
Insert a toothpick into the center of the brownies at the 20-minute mark. It should come out with a few moist crumbs clinging to it, not wet batter. The edges will look set and slightly pulled away from the sides. Remember that brownies continue cooking in the hot pan after removal from the oven, so slightly underbaking is preferable to overbaking.
