 Save
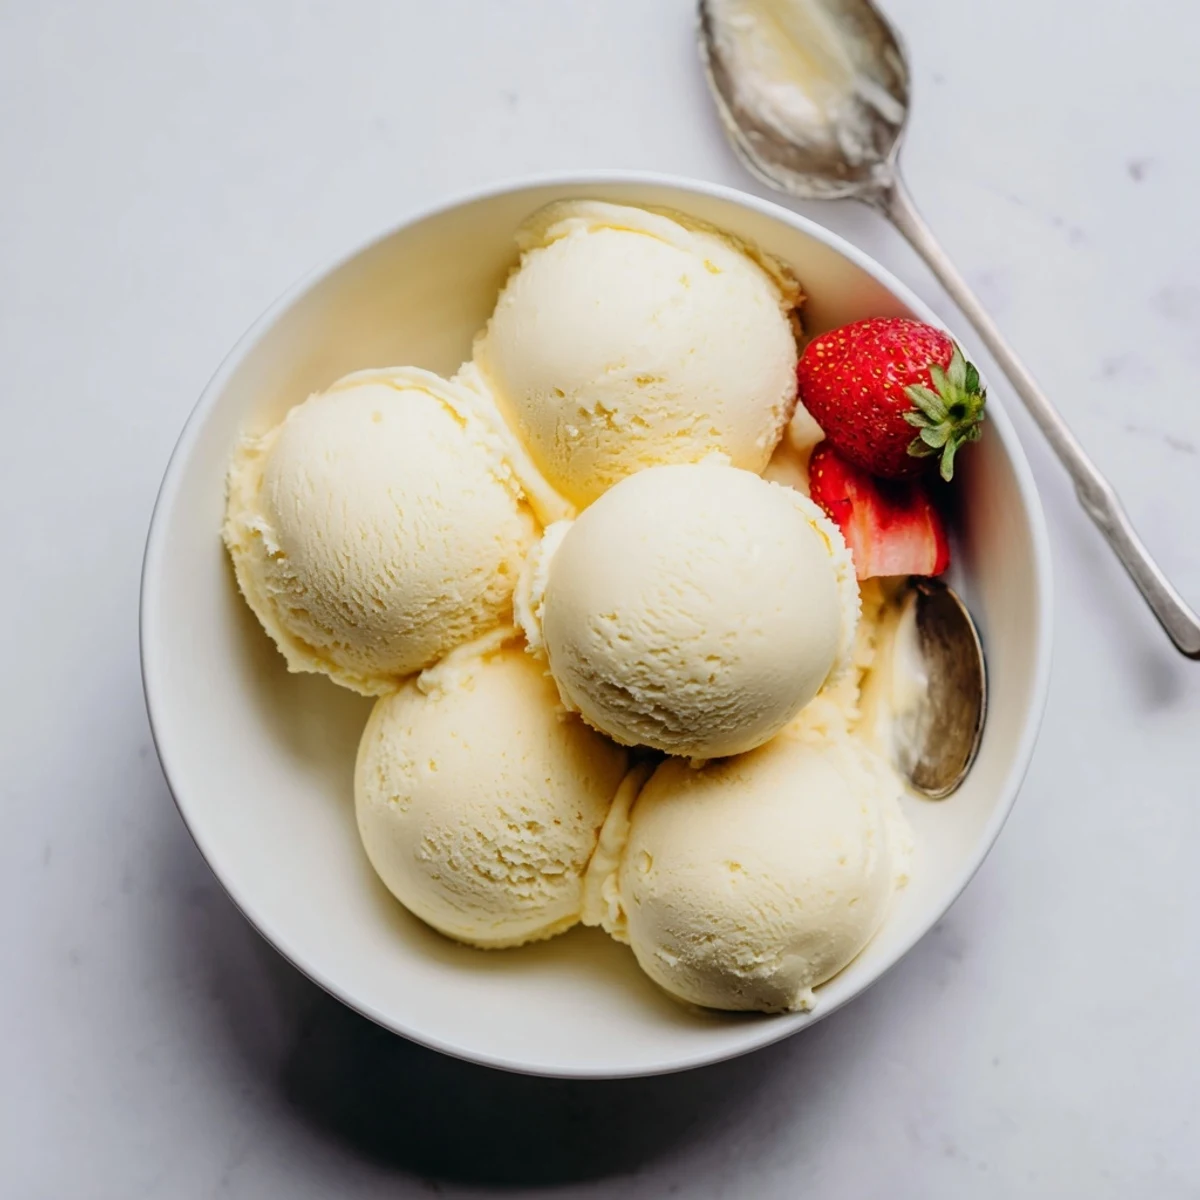
Save Indulge in luxurious homemade vanilla ice cream featuring a silky custard base. This traditional method yields incredibly smooth texture by slowly cooking cream, milk, and egg yolks together. After churning, you'll enjoy scoops of premium-quality frozen dessert rivaling artisanal shops. Customize endless variations by adding chocolate chunks, toasted nuts, or fresh fruit during the final freezing stage.
My ice cream maker sat in the back of a closet for three years before a brutal July heatwave finally guilted me into using it. I had bought it on sale during some winter clearance, fully intending to become the kind of person who whips up artisanal frozen treats on a whim. That first batch of vanilla ice cream changed everything, and now the machine lives front and center on my kitchen counter from May through September.
I served this at a backyard barbecue and watched a friend literally stop mid-sentence to stare at his bowl. He had been telling a long story about his lawnmower and completely forgot where he was going with it, which honestly felt like the highest compliment a dessert could receive.
Ingredients
- Heavy cream (2 cups): The fat content is what gives ice cream its luxurious mouthfeel, so do not even think about substituting light cream here.
- Whole milk (1 cup): Balances the richness without making the final product too heavy or greasy on the tongue.
- Granulated sugar (3/4 cup): Sugar lowers the freezing point, which keeps the ice cream scoopable straight from the freezer.
- Egg yolks (5 large): These create the custard foundation and add both richness and a silky, stable structure.
- Pure vanilla extract (1 tablespoon): Use the real stuff, not imitation, because vanilla is the star and corners will be obvious.
- Salt (1/4 teaspoon): Just enough to heighten all the sweetness without making anyone guess it is there.
Instructions
- Warm the dairy:
- Pour the cream, milk, and half the sugar into a medium saucepan and set it over medium heat. Watch it carefully until you see steam rising and small bubbles forming at the edges, but never let it come to a full boil.
- Build the yolk mixture:
- In a separate bowl, whisk the egg yolks with the remaining sugar and salt until the color lightens and the mixture feels slightly thick. This should take about two minutes of enthusiastic whisking.
- Temper the yolks:
- Slowly ladle the hot cream into the yolk bowl while whisking constantly so the eggs warm gently without scrambling. Once combined, pour everything back into the saucepan and return it to low heat.
- Cook the custard:
- Stir continuously with a wooden spoon, scraping the bottom and corners, until the mixture thickens enough to coat the back of the spoon. It should read between 77 and 80 degrees on a thermometer if you are using one.
- Add the vanilla:
- Remove the pan from heat and stir in the vanilla extract. The kitchen will immediately smell like a bakery had a wonderful accident.
- Strain and chill:
- Pour the custard through a fine mesh sieve into a clean bowl to catch any stray cooked egg bits. Let it cool to room temperature, then cover tightly and refrigerate for at least four hours or preferably overnight.
- Churn the ice cream:
- Pour the thoroughly chilled custard into your ice cream maker and churn according to the manufacturer directions, usually 20 to 25 minutes. It will look like soft serve when it is done.
- Freeze until firm:
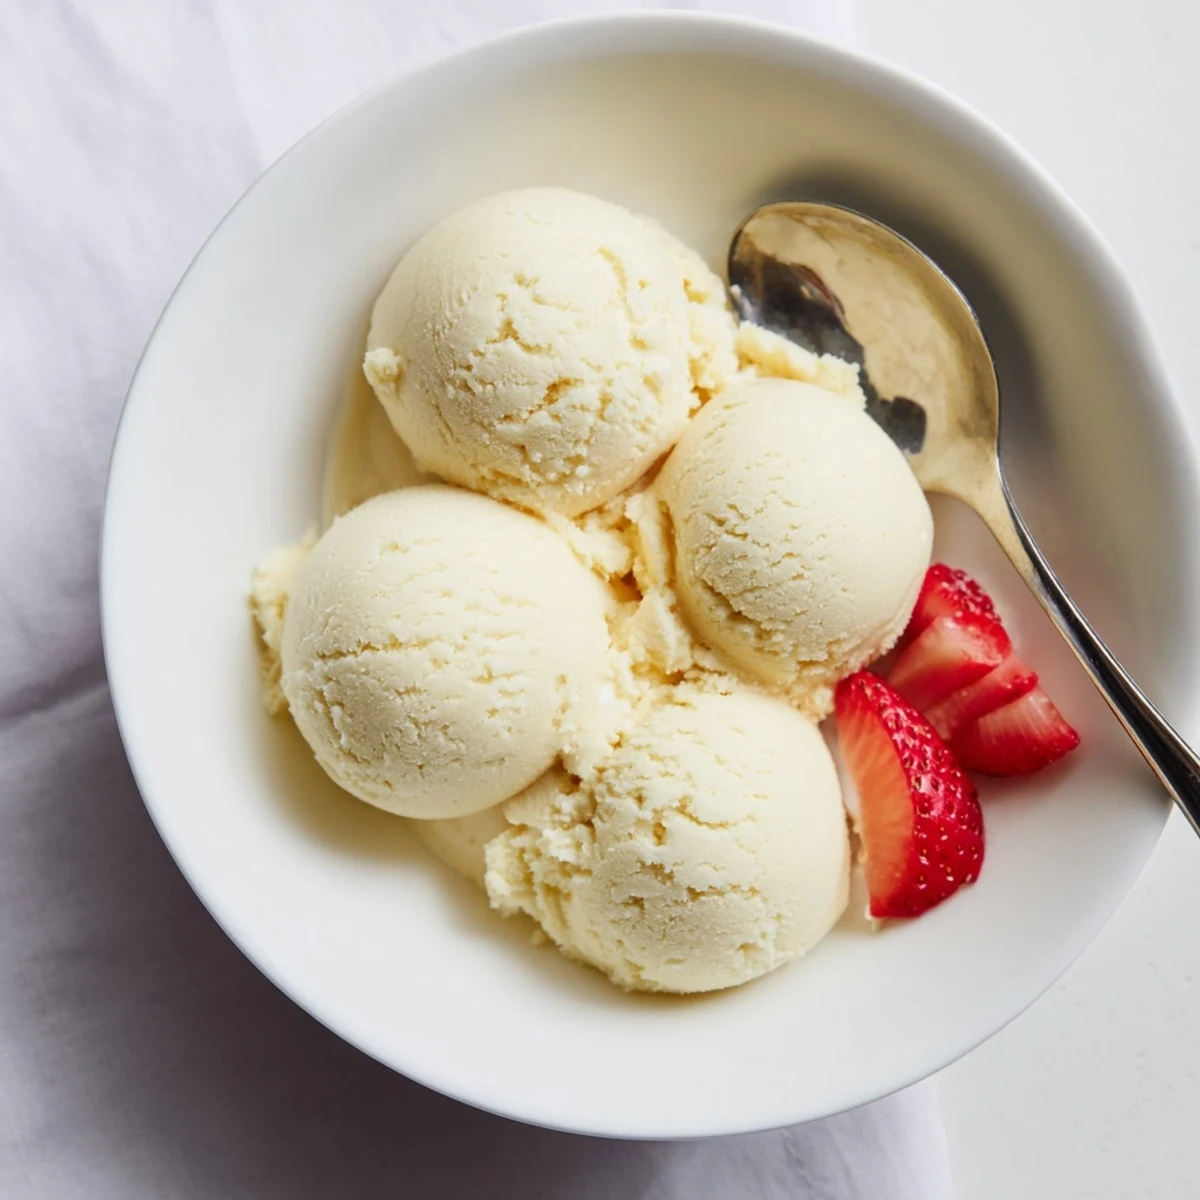
- Scrape the churned ice cream into a freezer safe container with a tight lid and freeze for at least two hours. This final freeze gives you that perfect scoopable texture.
 Save
Save The first time I made this successfully, I carried the container to my neighbor as a thank you for collecting my mail all week. She texted me later that night asking if I could teach her, and now we take turns making batches every other weekend all summer.
Getting Creative With Flavors
This vanilla base is essentially a blank canvas waiting for whatever you are craving. Fold in a half cup of cocoa powder during the heating stage for rich chocolate, or swirl in smashed berries, chopped toasted nuts, or crushed cookies right after churning. My personal favorite is a handful of broken pretzel pieces and a ribbon of warm peanut butter, which sounds strange but tastes extraordinary.
What If You Do Not Own an Ice Cream Maker
You can still pull this off with nothing more than a fork and some patience. Pour the chilled custard into a shallow baking dish, place it in the freezer, and stir vigorously with a fork every 30 minutes for about three hours. The texture will not be quite as smooth as machine churned, but it will still be infinitely better than anything from a supermarket tub.
Storage and Serving Wisdom
Homemade ice cream is best eaten within a week because it lacks the stabilizers that keep commercial brands creamy for months. Let the container sit on the counter for five minutes before scooping to spare your wrist and your spoons. Press a piece of parchment paper directly against the surface before lidding to prevent ice crystals from forming on top.
- A warm scoop run under hot water cuts through even the firmest batch cleanly.
- Sprinkle a tiny pinch of flaky sea salt on top of each bowl for an unexpected finishing touch.
- Label your freezer container with the date so you remember to enjoy it at peak quality.
 Save
Save There is something deeply satisfying about scooping ice cream you made from scratch into bowls for people you love. It tastes like effort and care and summer all at once.
Questions & Answers
- → How long does homemade ice cream keep in the freezer?
-
Properly stored in an airtight container, your homemade creation stays fresh for 2-3 weeks. For best texture and flavor, enjoy within the first week. Ice crystals may form over time, so press parchment paper directly onto the surface before sealing.
- → Can I make this without an ice cream maker?
-
Yes! Pour the chilled custard into a shallow dish and freeze for 45 minutes. Stir vigorously with a fork to break up crystals, then repeat every 30 minutes for 3-4 hours until smooth. The texture will be slightly denser but equally delicious.
- → Why did my custard curdle during cooking?
-
Curdling occurs from excessive heat. Keep the temperature low and stir constantly. Use a thermometer to maintain 77-80°C maximum. If you notice small grainy bits, immediately remove from heat and strain through a fine-mesh sieve—this saves most batches.
- → What's the purpose of tempering the eggs?
-
Tempering gradually warms the yolks to prevent scrambling when hitting hot liquid. Whisking small amounts of hot cream into yolks raises their temperature gently, creating a stable emulsion for silky results. Skipping this step leads to cooked egg bits throughout your dessert.
- → How do I make chocolate or other flavors?
-
Mix 1/2 cup cocoa powder into warmed milk for chocolate version. For fruit flavors, add puréed strawberries or mango during chilling. Extracts like almond, mint, or coffee replace vanilla easily. Swirl in caramel, fudge, or fruit preserves after churning for ribbons throughout.
- → Why must the custard chill completely before churning?
-
Cold temperature ensures proper freezing during churning. Warm or room-temperature bases take longer to freeze, resulting in icy texture rather than creamy smoothness. Overnight chilling actually improves flavor development, allowing vanilla to fully infuse the custard.
