 Save
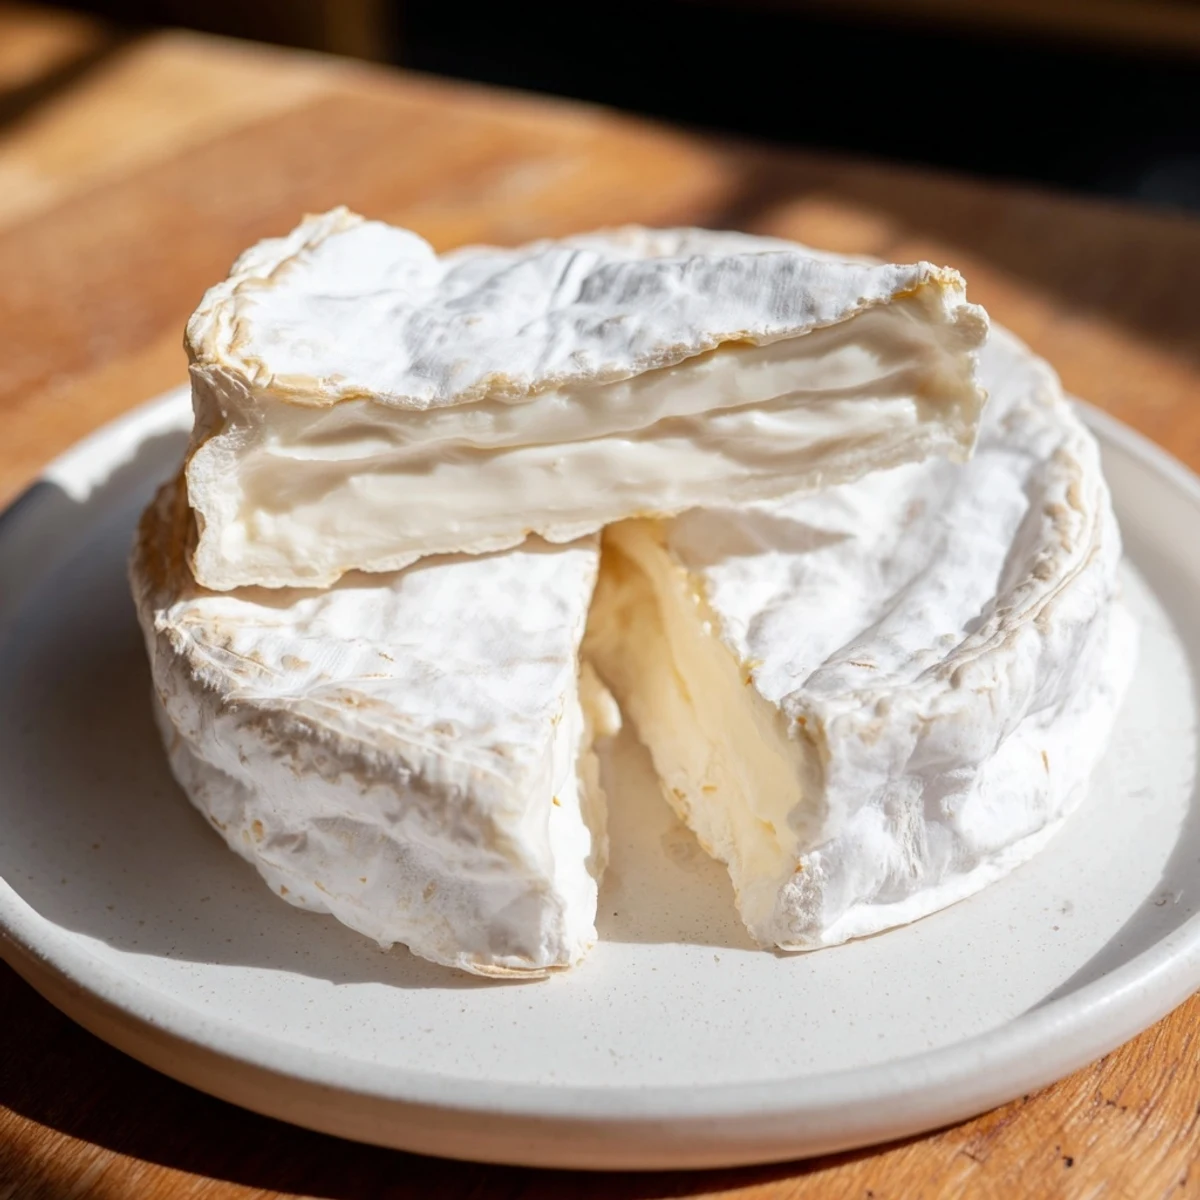
Save This detailed guide leads you through creating a soft-ripened Brie cheese with a smooth buttery interior and delicate white rind. Using whole milk and specific cultures, the process involves careful warming, curd cutting, stirring, molding, and aging in controlled humidity and temperature. The result is a classic French-style Brie with a luxuriously creamy texture, perfect for spreading or serving with fruit and nuts. Patience in aging enhances flavor and rind development, completing this artisanal cheese experience.
I'll never forget the first time I bit into a wheel of creamy Brie I'd made myself—that moment when the soft, buttery interior practically melted on my tongue, and I realized I'd actually created something as beautiful as the French cheese I'd been buying at fancy shops for years. Making Brie at home felt like learning a secret language, one that transformed simple milk into something luxurious through patience, care, and a little bit of kitchen magic.
I remember making my third batch of Brie for a dinner party with friends who are serious about cheese. When I told them I'd made it myself, they looked skeptical until they tasted it—then their faces changed completely. That's when I knew this recipe wasn't just about the final product; it was about the story I could tell, and the genuine pride that comes with sharing something you've created with your own hands.
Ingredients
- 4 liters whole cow's milk: This is your foundation—use the best quality you can find, preferably raw or gently pasteurized. Ultra-pasteurized milk won't work because the heat damages the proteins' ability to form a proper curd. I learned this the hard way on my first attempt.
- 1/8 teaspoon mesophilic starter culture: These tiny organisms are what turn milk into cheese. They're delicate, so treat them gently and never let them sit in direct heat before adding to cool milk.
- Pinch of Penicillium candidum: This white mold creates that iconic fuzzy rind you see on Brie. It's what makes the cheese look like something from a French market.
- Pinch of Geotrichum candidum: Optional, but this enhances the rind's complexity and gives it a more authentic appearance. Think of it as the detail work that makes your cheese look professional.
- 1/4 teaspoon liquid calcium chloride: Only needed if your milk is pasteurized—it helps the curds form properly because pasteurization removes some natural calcium. Skip this if you're using raw milk.
- 1/4 teaspoon liquid rennet: This is the magic ingredient that makes milk coagulate and separate into curds and whey. Choose animal or vegetarian based on your preference.
- 1 teaspoon non-iodized salt: Use sea salt or cheese salt—iodized salt can interfere with the culturing process and create off-flavors.
Instructions
- Prepare your workspace:
- Before you begin, sanitize every piece of equipment with boiling water or food-safe sanitizer. I cannot stress this enough—any stray bacteria can sabotage weeks of work. Let everything cool slightly while you gather your ingredients.
- Warm the milk gently:
- Pour your milk into a large, non-reactive pot and slowly warm it to 32°C (90°F), stirring occasionally. Use a reliable thermometer and warm it gradually—rushing this step can damage the milk's structure. This gentle temperature is where the magic begins.
- Introduce the cultures:
- Sprinkle the mesophilic starter, Penicillium candidum, and Geotrichum candidum over the surface of the warm milk. Let them sit undisturbed for 5 minutes so they can rehydrate and wake up. Then stir gently for just 1 minute—you're introducing them to their new home, not disturbing them.
- Add calcium if needed:
- If you're using pasteurized milk, add the calcium chloride and stir well. This step is easy to forget but crucial for proper curd formation.
- Add the rennet:
- Dilute your rennet in a small amount of cool, non-chlorinated water first (if the instructions say to). Add it to the milk and stir with an up-and-down motion for 30 seconds—this ensures it's evenly distributed. Then cover the pot and let it sit undisturbed for 60 minutes while you maintain that 32°C temperature. This is when the milk begins its transformation into curds.
- Test for the clean break:
- After an hour, insert a knife at a 45-degree angle and lift gently. If the curd breaks cleanly, you're ready. If it's still too soft, wait another 10 minutes.
- Cut the curds:
- Using a long knife or curd cutter, cut the curds into 2 cm (¾-inch) cubes. Work slowly and deliberately—jagged cuts can cause moisture loss. Let the curds rest for 5 minutes after cutting.
- Stir gently and settle:
- Gently stir the curds for 10 minutes using a slotted spoon, being careful not to break them further. Let them settle for 5 minutes. You're gradually firming them up and preparing them to release whey.
- Mold the cheese:
- Line your cheese molds with cheesecloth and carefully ladle the curds into them using a slotted spoon. Fill them evenly, stacking molds if necessary. Let them drain at room temperature (20–22°C / 68–72°F) for 18–24 hours. About halfway through, flip them gently—this helps them drain evenly and create the right texture.
- Salt and rest:
- Once drained, remove the cheese from the molds and sprinkle salt on all sides. This protects the cheese and draws out more moisture. Let it rest at room temperature for 24 hours.
- Begin aging:
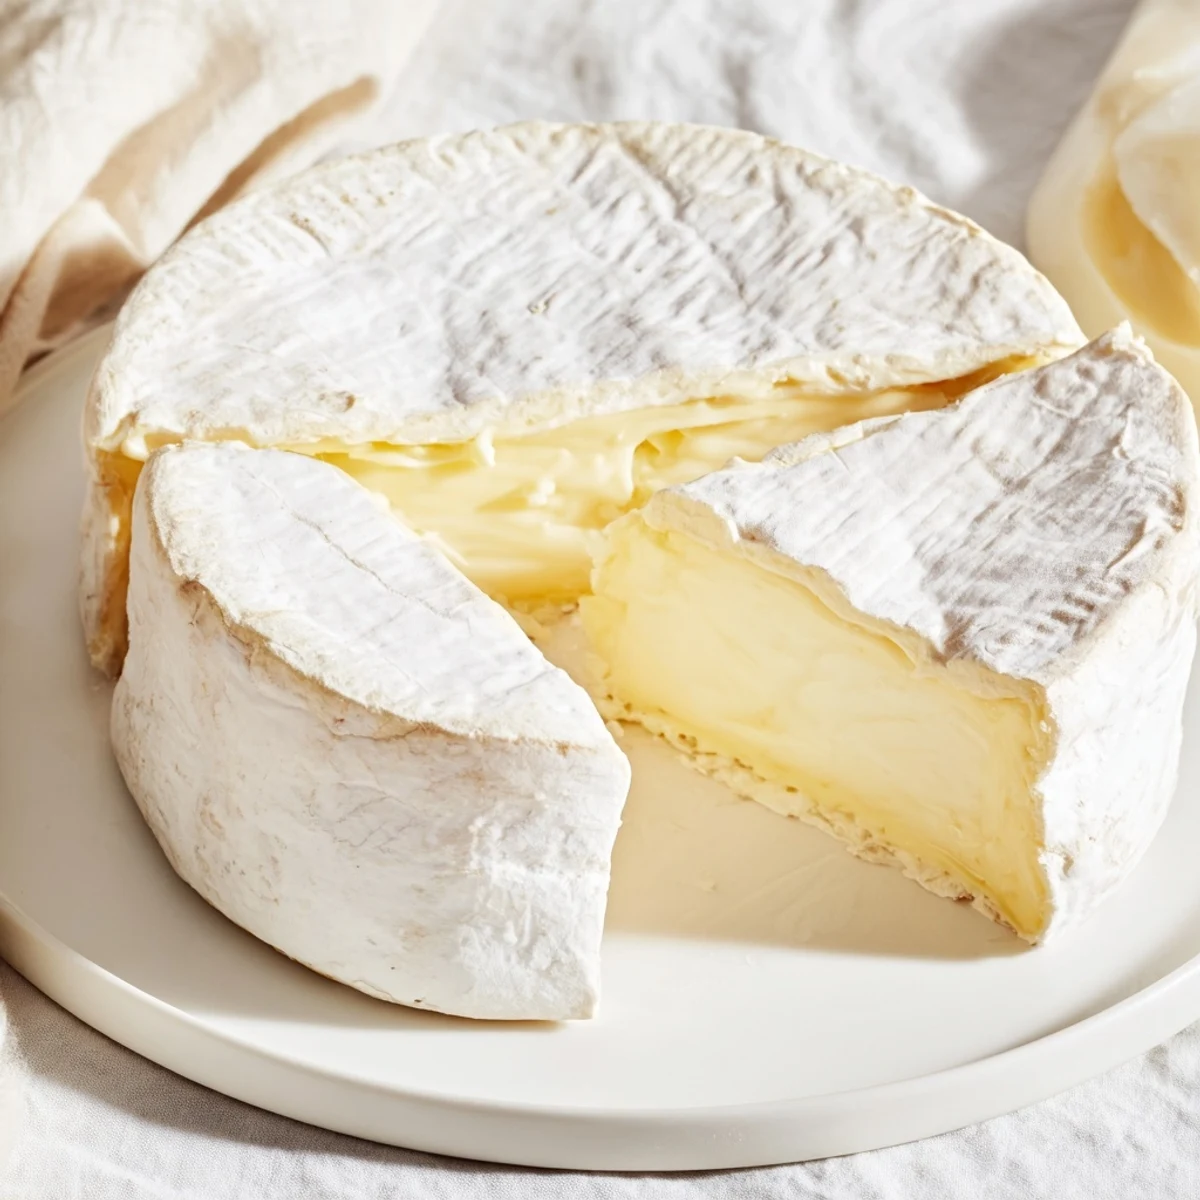
- Transfer your cheese to a maturation box or cheese cave maintained at 10–12°C (50–54°F) with 85–90% humidity. Flip the cheese every 2–3 days to ensure even rind development. Over 4–6 weeks, you'll watch it transform, as the rind develops its white coat and the interior becomes increasingly creamy.
- Know when it's ready:
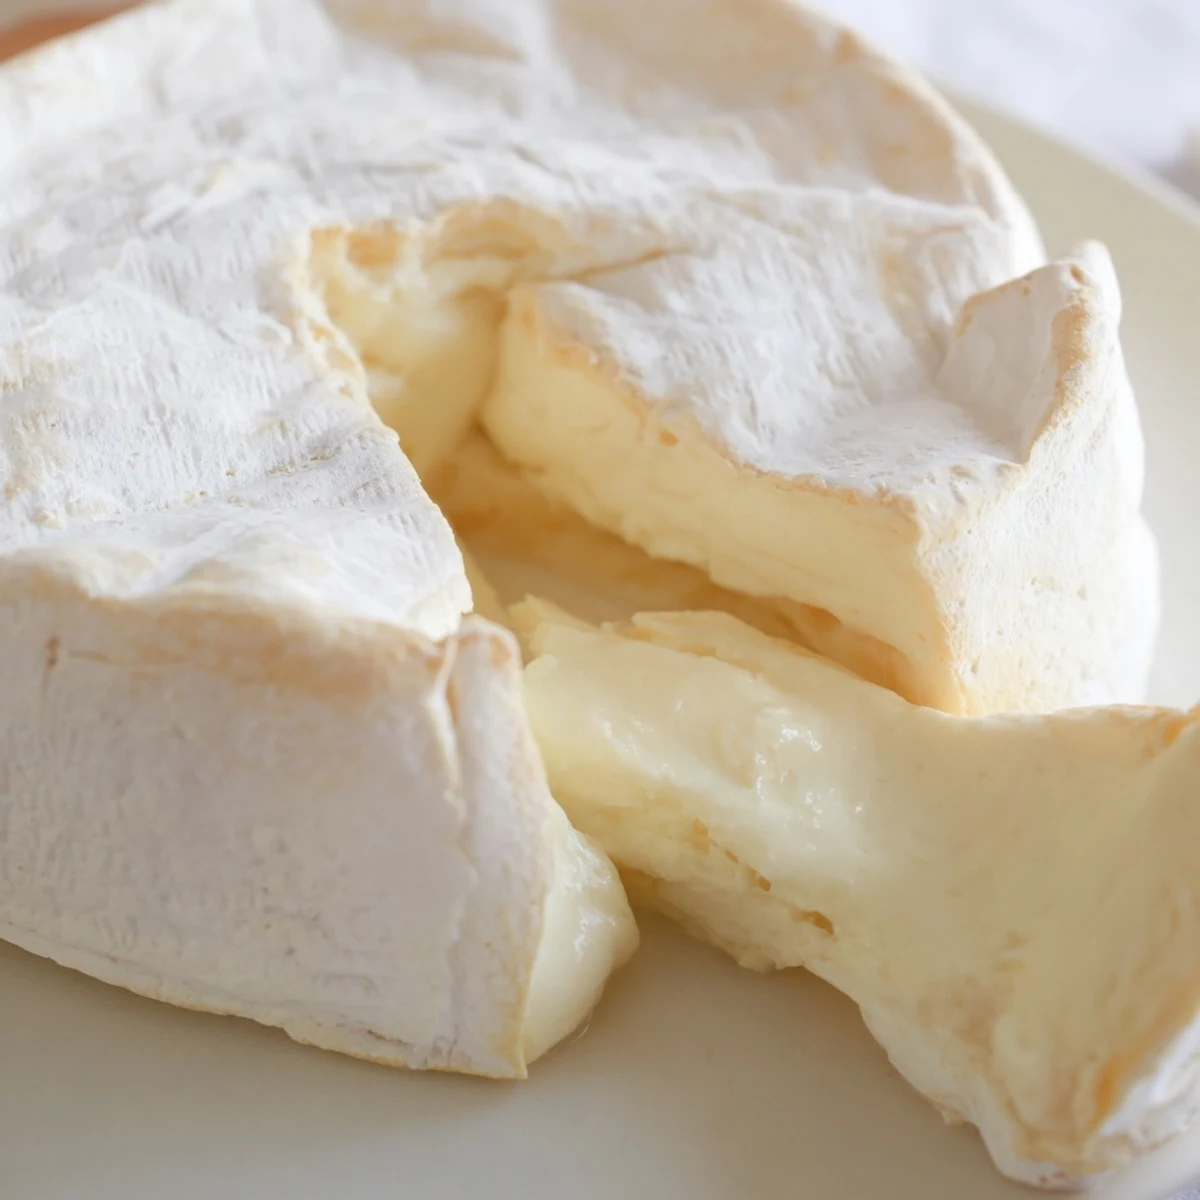
- When the rind is fully developed and soft to the touch, and the interior feels creamy when gently pressed, your Brie is ready to enjoy. Trust your senses—they'll tell you when it's perfect.
 Save
Save There's a quiet moment around week three of aging when you open your maturation box and see the white rind beginning to bloom across the cheese's surface. I remember just standing there, marveling at the fact that I'd created this entirely through milk, culture, and waiting. That's when cheesemaking stopped being a hobby and became something I genuinely loved.
Why Temperature and Humidity Matter More Than You Think
I've made Brie in different seasons, and I can tell you that summer and winter batches turn out differently if you're not careful. Temperature consistency is absolutely crucial because every step depends on precise enzymatic activity. Too cold, and nothing happens fast enough. Too warm, and everything happens too fast, creating off-flavors and texture problems. Humidity is equally critical—if your aging environment is too dry, the rind cracks and the interior doesn't soften evenly. If it's too wet, you risk mold contamination that isn't Penicillium candidum. A simple humidifier in your aging box can be the difference between success and disappointment.
Sourcing Ingredients That Actually Make a Difference
The quality of your milk makes an enormous difference, more than any other ingredient. Raw milk creates Brie with more complexity and personality, but it also requires more careful handling. If you can't access raw milk, choose the best pasteurized milk you can find—look for the highest fat content available. Some supermarket milk is so stripped of character that no amount of technique can save it. I've also learned that ordering cultures and rennet from a dedicated cheese supply shop, rather than buying generic supplies, makes a real difference. These ingredients are fresher and more reliable, and the suppliers understand what home cheesemakers need.
Troubleshooting and Building Confidence
Your first batch might not be perfect, and that's completely okay. Cheesemaking is a conversation between you and biology—sometimes you'll learn more from a batch that didn't turn out exactly right than from a flawless one. Keep notes on temperature, humidity, timing, and results. I keep a simple notebook where I write down everything, and looking back at it, I can see exactly where and why things shifted. This practice has made me a much better cheesemaker because I'm learning from actual data, not just intuition.
- If your rind isn't white after 3 weeks, check your humidity and temperature—they're likely off
- If the interior is too firm at 6 weeks, your aging temperature was probably too cold or your humidity too low
- If you notice orange or blue mold, something went wrong with sanitation—don't taste it, start again and be more careful next time
 Save
Save Making Brie taught me that some of the best things in life require patience, attention, and a willingness to learn from mistakes. Every wheel is a small victory.
Questions & Answers
- → What type of milk is best for Brie?
-
Whole cow's milk, raw or pasteurized (not ultra-pasteurized), provides optimal richness and texture for Brie.
- → How long should Brie be aged?
-
Aging for 4 to 6 weeks allows the rind to develop fully and the interior to soften into a creamy consistency.
- → Can vegetarian rennet be used?
-
Yes, vegetarian rennet works well and keeps the process compatible with vegetarian diets.
- → What temperature is ideal during aging?
-
Maintaining 10–12°C (50–54°F) with 85–90% humidity ensures proper maturation and rind growth.
- → How is the cheese drained during preparation?
-
Curds are ladled into cheese molds lined with cheesecloth, drained at room temperature while being flipped to ensure even moisture loss.
- → What enhances the creaminess of Brie?
-
Adding cream to the milk or using higher-fat milk produces a richer, creamier texture in the final cheese.
