
 Save
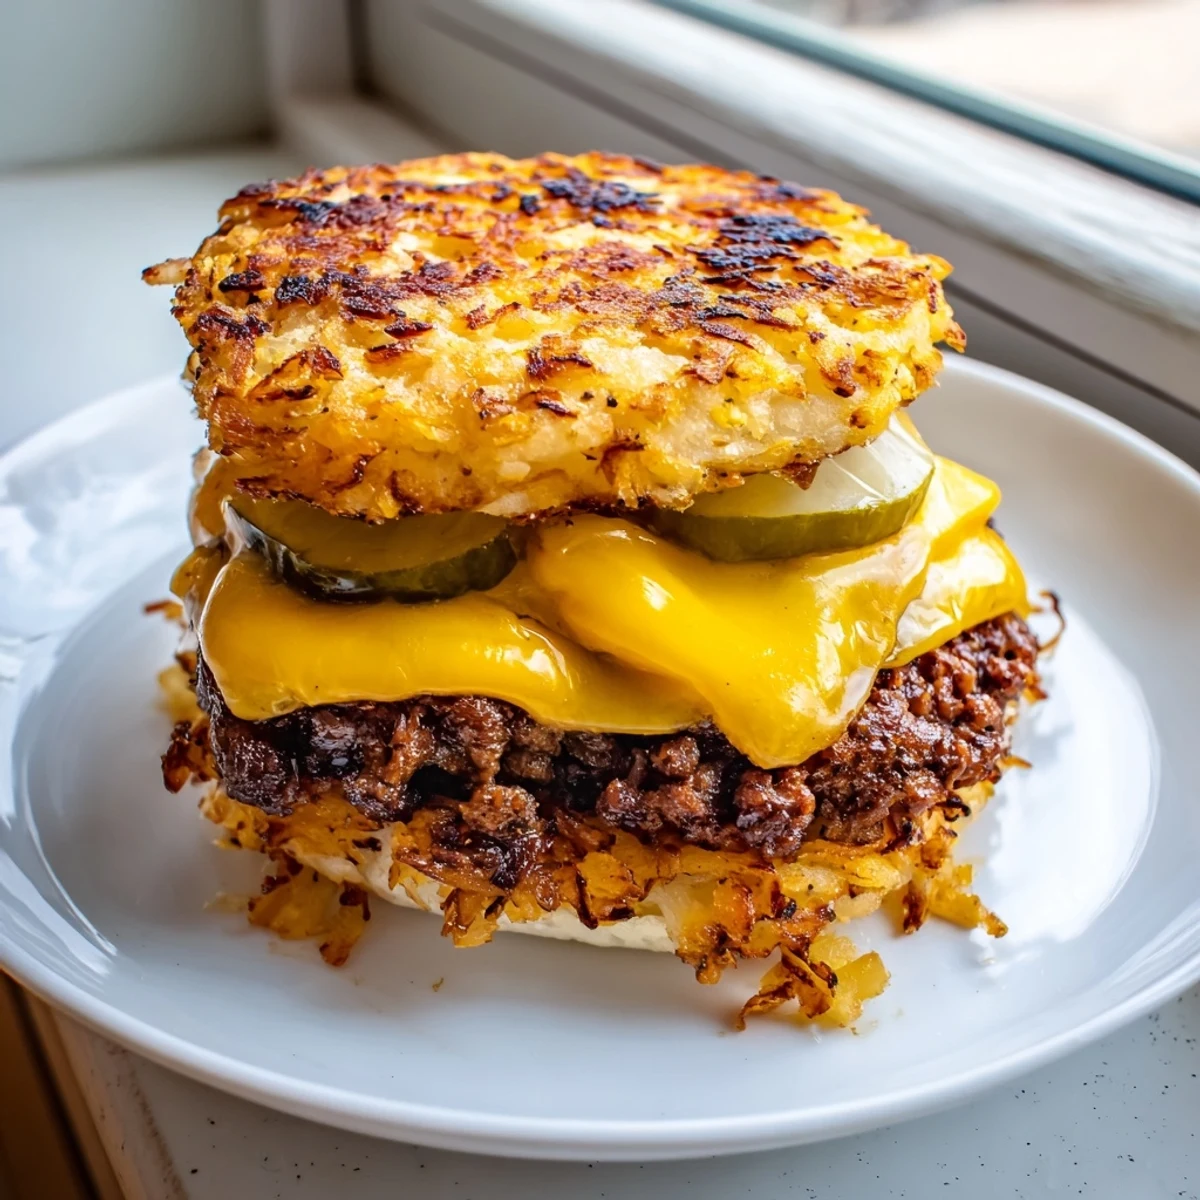
Save These smash burgers take the classic American burger to the next level by layering golden, crispy hash brown patties right on top of juicy, thin smashed beef.
Ground beef is formed into loose balls, then smashed onto a scorching hot griddle until the edges turn deeply browned and crisp. Each patty gets topped with a slice of cheddar that melts into every nook and cranny.
The hash browns are made from scratch—grated russet potatoes squeezed dry, seasoned with garlic and onion powder, then pan-fried until shatteringly crisp on both sides. Stacked together on a toasted bun with lettuce, tomato, pickles, red onion, and a tangy burger sauce, every bite delivers an irresistible mix of textures: crunchy, juicy, melty, and soft.
The sound of a spatula smashing a beef ball onto a screaming hot griddle is something between a sizzle and a declaration of intent, and once you hear it, ordinary burgers never quite measure up again. My neighbor Dave introduced me to the smash burger technique at a backyard cookoff where he also revealed his questionable taste in hiking playlists. The hash brown addition came later, born from a desperate fridge raid on a rainy Tuesday when buns were the only bread in sight and leftover grated potatoes were sitting there looking hopeful.
I made these for my sister the weekend she moved into her first apartment, a place with exactly one working burner and a spatula that looked like it had survived a war. She sat on a cardboard box eating hers in complete silence for about three minutes, which from her is the highest compliment possible. We still call them cardboard box burgers when we make them, even though her kitchen now has four burners and proper furniture.
Ingredients
- 2 large russet potatoes, peeled: Russets are the right call here because their high starch content helps the patties hold together and crisp up beautifully when you press them flat.
- 2 tbsp unsalted butter, melted: Butter adds richness and helps achieve that deep golden color on the hash browns that oil alone cannot quite manage.
- 1 tbsp vegetable oil: Combined with the butter, it raises the smoke point so you get crispness without burning.
- 1/2 tsp garlic powder and 1/2 tsp onion powder: These two quietly season the potatoes from within and make them taste like something you ordered at a diner at midnight.
- Salt and pepper, to taste: Do not skimp, properly seasoned potatoes are the backbone of this whole operation.
- 450 g (1 lb) ground beef, 80/20: The fat content is nonnegotiable because lean beef will not give you those crispy smashed edges or the juicy center.
- 4 slices cheddar cheese: Sharp cheddar melts well and cuts through the richness with just enough tang.
- 4 burger buns, toasted: Toasting is essential because a soft bun will collapse under the weight of a hash brown and a smashed patty.
- Lettuce, sliced tomato, sliced pickles, thinly sliced red onion: Fresh toppings provide crunch and acidity that balance the heaviness beautifully.
- Burger sauce, mayonnaise, ketchup, and mustard mixed to taste: This trio blended together is the classic American burger sauce that ties everything together.
Instructions
- Grate and squeeze the potatoes:
- Use a box grater to shred the peeled potatoes, then wrap them tightly in a clean kitchen towel and wring out every last drop of moisture you can manage. The drier the potatoes, the crispier your hash brown patties will be, so really put your back into it.
- Season the potato mixture:
- Toss the grated potatoes with melted butter, vegetable oil, garlic powder, onion powder, and a generous pinch of salt and pepper until evenly coated. Use your hands to mix because you want to feel that every strand is seasoned.
- Cook the hash brown patties:
- Heat your skillet or griddle over medium high heat, divide the mixture into four equal portions, and press each one into a thin round about four inches across. Cook for three to four minutes per side until deeply golden and crisp at the edges, then set aside and keep warm.
- Form and smash the beef:
- Gently shape the ground beef into four loose balls without overworking the meat, then place them onto a screaming hot skillet and press down firmly with a heavy spatula or burger press. Season the top generously with salt and pepper while the bottom sizzles and develops a dark crust.
- Flip and add cheese:
- After two to three minutes when the edges are browned and crispy, flip each patty and immediately lay a slice of cheddar on top. Give it one to two minutes for the cheese to melt into gooey submission, then remove from heat.
- Build the burgers:
- Spread burger sauce on the bottom bun, layer on lettuce, a tomato slice, and some red onion, then place the hash brown patty followed by the cheesy smashed burger and pickles. Cap it with the top bun, press down gently, and try to wait long enough to take a photo before biting in.
 Save
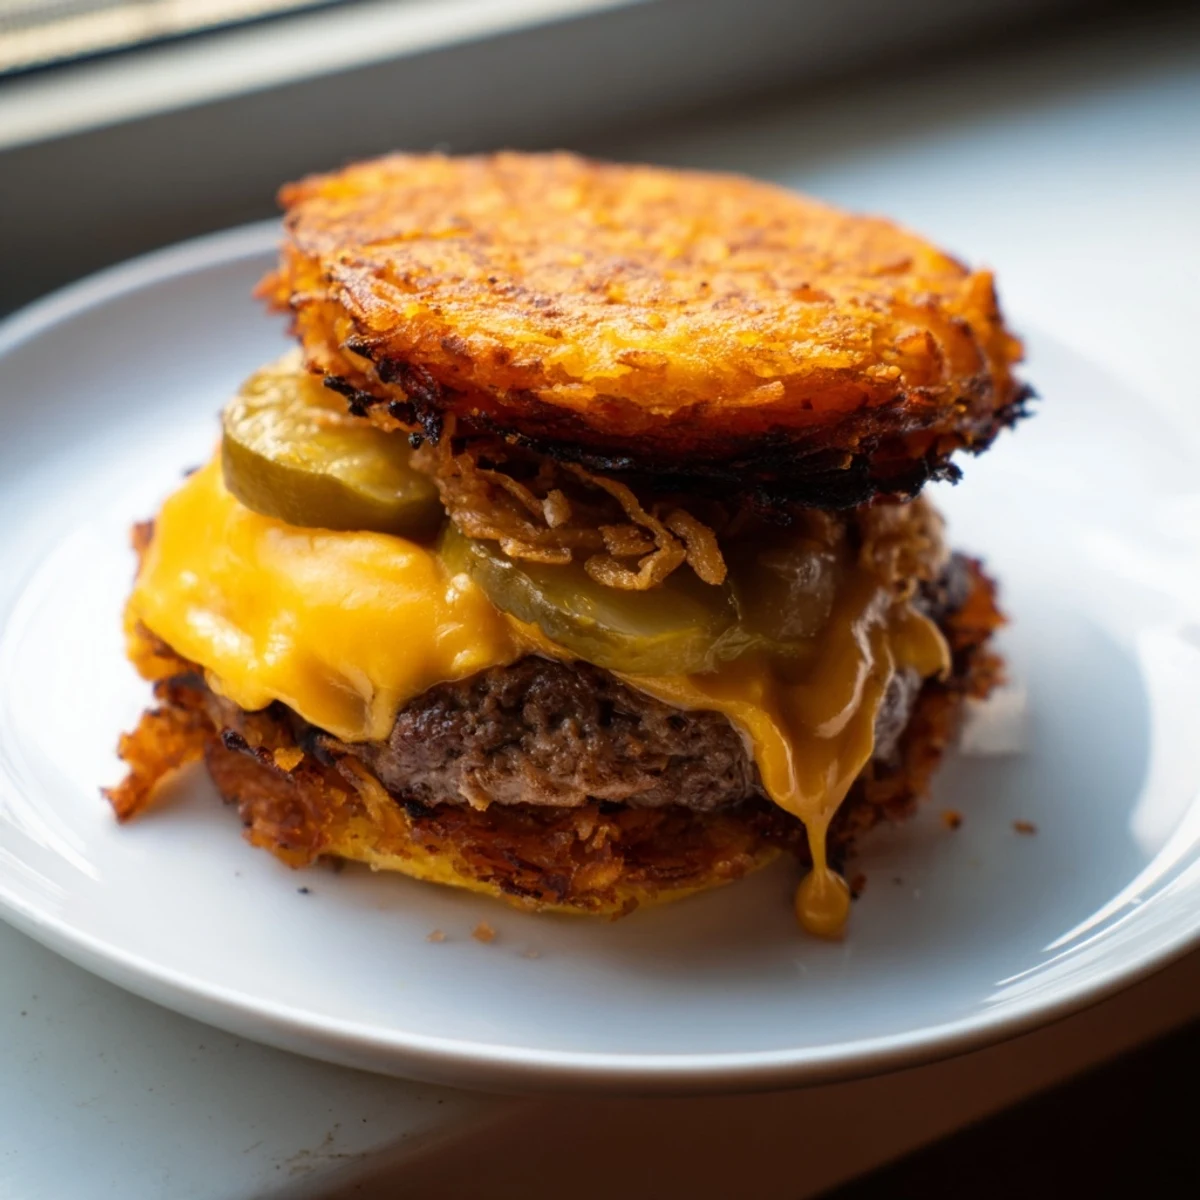
Save There is something deeply satisfying about building a burger that has structural layers of crunch, the hash brown shatters, the beef edges crackle, and the pickles snap. It turns a regular weeknight dinner into something that feels like you made an effort without actually requiring one. My roommate once described eating one as a full sensory event, and honestly that is the most accurate review I have ever received.
What to Serve Alongside
These burgers are rich enough to stand alone, but a handful of crispy oven fries or a simple side salad with a sharp vinaigrette cuts through the heaviness perfectly. A cold drink of some kind is not optional, it is mandatory, because the crunch and cheese demand something refreshing nearby.
Smart Swaps and Variations
Sweet potatoes work beautifully in place of russets if you want a slightly sweeter, more colorful hash brown layer. Sliced jalapeños added during assembly bring a welcome heat that plays off the melted cheddar, and a fried egg on top turns the whole thing into a gloriously messy meal worth eating at any hour.
Handling Leftovers and Reheating
If you somehow end up with leftovers, store the components separately because a refrigerated assembled burger is a sad soggy situation nobody deserves. Reheat the hash browns and patties in a dry skillet over medium heat to bring back some of that original crispness.
- Toast the buns again before reassembling because a fresh crunch on the bread makes a huge difference.
- Never microwave the hash browns unless you enjoy eating wet cardboard.
- Assembled burgers are best eaten immediately, so only reheat what you will finish.
 Save
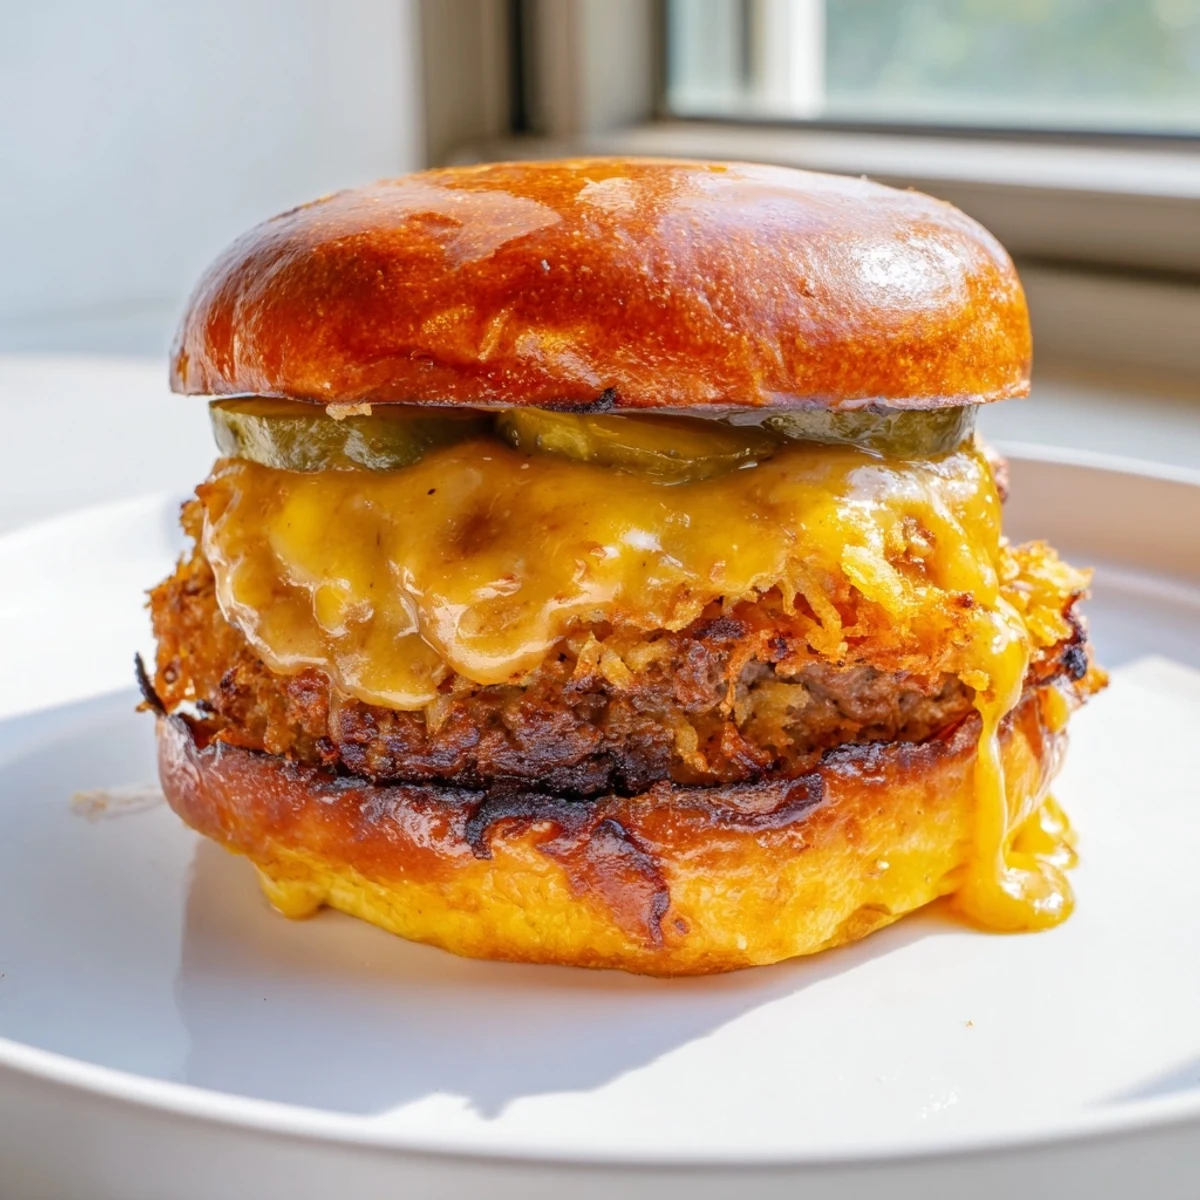
Save Make these once and they will become the burger you reach for when ordinary is not going to cut it, the one that makes people ask what you did differently. The answer is simple: you added a hash brown, and everything changed.
Questions & Answers
- → Can I use frozen hash browns instead of making them from scratch?
-
Yes, frozen hash browns work as a shortcut. Thaw them completely and squeeze out any excess moisture before shaping into patties and pan-frying until golden and crisp.
- → What type of ground beef is best for smash burgers?
-
An 80/20 blend of ground beef is ideal. The fat content ensures the patties stay juicy while developing those signature crispy, caramelized edges when smashed thin on a hot surface.
- → Why do my hash browns turn out soggy instead of crispy?
-
Moisture is the enemy of crispiness. After grating the potatoes, wrap them in a clean kitchen towel and squeeze firmly to remove as much liquid as possible before seasoning and cooking.
- → Can I cook the hash browns and burgers on the same griddle?
-
Absolutely. Cook the hash browns first over medium-high heat, then wipe the griddle clean and crank it to high heat for the smash burgers. This gives each component the ideal cooking temperature.
- → What toppings pair well with these burgers?
-
Classic toppings like crisp lettuce, ripe tomato slices, dill pickles, and thinly sliced red onion work beautifully. For extra kick, try adding sliced jalapeños or a fried egg on top.
- → How do I get the perfect smash on my burger patties?
-
Place a loose beef ball on a blazing hot griddle and immediately press down firmly with a heavy-duty spatula or burger press. Smash it thin within the first 10 seconds—this ensures maximum contact with the surface for that crispy crust.