 Save
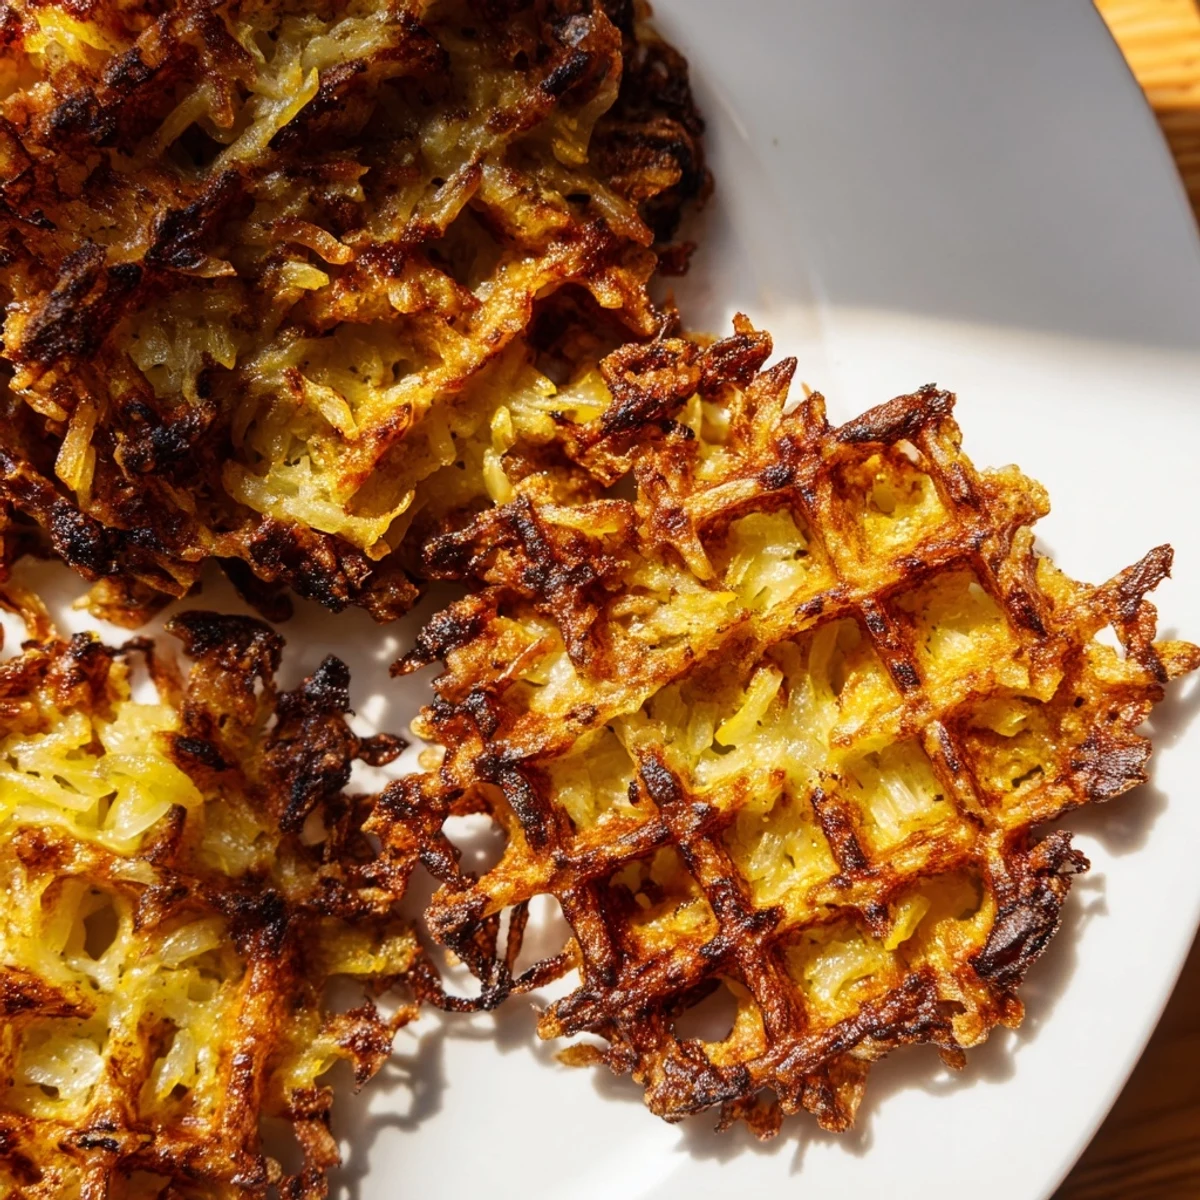
Save These crispy waffle iron hashbrowns deliver restaurant-quality crunch with minimal effort. By grating russet potatoes, removing excess moisture, and cooking in a hot waffle iron, you create deeply golden, crispy-edged potato cakes with tender interiors. The addition of grated onion, garlic powder, and melted butter builds savory depth, while a single egg and light flour binding ensures each waffle holds its shape beautifully.
Perfect for weekend brunch or meal prep, these hashbrowns cook evenly thanks to the waffle iron's consistent heat distribution. Serve immediately with classic toppings like sour cream, ketchup, or hot sauce, or customize with shredded cheese and fresh herbs.
The discovery happened by accident one hungover Sunday when I was too lazy to stand at the stove flipping hashbrowns. My waffle iron sat there collecting dust and I thought why not. The first batch came out with these perfect crispy ridges holding tiny pools of butter and I knew I'd never make hashbrowns any other way.
Last summer I made these for a group of skeptical friends who'd never heard of waffle iron hashbrowns. They watched me squeeze liquid from the potatoes like I was wringing out a wet towel. Within minutes the kitchen smelled like caramelized starch and butter and even the most doubtful person was hovering around the waffle iron asking if they were done yet.
Ingredients
- 3 large russet potatoes peeled: Russets have the perfect starch content to get crispy without falling apart and peeling them ensures no tough spots in the final texture
- 1 small yellow onion finely grated: The onion melts into the background while adding sweetness that balances the earthy potatoes
- 1 large egg: Acts as the glue holding everything together so you get intact waffles instead of potato crumbles
- 2 tablespoons all-purpose flour: Just enough to bind the mixture without making it taste doughy
- 1 teaspoon garlic powder: Because garlic on potatoes is basically mandatory
- 1 teaspoon salt: Potatoes need more salt than you think they do
- ½ teaspoon black pepper: Freshly cracked makes a huge difference
- 2 tablespoons unsalted butter melted: Butter equals flavor and helps achieve that golden color
- 2 tablespoons vegetable oil: Higher smoke point than butter alone prevents burning
Instructions
- Get Your Waffle Iron Hot:
- Preheat to medium-high setting while you prep the potatoes so it's ready to go the moment your mixture is done.
- Squeeze Those Potatoes Dry:
- Grate them using a box grater then wrap in a clean kitchen towel and twist until no more liquid comes out. This is the secret to crispy results.
- Mix Everything Together:
- Combine potatoes onion egg flour garlic powder salt pepper and melted butter in a large bowl until everything is evenly distributed.
- Grease the Iron Well:
- Lightly oil both sides of the waffle iron with vegetable oil or nonstick spray so nothing sticks.
- Cook Until Deeply Golden:
- Spread a layer of potato mixture but don't overfill then close and cook for 10 to 12 minutes until the hashbrowns are crispy and golden brown.
- Repeat and Serve:
- Carefully remove each batch and keep warm in a low oven if needed while you finish cooking the rest.
 Save
Save My dad who has been making hashbrowns the same way for forty years tried these and stayed silent for a full minute after his first bite. Then he asked where I bought my waffle iron because he needed one. That's when I knew this wasn't just a lazy hack but something genuinely better.
Making Them Your Own
I've started adding shredded sharp cheddar directly into the potato mixture sometimes especially when I want something more indulgent. The cheese melts into those little crevices and creates these salty crispy bits that are honestly dangerous. Fresh herbs like chopped chives or parsley folded in right before cooking add brightness that cuts through all that richness.
Serving Suggestions
These deserve more than just ketchup on the side though that's always welcome. I like serving them with a dollop of sour cream and everything bagel seasoning or topped with a fried egg so the yolk runs into all those crispy pockets. They're substantial enough to be the main event at breakfast or brunch not just a side dish.
Batch Cooking and Storage
When I'm feeding a crowd I keep the cooked hashbrowns warm in a 200 degree oven while I finish the remaining batches. They stay surprisingly crispy for about 30 minutes this way. You can also freeze uncooked portions of the potato mixture between sheets of parchment paper then thaw in the fridge overnight before cooking.
- Press the mixture into the waffle iron quickly once it's added so it cooks evenly
- Let the hashbrowns rest for a minute before removing to help them hold their shape
- Reheat leftovers in a toaster oven not the microwave to maintain crunch
 Save
Save There's something deeply satisfying about kitchen equipment pulling double duty especially when the result is this delicious. Your waffle iron deserves to live on the counter not tucked away in a cabinet.
Questions & Answers
- → Why do I need to squeeze the liquid from the potatoes?
-
Removing excess moisture from the grated potatoes is essential for achieving maximum crispiness. The liquid contains starch that can make hashbrowns soggy or gummy. Squeezing thoroughly in a kitchen towel ensures the potato mixture browns properly and develops that desirable crunchy exterior.
- → Can I prepare the potato mixture ahead of time?
-
For best results, prepare the mixture just before cooking. Pre-grated potatoes can oxidize and turn brown. However, you can grate and squeeze the potatoes up to 2 hours ahead, then store them covered in the refrigerator. Mix with the remaining ingredients immediately before cooking.
- → What's the best way to prevent sticking?
-
Preheat your waffle iron fully before adding the mixture, then grease both sides generously with vegetable oil or nonstick spray. The melted butter in the mixture also helps create a natural nonstick coating. Avoid opening the iron too early—let the hashbrowns cook until deeply golden.
- → Can I freeze cooked hashbrowns?
-
Yes, cook and cool the hashbrowns completely, then freeze in a single layer on a baking sheet before transferring to a freezer bag. Reheat in a 375°F oven or toaster oven until heated through and crispy again, about 10–12 minutes. Avoid microwaving as they'll lose their crunch.
- → What other vegetables can I add?
-
Finely grated bell peppers, zucchini, or carrots work well. Finely chopped scallions, jalapeños for heat, or shredded cheese like cheddar can be mixed directly into the batter. Add about ½ cup of any extra vegetable, but squeeze out excess moisture first to maintain crispiness.
