 Save
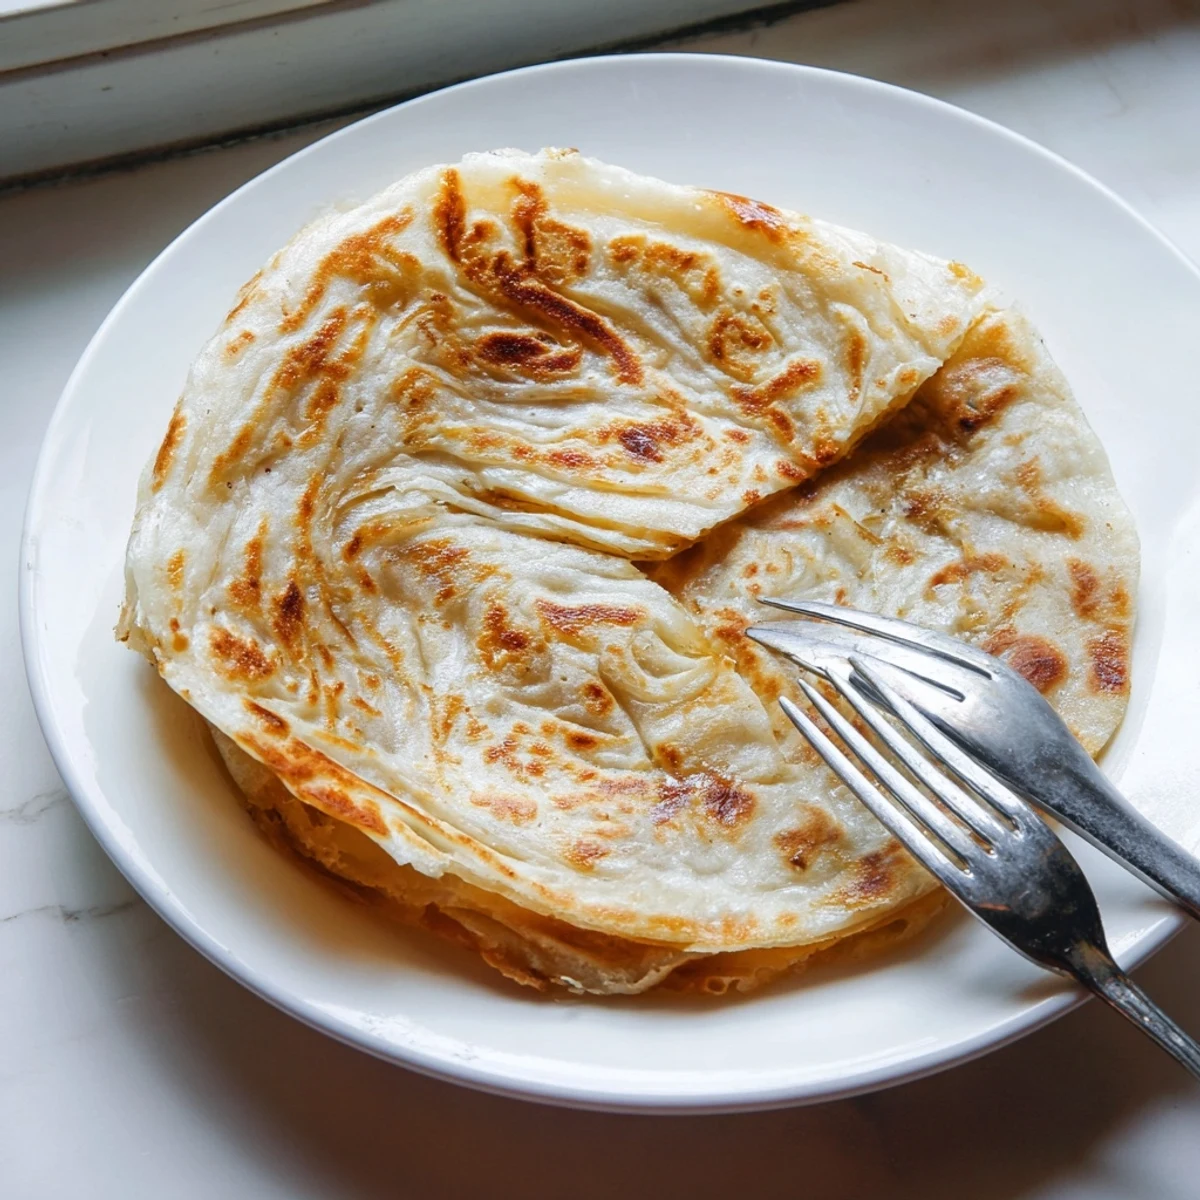
Save Flaky Roti Canai delivers the ultimate Malaysian flatbread experience with its signature crispy exterior and impossibly tender, layered interior. The magic lies in the unique preparation method—dough rests for hours, then gets stretched paper-thin before being folded and coiled to create those distinctive flaky layers that separate beautifully when cooked.
The process requires patience but rewards with incredible texture. Each roti cooks to golden perfection on a griddle, developing a satisfying crunch that gives way to soft, chewy folds within. Traditionally served warm with dhal or curry, these flatbreads also shine simply brushed with ghee.
Key to success is proper resting time and the gentle stretching technique. The dough becomes pliable and cooperative after resting, allowing you to achieve that translucent thinness without tearing. A quick clap between hands after cooking releases steam and fluffs the layers, creating that irresistible airy texture.
The steam rising from a hot stack of roti canai at a roadside stall in Penang still haunts my kitchen dreams. I watched the vendor flip and stretch dough with such practiced grace that when I tried it myself, my first attempt looked more like a torn map than layered bread. But something about that charred, buttery flavor kept me coming back to the counter, determined to master what seemed like magic in motion.
My roommate walked in during one particularly messy stretching session and found me with dough practically wrapped around my arms, flour everywhere, laughing at my own incompetence. She grabbed a piece of the torn dough, fried it on the spot in ghee, and even my mistake tasted incredible. That night we ate torn, crispy shards of roti with curry and agreed that imperfect homemade beats perfect takeout every single time.
Ingredients
- All-purpose flour: Creates the structure for those delicate layers while keeping the bread tender and pliable
- Salt and sugar: Balance is key here since sugar helps with browning while salt prevents the bread from tasting flat
- Condensed milk: This secret ingredient adds subtle sweetness and contributes to the golden color when cooked
- Melted ghee or butter: The fat that makes everything worthwhile and creates those irresistible crispy edges
- Warm water: Activates the gluten and brings everything together into a workable dough
- Additional ghee or oil: Essential for keeping your hands and work surface slick during the stretching process
Instructions
- Mix the foundation:
- Combine your flour, salt, and sugar in a large bowl, then pour in the melted ghee and condensed milk before gradually adding warm water until everything comes together into a soft, slightly sticky dough
- Work the dough:
- Knead for about 8 minutes until the surface becomes smooth and elastic, letting the gluten develop so it can withstand all that stretching later
- Portion and rest:
- Divide into six equal balls, coat each with ghee, arrange on a greased tray, cover tightly, and let them rest for at least two hours because patience is nonnegotiable here
- Stretch to translucent:
- Oil your hands and surface generously, flatten a dough ball with your palms, then gently pull and stretch until the dough is almost transparent and roughly 18 inches wide
- Build the layers:
- Fold the edges inward to create a long rectangle, roll it up like a Swiss roll, then coil into a spiral and tuck the end underneath before repeating with remaining portions
- Heat your pan:
- Get a nonstick skillet or griddle over medium heat and brush it lightly with ghee or oil
- Flatten and cook:
- Press each spiral gently into a 6 to 7 inch round and cook for 2 to 3 minutes per side until both sides are golden with those signature flaky layers
- The clap technique:
- Remove from heat and clap the roti between your hands immediately to puff up the layers before serving hot
 Save
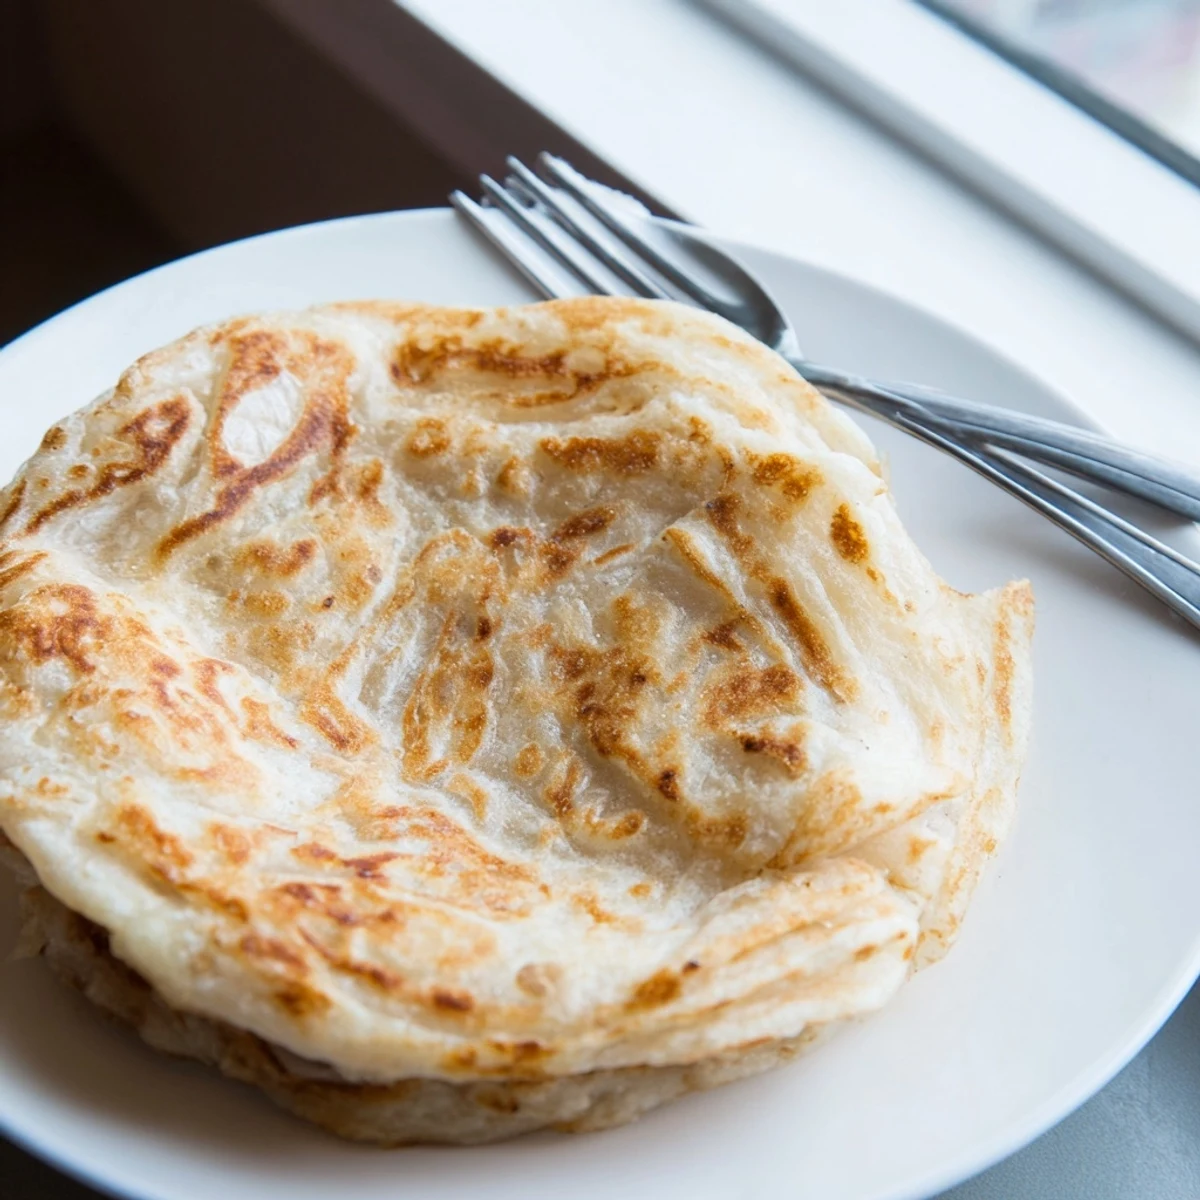
Save Serving these alongside a rich chicken curry for friends who had never tried Malaysian food before remains one of my favorite kitchen memories. Watching their faces light up when they tore into that first steaming piece and discovered the layers inside reminded me why I bothered learning this in the first place.
Getting the Right Texture
The dough needs to be slightly sticky after mixing because the oil and resting time will transform it into something completely workable. If it is too dry from the start, no amount of resting will give you those paper thin layers that make this bread special.
The Stretching Technique
Work from the center outward using the backs of your hands rather than your fingertips, letting gravity help you stretch the dough. Thin spots are better than tears, and remember that small imperfections will be folded inside anyway.
Make Ahead Strategy
You can prepare the dough balls through the resting step up to a day ahead and keep them refrigerated. Let them come to room temperature for about 30 minutes before shaping.
- Freeze cooked roti between layers of parchment for quick reheating
- A hot skillet brings leftover roti back to life remarkably well
- Serve with sugar or condensed milk for the simplest dessert imaginable
 Save
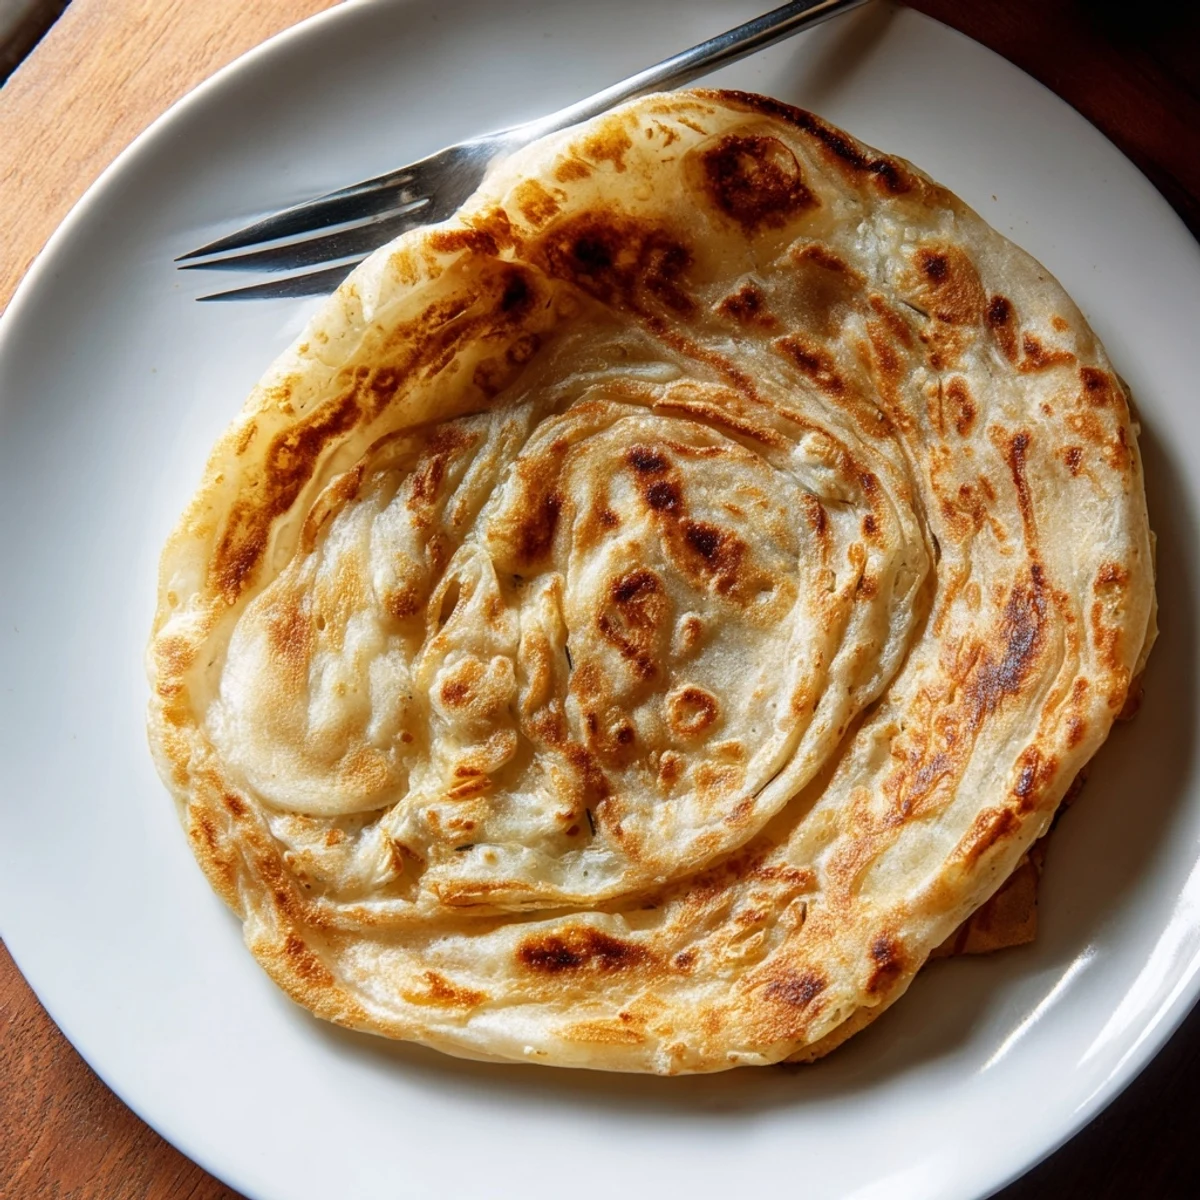
Save There is something deeply satisfying about pulling a perfect roti canai from the pan, seeing those crispy layers catch the light, and knowing you made something that usually takes years to master. Happy cooking and may your layers always be flaky.
Questions & Answers
- → What makes Roti Canai flaky?
-
The flakiness comes from the unique folding and rolling technique. After stretching the dough paper-thin, it's folded into a rectangle, rolled like a Swiss roll, then coiled into a spiral. This creates multiple layers of dough separated by ghee, which puff up during cooking to form the signature flaky texture.
- → Why does the dough need to rest for 2 hours?
-
Resting allows the gluten to relax completely, making the dough much more pliable and easier to stretch. Without this resting period, the dough would snap back and resist stretching to that thin, translucent state needed for proper layer formation. The ghee coating during resting also prevents drying and adds richness.
- → Can I make Roti Canai ahead of time?
-
The dough can be prepared and refrigerated overnight after the initial resting period. Bring to room temperature before shaping and cooking. Cooked rotis reheat well on a skillet for 1-2 minutes, though they're best enjoyed fresh and hot. For convenience, shape and freeze uncooked spirals, thawing before final flattening and cooking.
- → What's the difference between ghee and oil for Roti Canai?
-
Ghee provides superior flavor and contributes to flakiness due to its solid fat content, while vegetable oil is neutral and yields slightly softer results. Ghee's higher smoke point also helps achieve better browning. For traditional taste and maximum crispiness, ghee is preferred, though oil works for dairy-free adaptations.
- → Why clap the roti after cooking?
-
Clapping cooked rotis between hands serves two purposes. First, it releases trapped steam from between layers, preventing sogginess. Second, the gentle pressure separates and fluffs the layers, creating that signature airy texture. It's an essential technique for achieving the perfect contrast between crispy exterior and tender interior.
- → What should I serve with Roti Canai?
-
Roti Canai pairs beautifully with Malaysian dhal curry, chicken curry, or fish curry. For a sweet version, serve with sugar or condensed milk for dipping. It also complements sambal and makes an excellent accompaniment to any spiced dish. The mild flavor balances perfectly with bold, aromatic curries.
