 Save
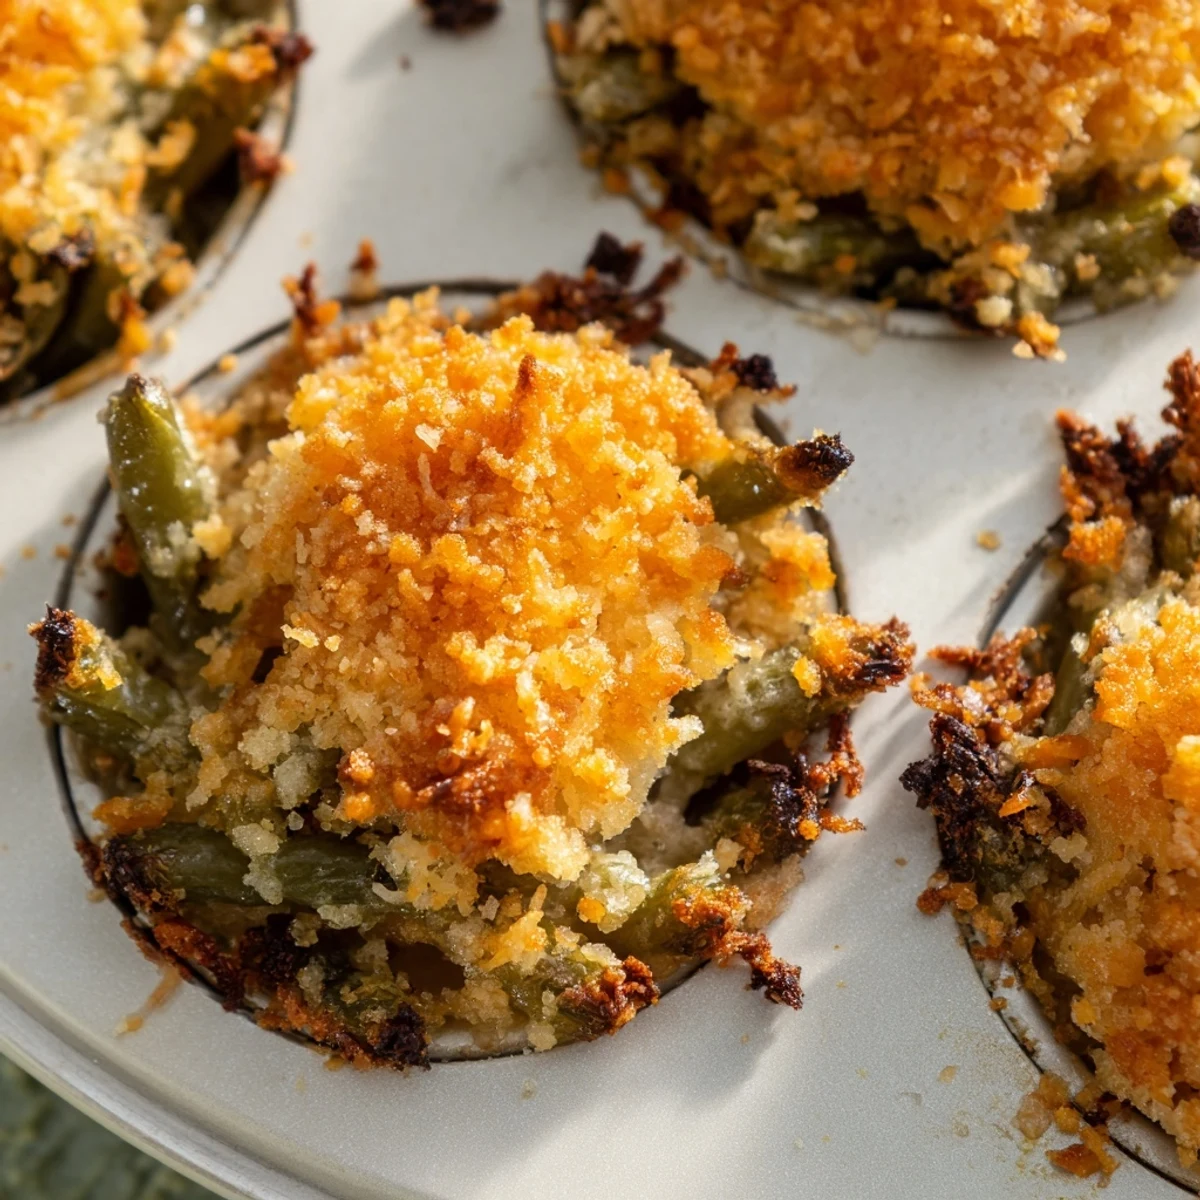
Save These individual green bean cups reinvent the traditional holiday casserole into perfectly portioned servings. Fresh green beans are blanched until tender-crisp, then combined with a creamy garlic Parmesan sauce made from sour cream, milk, and butter. Each muffin cup gets topped with crispy panko breadcrumbs baked to golden perfection. The result delivers all the comforting flavors you love in a handheld format that's perfect for parties, potlucks, or weeknight dinners.
The first time I made these, my sister looked at the muffin tin like I had completely lost my mind. Fifteen minutes later, she was hovering over the oven door, watching the panko topping turn that perfect golden brown that makes your kitchen smell like a restaurant. Now she requests them for every family gathering.
Last Thanksgiving, I set these out alongside the traditional casserole dish. Guess which platter was empty first. Theres something about having your own personal little cup of creamy, garlicky beans that feels special, like each person got VIP treatment.
Ingredients
- 1 lb fresh green beans, trimmed and cut into 1-inch pieces: Fresh beans hold their texture better than canned, giving you that satisfying snap in every bite
- 1 small yellow onion, finely chopped: The onion melts into the sauce, creating a subtle sweetness that balances the salty Parmesan
- 2 cloves garlic, minced: Dont be afraid to let the garlic get slightly fragrant in the pan—that deep flavor carries through the whole dish
- 1 cup grated Parmesan cheese: Use freshly grated if you can, it melts creamier and has better flavor than pre-shredded
- 1/2 cup whole milk: Whole milk creates a richer sauce without being too heavy
- 1/2 cup sour cream: This adds a tangy creaminess that cuts through the richness
- 2 tbsp unsalted butter: Unsalted lets you control the seasoning, though salted works fine if you adjust the salt elsewhere
- 1/2 cup panko breadcrumbs: Panko stays crunchier longer than regular breadcrumbs, giving you that perfect texture contrast
- 1 tbsp olive oil: Combined with butter, it prevents burning while adding a fruity undertone
- 1 tbsp all-purpose flour: Just enough to thicken the sauce without making it gloppy
- 1/2 tsp salt: Adjust based on how salty your Parmesan is
- 1/4 tsp black pepper: Freshly ground makes a noticeable difference
Instructions
- Preheat and prep:
- Preheat the oven to 375°F and generously grease a 12-cup muffin tin with butter or cooking spray
- Blanch the beans:
- Boil salted water and cook green beans for 3 minutes, then immediately plunge into ice water to stop cooking and lock in that bright green color
- Build the flavor base:
- Melt butter with olive oil in a skillet over medium heat, cook onions for 3-4 minutes until translucent, then add garlic for just 1 minute until fragrant
- Make the sauce:
- Sprinkle in flour while stirring constantly, then gradually whisk in milk and cook until slightly thickened, about 2 minutes
- Create the creamy mixture:
- Remove from heat and stir in sour cream, 3/4 cup Parmesan, salt, and pepper until smooth, then fold in the green beans
- Fill the cups:
- Divide the mixture among muffin cups, pressing down gently to pack each one tightly
- Add the topping:
- Mix panko with remaining 1/4 cup Parmesan and sprinkle generously over each cup
- Bake to golden perfection:
- Bake for 18-20 minutes until the tops are golden brown and the sauce is bubbling up around the edges
- Let them rest:
- Cool for 5 minutes before carefully running a knife around the edges and removing each cup
 Save
Save My dad, whos been a traditional casserole skeptic for forty years, took one bite and asked why we ever bothered with the big dish. Something about having your own portion with extra crispy edges makes everything taste better.
Make Ahead Magic
You can assemble these up to 24 hours ahead and refrigerate them, covered tightly. Add the breadcrumb topping right before baking so it stays crisp.
Serving Ideas
These are perfect alongside roasted chicken, turkey, or even as part of a vegetarian main course with a big salad. The individual portions make them ideal for buffets where people can grab their own.
Customization Options
Add crispy bacon bits or chopped fresh herbs like thyme or parsley to the breadcrumb topping for extra flavor. Try swapping half the green beans for roasted Brussels sprouts quarters during the holidays.
- A pinch of smoked paprika in the topping adds a subtle smoky depth
- Greek yogurt works as a lighter substitute for sour cream
- Extra sharp cheddar mixed with the Parmesan creates a more assertive cheese flavor
 Save
Save Watch how quickly these disappear at your next gathering. Theres something deeply satisfying about food that looks fancy but comes from such humble ingredients.
Questions & Answers
- → Can I make these green bean cups ahead of time?
-
Yes, prepare the green bean mixture and fill the muffin cups up to 24 hours in advance. Store covered in the refrigerator, add the breadcrumb topping just before baking, and increase baking time by 3-5 minutes if baking cold.
- → What other vegetables work well in this format?
-
Broccoli florets, Brussels sprouts halves, or cauliflower pieces all work beautifully. Adjust blanching time accordingly—broccoli needs 2 minutes, Brussels sprouts need 4 minutes, and cauliflower needs 3 minutes.
- → How do I prevent the cups from sticking to the muffin tin?
-
Generously grease each muffin cup with butter or cooking spray, including the sides. Let the cups cool for the full 5 minutes before removing—use a thin silicone spatula to gently loosen the edges first.
- → Can I make these gluten-free?
-
Substitute the all-purpose flour with a 1:1 gluten-free flour blend and use certified gluten-free panko breadcrumbs. The texture and flavor remain excellent with these simple swaps.
- → What's the best way to reheat leftovers?
-
Place cups on a baking sheet and reheat at 350°F for 8-10 minutes until heated through. Avoid microwaving, as the crispy topping will become soggy. Alternatively, serve at room temperature—they're delicious either way.
- → Can I freeze these green bean cups?
-
Yes, freeze baked cups in a single layer on a baking sheet until firm, then transfer to a freezer-safe container for up to 3 months. Thaw overnight in the refrigerator and reheat at 375°F for 12-15 minutes to restore crispness.
