 Save
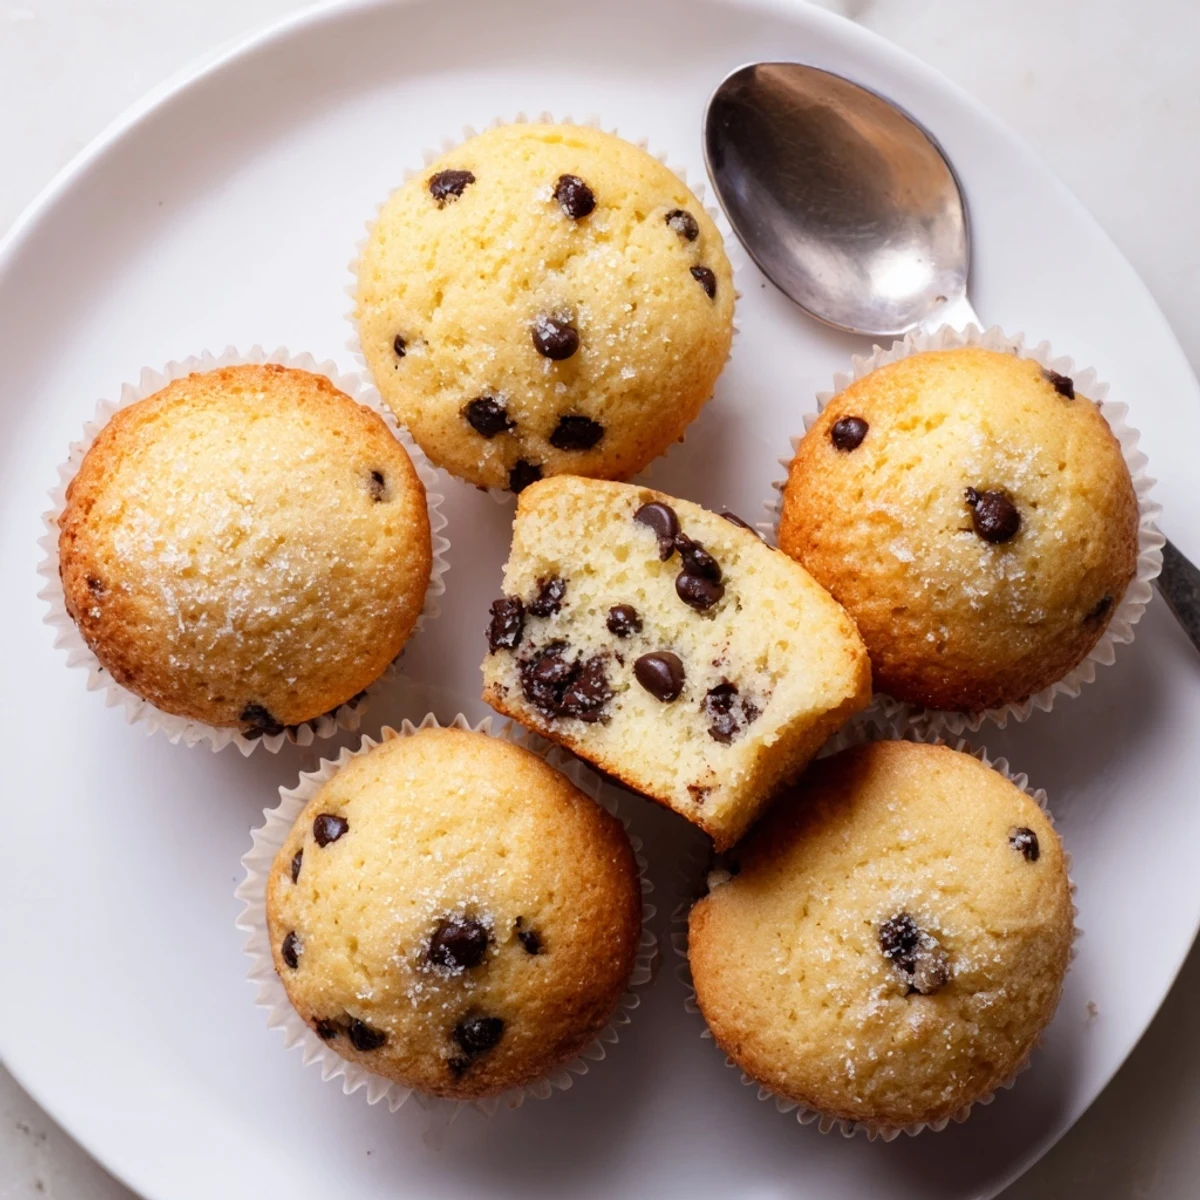
Save Little Bites mini muffins yield 24 soft, bite-sized treats made with flour, sugar, melted butter, milk, an egg and vanilla. Whisk dry and wet components separately, fold together until just combined, add chocolate chips or blueberries if desired. Spoon into mini tins and bake at 350°F for 10–12 minutes. Cool briefly in the tin, then transfer to a rack. Store airtight up to 3 days or freeze.
The batter hits the mini muffin tin and suddenly my whole kitchen smells like Sunday morning at my grandmothers house, except she never made anything this small on purpose. These little bites came about because my daughter kept asking for the store bought ones and I was determined to figure out a homemade version that would actually pass her test. Turns out the secret is keeping them ridiculously tender and never, ever overfilling those tiny cups. Now they disappear from the cooling rack faster than I can bake them.
One rainy Tuesday my neighbor knocked on the door holding a plate of something she wanted me to try, and it turned into a two hour kitchen session where we each made a batch with different mix ins and sat on the floor taste testing every single one.
Ingredients
- All purpose flour (1 1/4 cups, 155 g): Spoon and level it rather than scooping straight from the bag to avoid dense little hockey pucks.
- Granulated sugar (1/2 cup, 100 g): Not too sweet, just enough to make them feel like a treat without tipping into cupcake territory.
- Baking powder (1 tsp): This is your primary lift so make sure it is fresh and has not been sitting open for a year.
- Baking soda (1/4 tsp): Works alongside the baking powder to give you that soft, rounded dome on top.
- Salt (1/4 tsp): A small amount that wakes up every other flavor in the batter.
- Unsalted butter, melted and cooled (1/3 cup, 75 g): Let it cool before mixing so you do not accidentally scramble the egg.
- Whole milk (1/2 cup, 120 ml): Whole milk gives the best texture but any milk you have will work in a pinch.
- Large egg (1): Room temperature blends more smoothly into the wet mixture.
- Pure vanilla extract (1 tsp): The good stuff matters here because there are so few ingredients competing for attention.
- Mini chocolate chips or blueberries (1/3 cup, 60 g, optional): Mini chips distribute better than regular ones in these tiny muffins.
Instructions
- Preheat and prepare:
- Set your oven to 350 degrees F and line a mini muffin tin with paper liners or give each cup a generous spray of nonstick coating.
- Combine the dry team:
- Whisk the flour, sugar, baking powder, baking soda, and salt together in a medium bowl until everything is evenly distributed.
- Blend the wet ingredients:
- In a separate bowl, whisk the cooled melted butter, milk, egg, and vanilla until the mixture looks smooth and cohesive.
- Marry the two:
- Pour the wet into the dry and stir gently with a spatula just until you stop seeing dry flour streaks, resisting every urge to keep stirring.
- Fold in the fun:
- If you are using chocolate chips or blueberries, fold them in now with just a few gentle turns so they stay suspended rather than sinking.
- Fill the tin:
- Spoon the batter into each cup filling it about three quarters full, which gives them room to rise without spilling over the edges.
- Bake until golden:
- Slide them into the oven for 10 to 12 minutes, checking with a toothpick at the 10 minute mark because these little ones go from perfect to overdone fast.
- Cool properly:
- Let them rest in the tin for 5 minutes so they firm up enough to handle, then move them to a wire rack to finish cooling completely.
 Save
Save Packing these into school lunches has become a small ritual that makes me feel like I am sending a little piece of home along with her.
Mixing It Up With Variations
Add lemon zest and a handful of poppy seeds for a bright twist, or try cinnamon and a diced apple when fall rolls around. Chopped dried cranberries with a pinch of orange zest also deserve a spot in your rotation.
Storing and Freezing
They stay soft in an airtight container at room temperature for up to three days, which is honestly generous since they rarely last that long in my house. For longer storage, freeze them flat on a baking sheet first, then transfer to a freezer bag so they do not stick together.
Tools That Make This Easier
A cookie scoop sized for mini muffins saves you from messy batter hands and portions each cup perfectly.
- Paper liners are optional but they make cleanup nearly effortless.
- A wire rack prevents the bottoms from getting soggy while cooling.
- Always check chocolate chip bags for allergen warnings if you are sharing these at school.
 Save
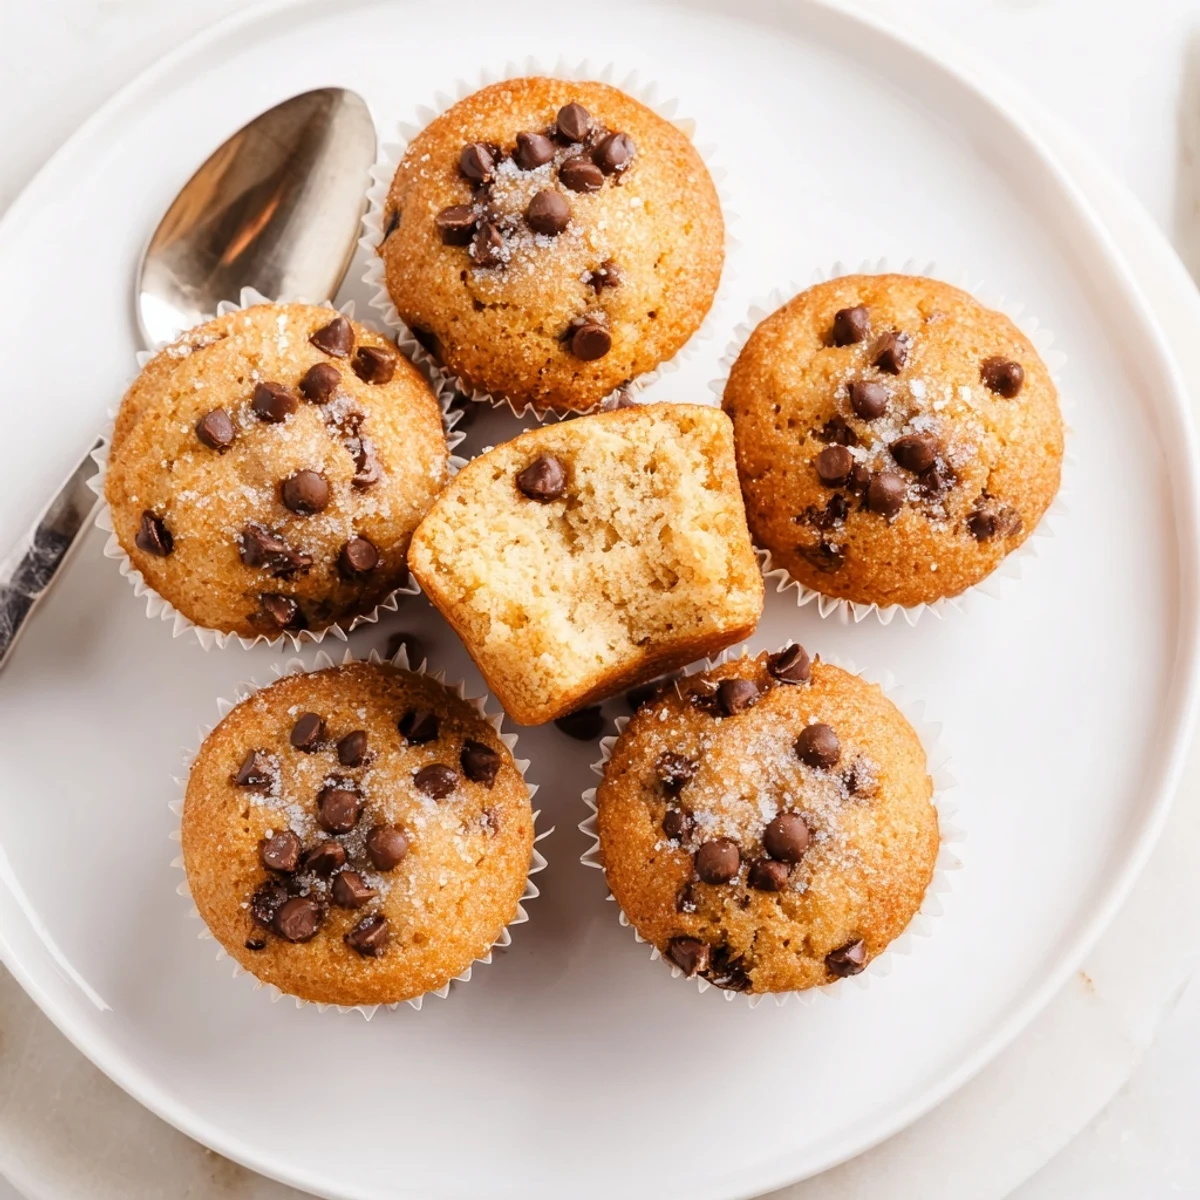
Save These tiny muffins prove that the best things in a kitchen do not have to be complicated. Share them generously and watch how fast an empty plate becomes a new memory.
Questions & Answers
- → How do I prevent dry or tough muffins?
-
Avoid overmixing once the wet and dry components meet; stir until just combined to limit gluten development. Measure flour accurately (spoon and level) and watch bake time closely—mini muffins take 10–12 minutes at 350°F.
- → Can I swap milk or butter for alternatives?
-
Yes. Use any neutral plant milk for a dairy-free option and a plant-based spread or neutral oil (like vegetable or canola) in place of butter. Expect slight texture changes—oil yields a more tender crumb.
- → Why fold in mix-ins instead of stirring vigorously?
-
Gently folding prevents breakup of berries and keeps batter light. Vigorous stirring can overwork the batter and cause dense muffins; fold just until chocolate chips or blueberries are evenly distributed.
- → How should I fill the mini muffin tin for best results?
-
Fill each cup about 3/4 full for domed tops and even baking. Use a small scoop or spoon for uniform portions to ensure consistent bake times across all cups.
- → What’s the best way to store and freeze these muffins?
-
Cool completely, then store airtight at room temperature for up to 3 days. For longer storage, freeze cooled muffins in a single layer on a tray, then transfer to a sealed bag for up to 2 months; thaw at room temperature.
- → How can I tell when mini muffins are done?
-
They’re ready when tops spring back lightly and a toothpick inserted into the center comes out clean or with a few moist crumbs. Begin checking at 9 minutes to avoid overbaking.
