 Save
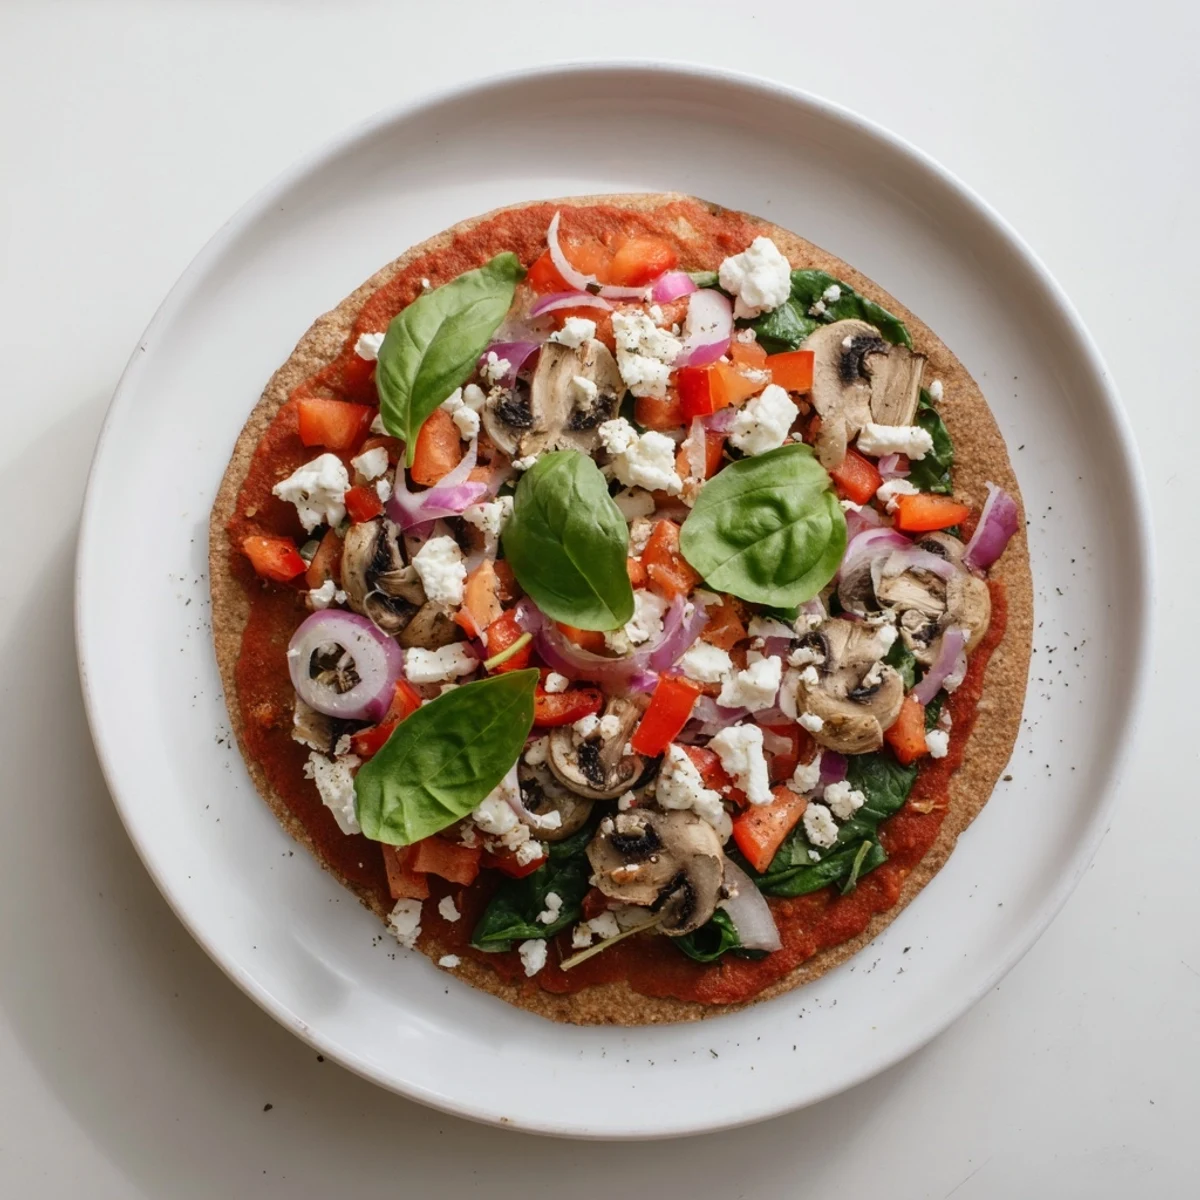
Save This Mediterranean-inspired creation transforms humble whole wheat pita into a crispy, satisfying base. The tomato-oregano sauce adds classic Italian flavors while a colorful array of bell peppers, tomatoes, onions, mushrooms, and fresh spinach provides essential vitamins and fiber. A modest amount of part-skim mozzarella keeps the heart-healthy profile intact without sacrificing that gooey, melted cheese experience everyone loves. Ready from start to finish in just over 20 minutes, this makes an excellent weeknight dinner when you want something nutritious and delicious without spending hours in the kitchen.
The oven clicked on and the kitchen filled with that dry waiting heat while I stood barefoot on a Tuesday night with nothing but two stale pita rounds and a stubborn refusal to order takeout again. What happened next was less cooking and more desperation assembling itself into something genuinely delicious. That first crispy cheesy wedge changed my entire relationship with weeknight dinners. Low cholesterol never tasted so reckless.
My neighbor Dave wandered over one evening asking if I had any leftover pizza and I handed him a wedge of this pita creation through the screen door. He stood there in his driveway eating the whole thing in four bites and asked if I was hiding a pizza oven in my apartment. The look on his face when I pointed at the toaster oven was worth every minute of prep.
Ingredients
- Whole wheat pita breads (2): These are your foundation so pick ones that feel sturdy and have a good pocket structure for holding toppings without collapsing.
- No salt added tomato sauce (4 tbsp): Keeping sodium low matters here and you will season it yourself so you control the entire flavor profile.
- Dried oregano (1 tsp): Rub it between your palms before adding to wake up the oils and release a surprisingly fragrant punch.
- Garlic powder (1/2 tsp): This melts into the sauce better than raw garlic and distributes flavor evenly without any harsh bites.
- Diced bell pepper (1/2 cup any color): Red and yellow bring sweetness while green adds a slight bitterness that balances the cheese beautifully.
- Seeded diced tomatoes (1/2 cup): Seeding prevents the pita from turning soggy and keeps each bite structured and intentional.
- Thinly sliced red onion (1/4 cup): Paper thin slices caramelizing in the oven become sweet little ribbons that surprise you.
- Sliced mushrooms (1/4 cup): Cremini or button both work wonderfully just slice them thin so they cook through in that short bake time.
- Baby spinach leaves (1/4 cup): These wilt slightly but hold their shape adding a fresh earthy layer without overwhelming the pizza.
- Shredded part skim mozzarella (1/3 cup): Part skim melts well and keeps cholesterol in check while delivering that essential stretchy cheese pull.
- Crumbled feta cheese (2 tbsp optional): A small amount goes a long way adding tangy saltiness that makes everything taste more complex.
- Fresh basil leaves: Torn on after baking so they release their aroma directly into your face with every bite.
- Freshly ground black pepper: Always grind it fresh for the most vibrant warmth and bite.
Instructions
- Fire up the oven:
- Preheat to 220 degrees Celsius or 425 degrees Fahrenheit and let it get fully hot because a properly heated oven is what transforms a flat pita into something with crisp edges and a slightly charred personality. Line your baking tray with parchment paper.
- Lay the foundation:
- Place both pita breads flat on the lined tray and give them a quick look for any large cracks or holes where sauce might seep through and create a mess.
- Build your sauce:
- Mix the tomato sauce with oregano and garlic powder in a small bowl until it smells like a proper Italian kitchen then spread it evenly across each pita leaving a tiny border around the edges for that rustic look.
- Scatter the vegetables:
- Distribute the bell pepper, tomatoes, red onion, mushrooms and spinach over the sauce in whatever pattern feels right because part of the joy is the casualness of it all. Try to spread colors around so each wedge gets a little of everything.
- Crown with cheese:
- Sprinkle the mozzarella first as your main melty layer then dot the feta on top if using it so it gets golden and slightly crispy in spots during baking.
- Bake until beautiful:
- Slide the tray into the oven and bake for 10 to 12 minutes watching for the cheese to bubble and the pita edges to turn golden brown and crisp like crackers.
- Finish and serve:
- Pull them out and immediately scatter torn fresh basil leaves over the hot surface so they wilt slightly and release their fragrance then add a generous crack of black pepper. Slice each pita into wedges and serve while the cheese is still gloriously stretchy.
 Save
Save Last winter my niece visited and insisted on making her own pita pizza with an arrangement of toppings shaped like a smiley face. We ate them cross legged on the living room floor watching old movies and she declared it the best pizza she ever had. Sometimes the simplest meals become the ones that stick.
Making It Your Own
This recipe is really a framework more than a rulebook so treat it as a starting point for whatever vegetables are sitting in your crisper drawer begging to be used up. Zucchini ribbons, caramelized onion, artichoke hearts, or roasted garlic all belong here. The only guideline worth following is keeping toppings relatively thin so everything cooks through evenly in that short twelve minute window.
Feeding Kids Without a Fight
Set out small bowls of toppings and let children build their own because ownership over food dramatically increases the chance they will actually eat it. Cut the vegetables into fun shapes if you have the patience or simply let them make patterns and faces on their pita canvas. The baking time is short enough that even impatient little ones will stick around to see the finished result come out of the oven.
Storage and Leftover Strategy
Leftover wedges keep well in an airtight container in the refrigerator for up to two days and reheat surprisingly well in a skillet over medium heat for about three minutes per side. The oven at 180 degrees Celsius for five minutes also restores that essential crispness that the microwave will absolutely destroy. Avoid freezing assembled pizzas because the vegetables release water upon thawing and ruin the texture.
- Always cool completely before storing to prevent condensation from making the pitas soggy.
- A quick sprinkle of extra cheese before reheating brings them back to life beautifully.
- Remember that the fresher the basil the better so add new leaves after reheating rather than saving the old ones.
 Save
Save Keep a bag of whole wheat pitas in your freezer and you are never more than twenty minutes away from a meal that feels intentional and satisfying. That is really all any of us need on a random weeknight.
Questions & Answers
- → Can I make this dairy-free?
-
Absolutely. Simply replace the mozzarella and feta with your favorite plant-based cheese alternative. The vegetables and seasoning provide plenty of flavor on their own.
- → How do I store leftovers?
-
Wrap cooled pieces individually in foil or store in an airtight container. Reheat in a 180°C oven for 5-6 minutes to restore crispiness. Microwave heating will make the crust soft.
- → Can I freeze these for later?
-
Yes. Assemble complete rounds, wrap tightly in plastic, then freeze for up to 3 months. Bake from frozen at 200°C for 15-18 minutes until heated through.
- → What other vegetables work well?
-
Zucchini, eggplant, artichoke hearts, roasted red peppers, or olives make excellent additions. Just remember to pat moisture-rich vegetables dry to prevent soggy results.
- → Is this suitable for meal prep?
-
Perfect for meal prep. Make a batch on Sunday, portion into servings, and enjoy throughout the week. Reheat as needed for a quick, satisfying lunch or dinner.
- → How can I add more protein?
-
Consider adding shredded chicken breast, chickpeas, or even a sprinkle of hemp seeds. These options maintain the heart-healthy profile while boosting protein content.
