 Save
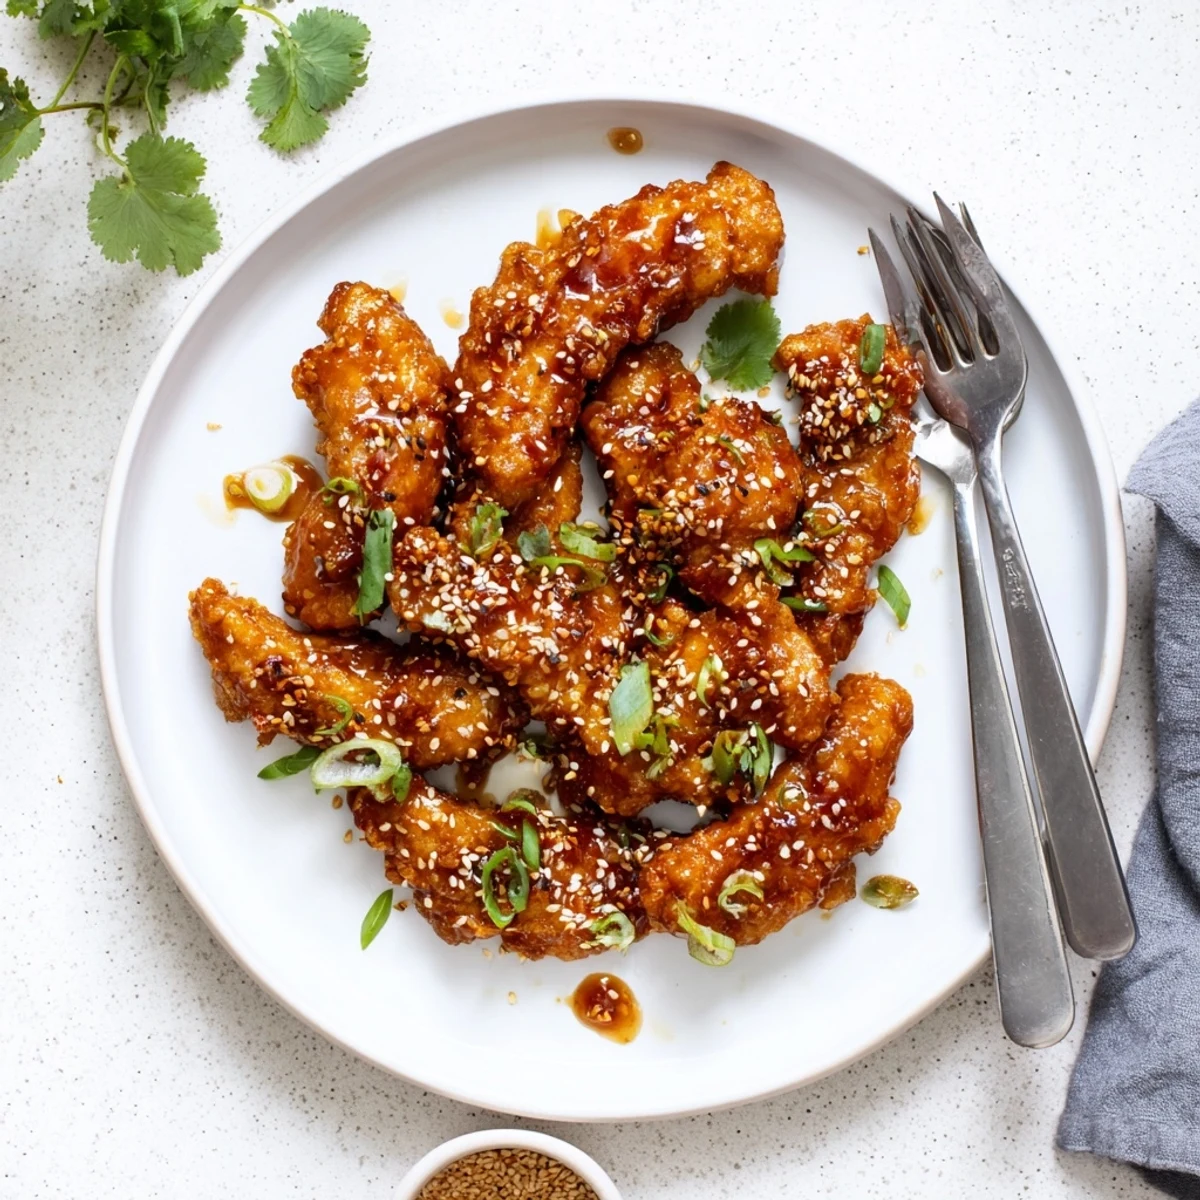
Save Golden, crunchy chicken strips are baked until perfectly crisp, then tossed in a glossy sweet and spicy Thai-style sauce. The coating delivers satisfying crunch while the glaze balances honey, chili heat, and aromatic ginger-garlic flavors. Great for gatherings, game days, or as an impressive starter.
The first time I made these sticky chicken fingers, my kitchen smelled like a street food stall in Bangkok. I had friends coming over for what was supposed to be a casual movie night, but halfway through coating the chicken in panko, I realized I'd accidentally doubled the sauce recipe. Sometimes my best mistakes happen when I'm not paying attention to the measuring spoons.
Last summer, my neighbor came over complaining that her teenage son would never eat anything she cooked. I handed her a plate of these chicken fingers fresh from the oven, still steaming slightly. She texted me an hour later saying he'd asked when I was moving in.
Ingredients
- Chicken tenders: Cut them into uniform strips so they cook evenly, about the size of your index finger
- Salt and black pepper: A simple seasoning base that lets all those Thai flavors shine through
- All-purpose flour: This creates the first layer that helps the egg wash stick properly
- Eggs: Room temperature eggs coat more evenly than cold ones straight from the fridge
- Panko breadcrumbs: Japanese-style breadcrumbs stay lighter and crispier than regular breadcrumbs
- Garlic powder and smoked paprika: These get mixed into the panko for a subtle smoky depth
- Sweet chili sauce: The backbone of the glaze, providing that signature Thai sweetness
- Soy sauce: Adds the necessary saltiness and umami to balance the sugar
- Honey: Helps the sauce coat the chicken and creates that beautiful sticky finish
- Rice vinegar: Cuts through all the sweetness with just enough brightness
- Sesame oil: A little goes a long way, adding that nutty aroma we all love
- Sriracha: Optional if you're heat-sensitive, but I think it makes the sauce complete
- Fresh garlic and ginger: These aromatics make the sauce taste homemade rather than jarred
- Toasted sesame seeds: They add crunch and make everything look restaurant-worthy
- Spring onions: Their mild onion flavor and pop of color are essential
- Fresh cilantro: Some people love it, some people hate it, but it brings everything together
Instructions
- Get your oven ready:
- Preheat to 220°C (425°F) and line a baking tray with parchment paper for easy cleanup later
- Season the chicken:
- Sprinkle salt and pepper over the strips, turning them to coat evenly on all sides
- Set up your coating station:
- Arrange three shallow bowls with flour first, beaten eggs second, and panko mixed with garlic powder and paprika third
- Coat each strip:
- Dredge in flour, dip in egg, then press into the panko mixture until fully coated
- Arrange on the tray:
- Space them out slightly so they crisp up instead of steaming against each other
- Add some oil:
- Lightly spray or brush the tops with oil to help them golden up beautifully
- Bake until golden:
- Cook for 20 to 25 minutes, flipping halfway through, until they're golden brown and cooked through
- Make the sauce:
- While the chicken bakes, simmer all sauce ingredients in a small pan for 2 to 3 minutes until slightly thickened
- The toss:
- Transfer cooked chicken to a large bowl and pour the warm sauce over, tossing gently to coat every piece
- Garnish and serve:
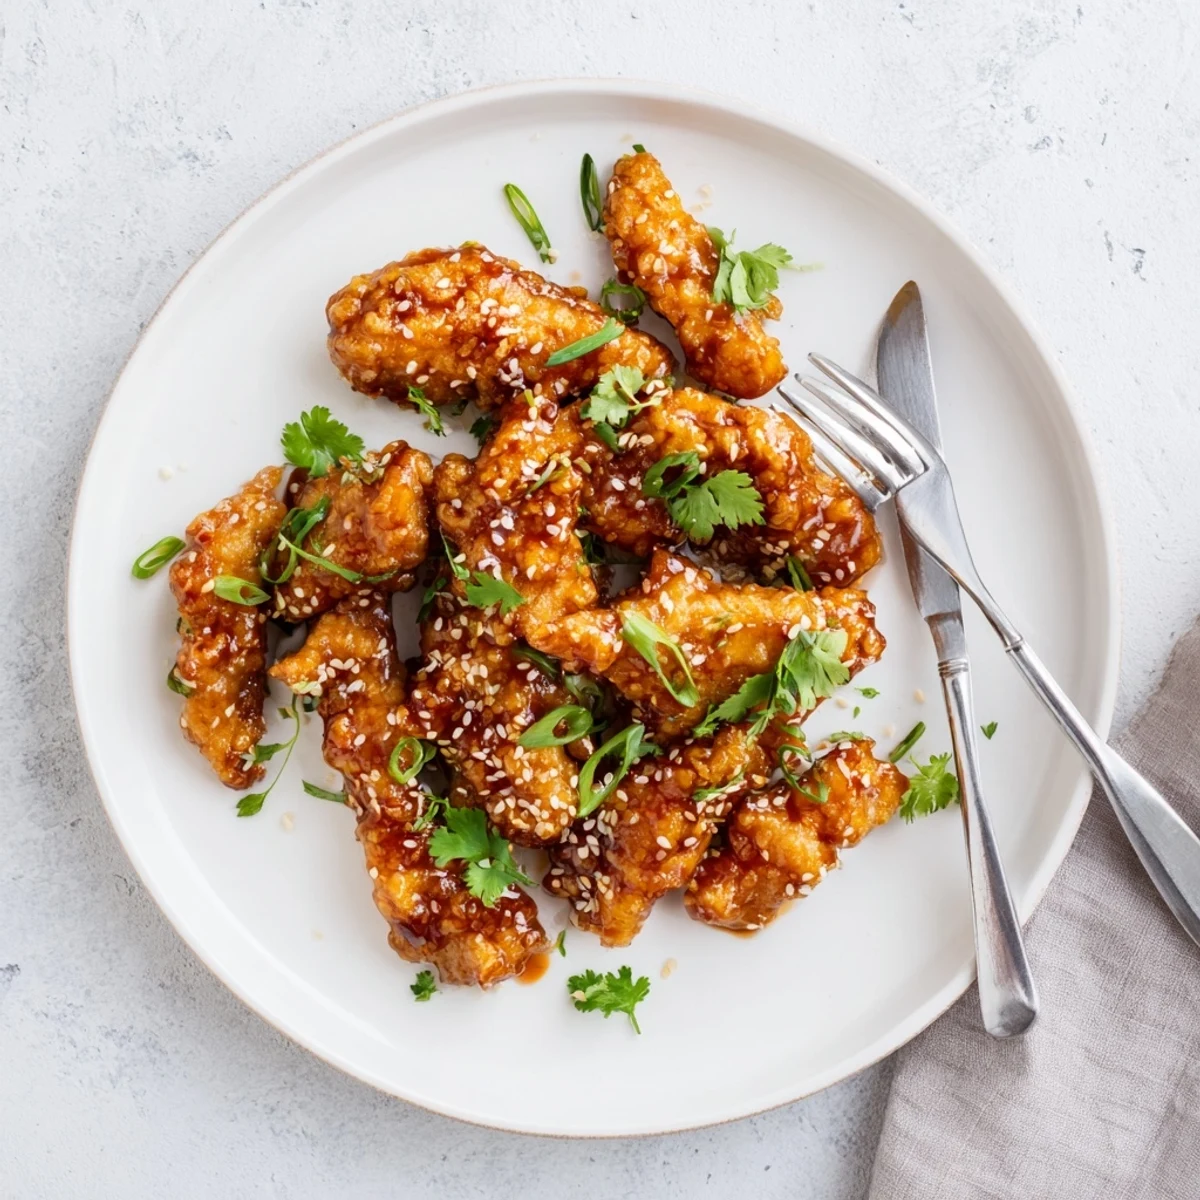
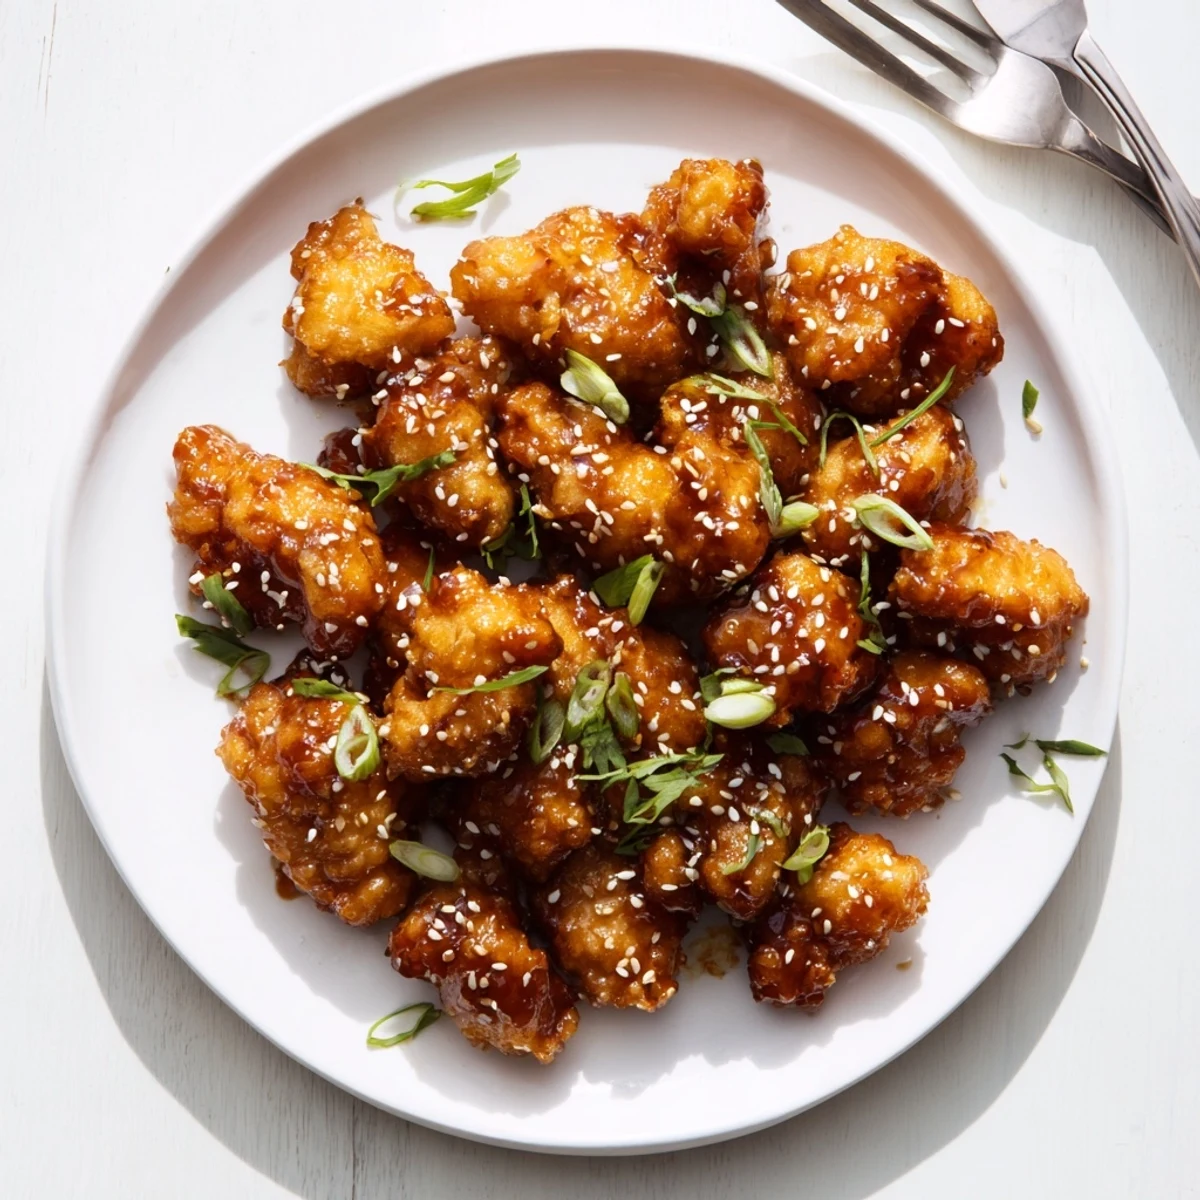
- Top with sesame seeds, sliced spring onions, and fresh cilantro while still hot
 Save
Save My sister insists these are the only thing her kids will eat without complaining at the dinner table. She started making double batches on Sunday and freezing half for those busy weeknight emergencies when cooking feels impossible.
Getting That Restaurant-Style Crisp
The secret to staying crispy is in the panko. Those Japanese breadcrumbs are essentially larger, lighter flakes that create air pockets when they bake, which means they don't get soggy as quickly as regular crumbs would. I've tried making these with traditional breadcrumbs, and they just don't have the same satisfying crunch that makes people reach for seconds.
Balancing the Sauce
Sweet chili sauces vary wildly between brands, some are almost like jelly while others are thinner and more vinegar-forward. Taste your sauce before tossing it with the chicken, and if it feels too sweet, add another splash of rice vinegar. The goal is that perfect point where your tongue can't decide if it's tasting sweet or savory first.
Make-Ahead Magic
You can bread the chicken strips up to six hours ahead and keep them refrigerated on a parchment-lined tray. When you're ready to bake, they go straight from fridge to oven. I've also frozen them raw on the tray, then transferred to a freezer bag for busy nights.
- Freeze them in a single layer first so they don't stick together
- Add 5 to 7 minutes to the baking time if cooking from frozen
- Make extra sauce and keep it in the fridge for up to two weeks
 Save
Save These have become my go-to for everything from game day to dinner parties, because somehow they feel special enough for guests but casual enough for Tuesday night. That's the kind of recipe I'm always hunting for.
Questions & Answers
- → How do I make the coating extra crispy?
-
Use panko breadcrumbs for lighter crunch, spray with oil before baking, and broil for 2 minutes at the end for extra crispiness.
- → Can I make this ahead of time?
-
Bake the chicken strips in advance and reheat at 200°C for 5-8 minutes. Toss with warm sauce just before serving to maintain texture.
- → What can I use instead of chicken?
-
Firm tofu cut into strips works well for a vegetarian option. Press tofu first to remove excess moisture for better coating adherence.
- → Is the sauce very spicy?
-
The sauce has mild to medium heat from sweet chili and optional sriracha. Adjust spice level by reducing sriracha or adding more honey to balance.
- → What sides pair well with these?
-
Serve with jasmine rice, fresh vegetable sticks, or a crisp cucumber salad. A chilled Riesling or light lager complements the sweet-spicy flavors.
- → Can I fry instead of bake?
-
Yes, deep fry at 180°C for 3-4 minutes until golden. Drain on paper towels before tossing with sauce for best results.
