 Save
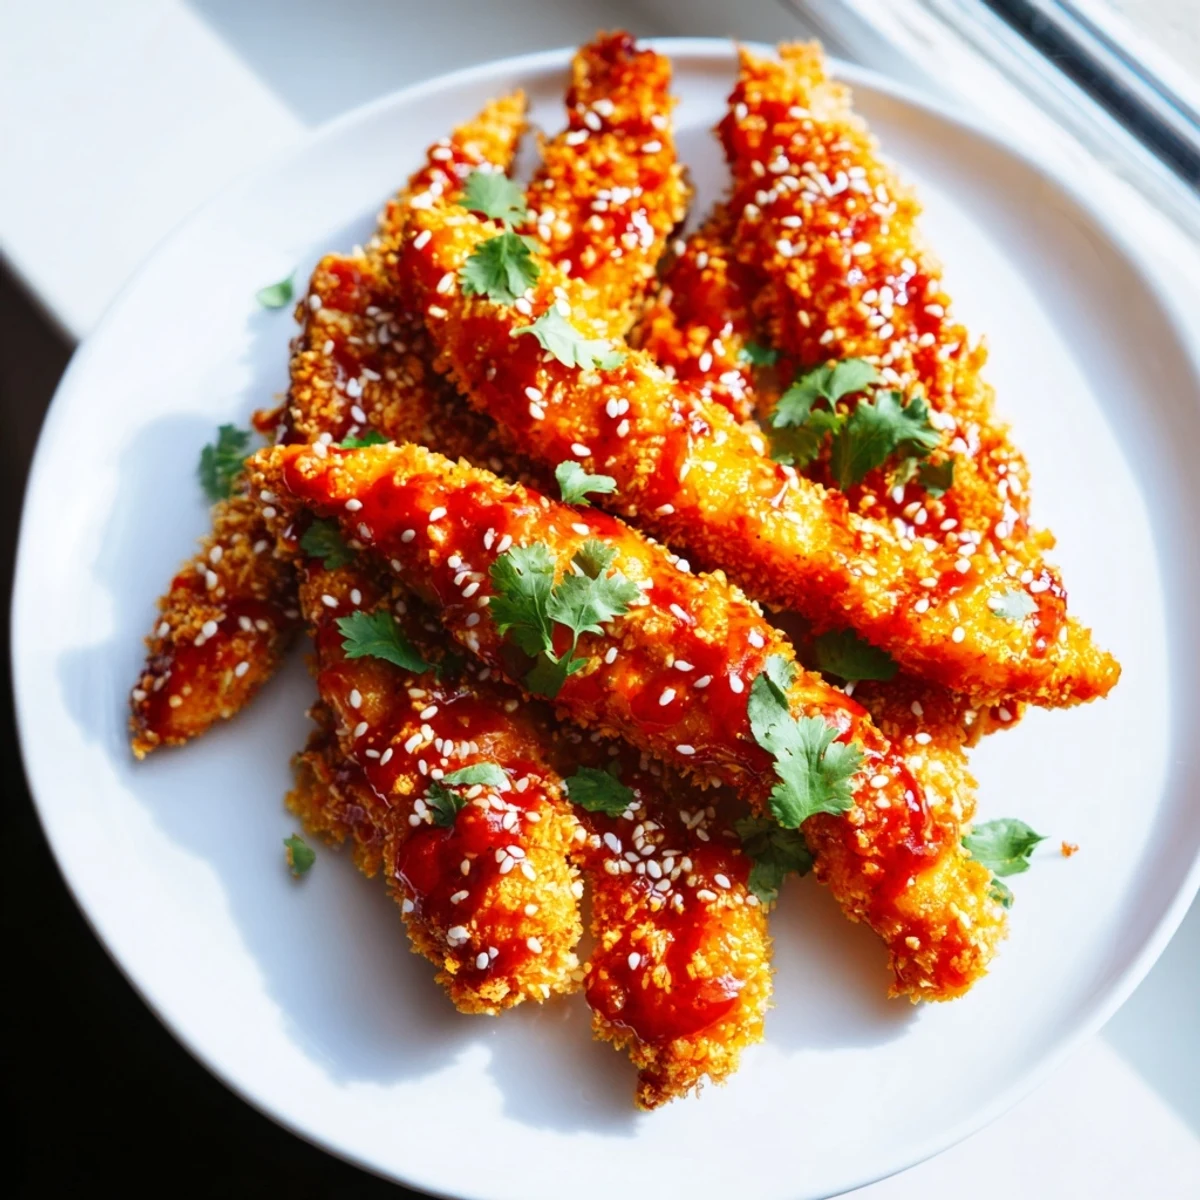
Save These Thai sticky chicken fingers combine juicy marinated chicken tenders with a crunchy panko coating, finished with a luscious sweet chili and soy glaze.
The chicken is first soaked in a fragrant blend of soy sauce, lime juice, fish sauce, garlic, and ginger, then coated in flour, egg, and panko breadcrumbs before being baked or pan-fried to golden perfection.
A quick sauce of sweet chili, honey, soy, rice vinegar, and sriracha brings everything together with a sticky, glossy finish that clings to every bite.
The sizzle of chicken hitting a hot pan on a rainy Tuesday evening is, frankly, unbeatable therapy. I had been scrolling through a Thai street food documentary and could not stop thinking about those glossy, caramelized skewers vendors flicked across smoking grills. My fridge had chicken tenders, my pantry had fish sauce I kept ignoring, and forty five minutes later I was eating standing up, sauce on my chin, completely content.
I made a double batch for a friend's birthday potluck, assuming leftovers would be impossible. They vanished in under ten minutes, and someone actually asked if I had ordered them from a restaurant.
Ingredients
- 600 g boneless skinless chicken tenders or breast cut into strips: Tenders save you slicing time, but breast works just fine if that is what you have.
- 2 tbsp soy sauce (marinade): This is your base salt and umami layer, so do not skip it.
- 1 tbsp lime juice: Fresh is noticeably brighter than bottled here.
- 1 tbsp fish sauce: It smells intense on its own but melts into the marinade and adds that authentic Thai depth.
- 1 clove garlic, finely minced: One clove is gentle, use two if you want a bolder punch.
- 1 tsp freshly grated ginger: The fresher the ginger, the more warmth you get without heat.
- 100 g all-purpose flour: Just enough to create a dry base for the egg to grip.
- 2 large eggs: Beaten loose, they act as the glue between flour and panko.
- 120 g panko breadcrumbs: Japanese panko is lighter and crispier than regular breadcrumbs, and it matters here.
- 1/2 tsp salt and 1/2 tsp black pepper: Mixed into the panko so the coating itself is seasoned.
- 60 ml sweet chili sauce: This is the backbone of the sticky glaze, sweet with a gentle tingle.
- 2 tbsp honey: Helps the sauce thicken and adds a floral sweetness.
- 2 tbsp soy sauce (sauce): Deepens the glaze with savory weight.
- 1 tbsp rice vinegar: A mild acid that balances the honey and chili.
- 1 tbsp sriracha, optional: Add it if you want real heat, leave it out for a kid friendly version.
- 1/2 tsp sesame oil: Just a drop gives the sauce a toasty, nutty aroma that ties everything together.
- 1 tbsp sesame seeds, 2 tbsp chopped cilantro, lime wedges: Garnishes that genuinely add texture and freshness, not just decoration.
Instructions
- Marinate the chicken:
- Whisk the soy sauce, lime juice, fish sauce, minced garlic, and grated ginger in a bowl until combined. Drop in the chicken strips, toss them around so every piece is coated, cover the bowl, and let it sit for at least fifteen minutes while you set up everything else.
- Set up the coating station:
- Arrange three shallow bowls in a row: flour in the first, beaten eggs in the second, and panko mixed with salt and pepper in the third. This little assembly line keeps your hands cleaner and your rhythm steady.
- Preheat and prepare:
- Heat your oven to 200 degrees Celsius (400 Fahrenheit) and line a baking sheet with parchment paper, or heat about a centimeter of oil in a wide pan over medium heat for shallow frying.
- Coat each piece:
- Shake off excess marinade from a chicken strip, dredge it in flour, dunk it in egg, then press it firmly into the panko so the crumbs really adhere. Lay each coated piece on the baking sheet or a plate as you go.
- Cook until golden:
- Bake for eighteen to twenty two minutes, flipping halfway through, or fry for about three to four minutes per side until the crust is deeply golden and the chicken is cooked through.
- Make the Thai sticky sauce:
- While the chicken cooks, combine the sweet chili sauce, honey, soy sauce, rice vinegar, sriracha if using, and sesame oil in a small saucepan over medium heat. Stir for three to five minutes until it bubbles gently and thickens just enough to coat the back of a spoon.
- Toss and serve:
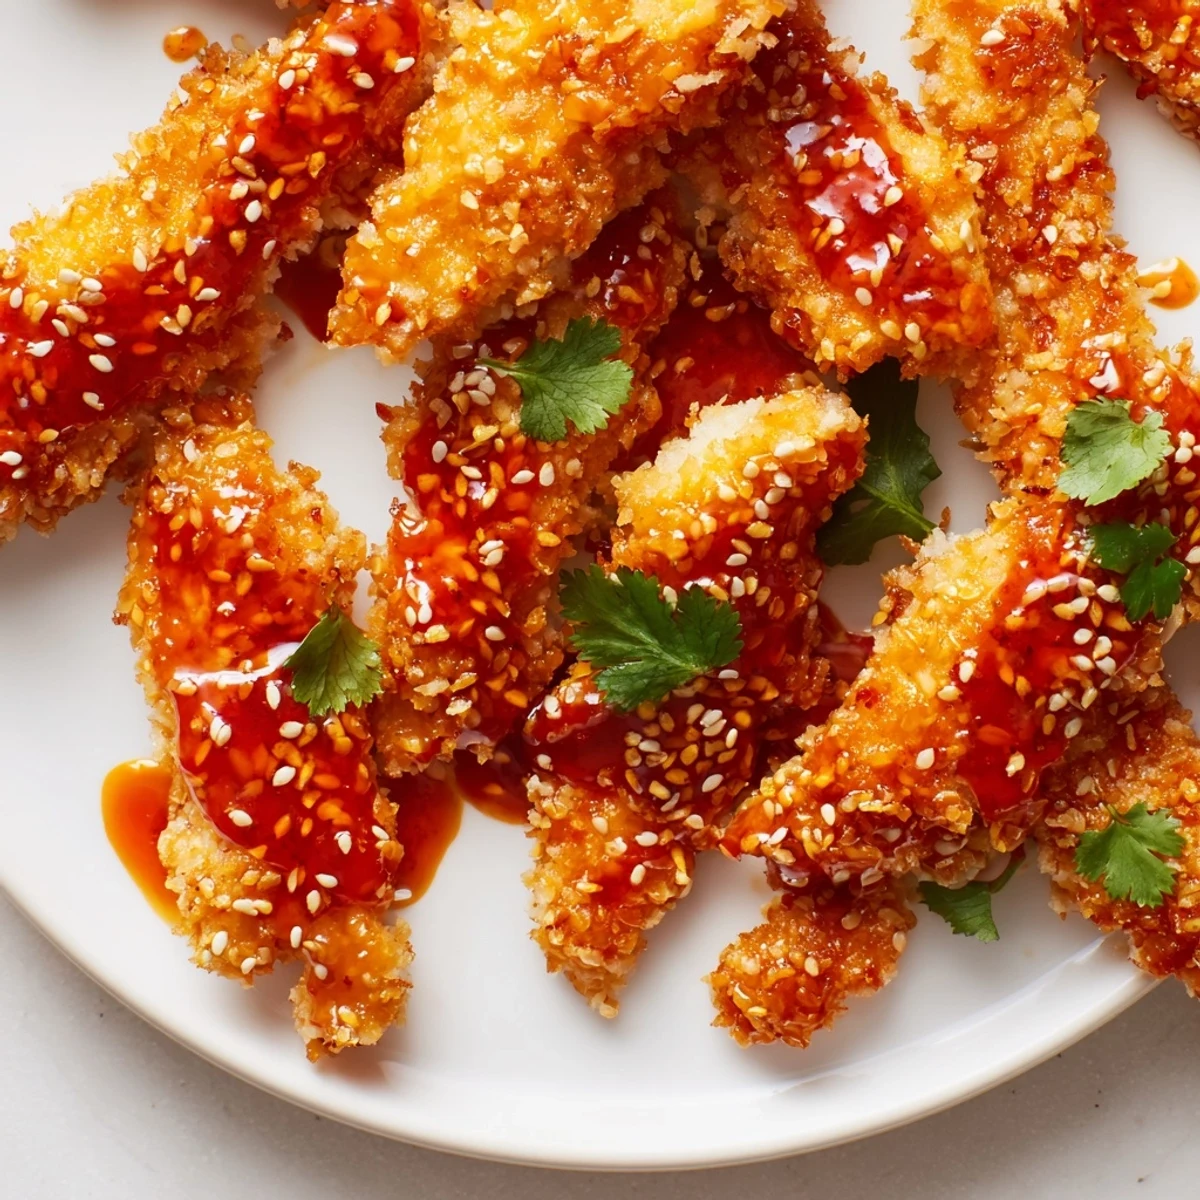
- Transfer the hot chicken fingers to a large bowl, pour the warm sauce over them, and toss gently with tongs until every piece is glossy. Pile them onto a platter, scatter sesame seeds and cilantro on top, and squeeze a lime wedge over everything before digging in.
 Save
Save There is something quietly magical about watching a platter of saucy, golden chicken disappear while people argue over the last piece.
Serving Ideas That Actually Work
These chicken fingers are substantial enough to anchor a full meal but finger friendly enough for game day. Pile them over steamed jasmine rice with a quick cucumber salad on the side and you have dinner sorted.
Making It Your Own
The sauce is endlessly flexible once you understand the balance. Add a spoonful of peanut butter for richness, swap honey for maple syrup, or toss in chopped green onions at the end for a sharper bite.
Storage and Reheating
Leftovers keep well in the fridge for up to three days, though the crust softens overnight, which is honestly still delicious in a different way. For the best texture revival, spread them on a baking sheet and reheat at 190 degrees Celsius for about eight minutes.
- Store the sauce separately if you think you will have leftovers, so the coating stays as crisp as possible.
- Freeze uncoated, unmarinated chicken strips with the sauce in a separate container for up to two months.
- Always check the internal temperature reaches 74 degrees Celsius (165 Fahrenheit) before serving.
 Save
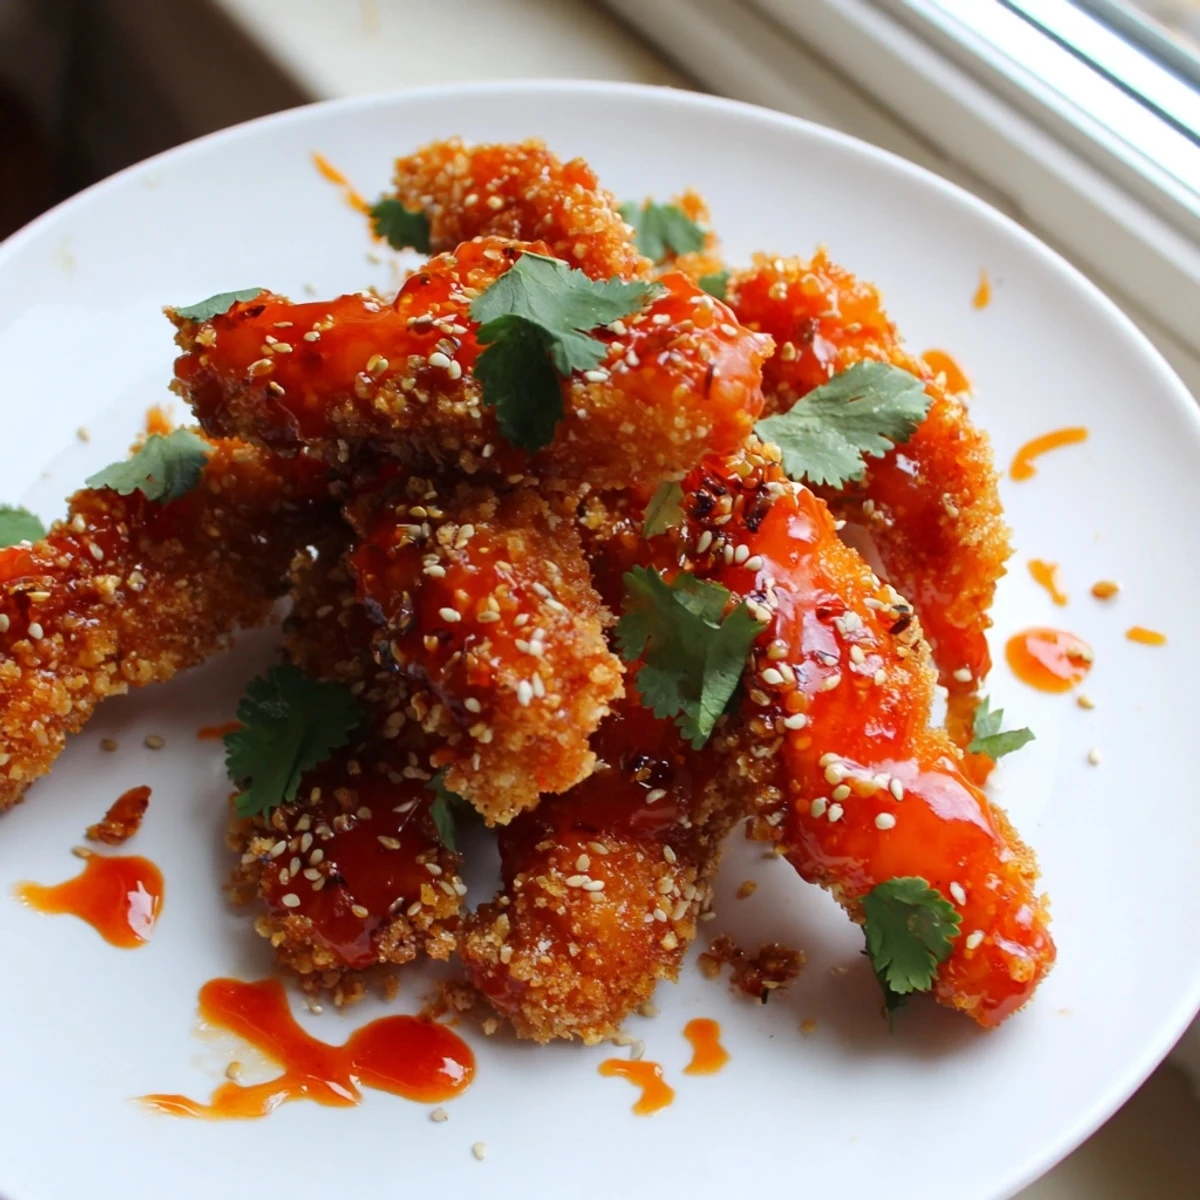
Save Once you taste that sticky, tangy glaze on shatteringly crisp chicken, this recipe has a way of showing up on your weekly rotation uninvited, and you will not mind one bit.
Questions & Answers
- → Can I bake these chicken fingers instead of frying?
-
Yes, bake them at 200°C (400°F) on a parchment-lined baking sheet for 18-22 minutes, flipping halfway through. They will come out crispy and golden without the need for oil.
- → How do I make the chicken extra crispy?
-
For maximum crunch, double-coat the chicken by repeating the egg and panko steps. Pressing the panko firmly onto each strip also helps create a thicker, crunchier crust.
- → What can I serve with Thai sticky chicken fingers?
-
They pair well with steamed jasmine rice, a refreshing cucumber salad, or a simple slaw. As an appetizer, serve them with extra sweet chili sauce on the side for dipping.
- → Can I make this dish gluten-free?
-
Absolutely. Swap the all-purpose flour and panko for gluten-free alternatives, and replace soy sauce with tamari. Double-check that your fish sauce and sweet chili sauce are also gluten-free.
- → How long should I marinate the chicken?
-
A minimum of 15 minutes works well, but for deeper flavor, marinate the chicken for up to 2 hours in the refrigerator. The lime juice and soy sauce will tenderize the meat beautifully.
- → Is the sriracha in the sauce mandatory?
-
No, sriracha is optional and added for heat. If you prefer a milder, sweeter glaze, simply leave it out. The sauce will still be full of flavor from the sweet chili, honey, and soy.
