 Save
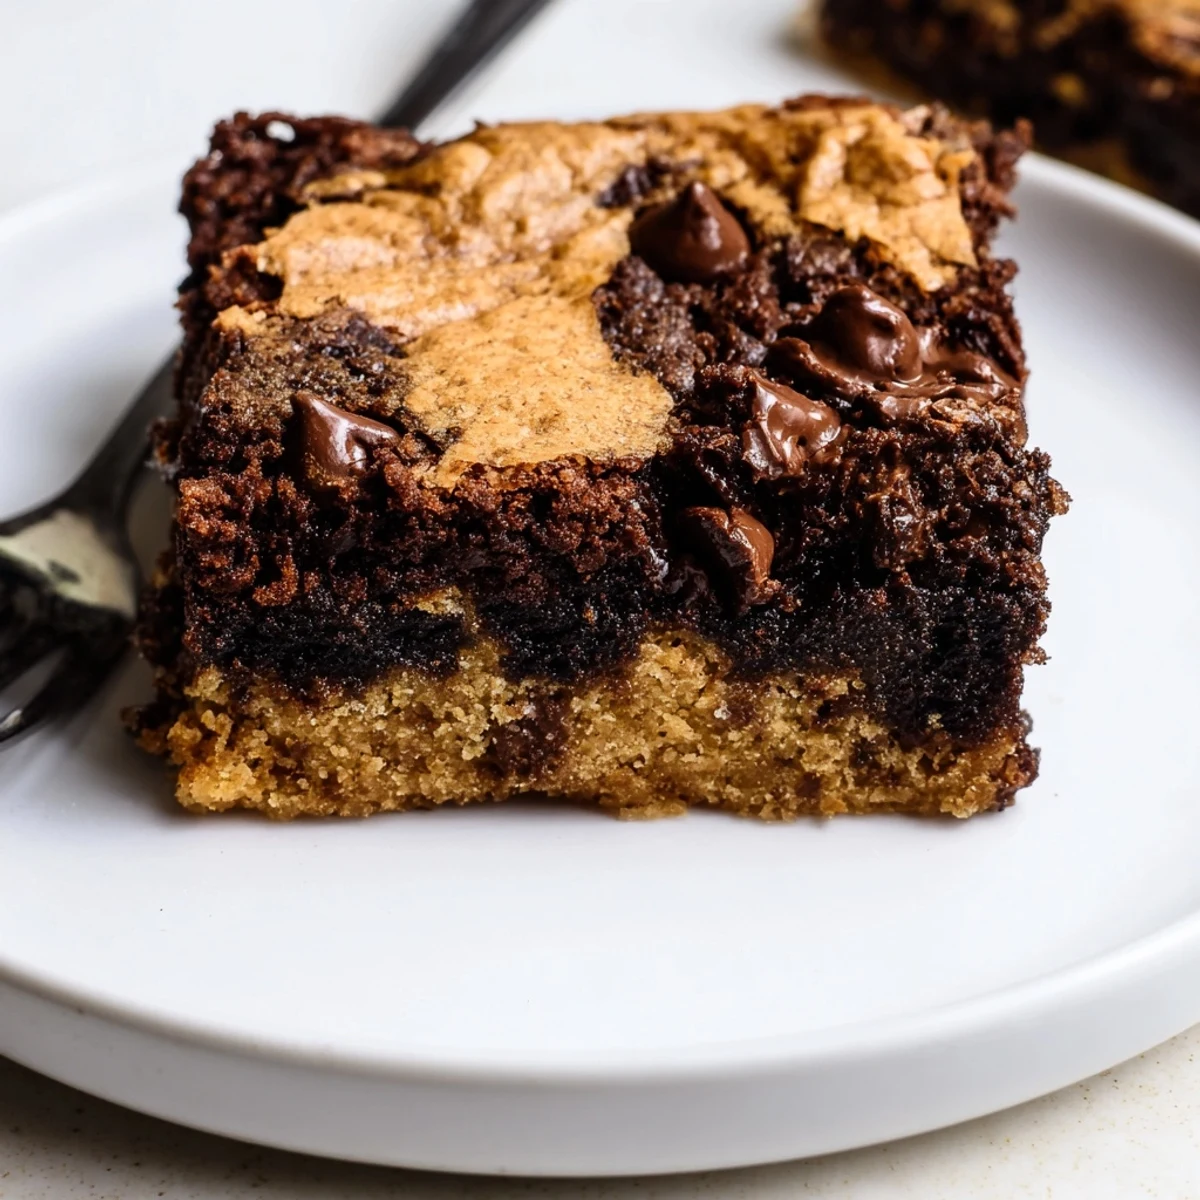
Save Layer a fudgy cocoa batter beneath a soft, chocolate-chip cookie dough to create brookies with a crisp top and gooey center. Melted butter, sugar and eggs form the brownie base; a creamed butter-sugar and flour mixture with chocolate chips creates the cookie layer. Bake 28–33 minutes at 175°C (350°F), cool fully before slicing. For gooier bars, slightly underbake and chill briefly; add nuts or swap chips to vary the flavor.
The kitchen smelled like a bakery had collided with a candy shop, and honestly, that is the best way I can describe the first time brookies came out of my oven. Chocolate has this sneaky way of making you forget every rational thought, and layering brownie batter under cookie dough felt almost criminal in the best sense. My roommate walked in, took one look at the pan, and silently grabbed two forks without asking questions. That silence spoke volumes about what was about to happen.
I brought a batch of these to a potluck once and watched a grown man hide two bars in his jacket pocket when he thought no one was looking. I pretended not to notice, mostly because I had already eaten three in the car on the way there. There is zero judgment when brookies are involved, only survival of the fastest.
Ingredients
- Unsalted butter (115 g, melted for brownies and 115 g, softened for cookies): Using butter in both layers creates richness, and keeping it unsalted gives you total control over the seasoning.
- Granulated sugar (200 g for brownies, 50 g for cookies): The larger amount in the brownie batter helps form that shiny, crinkly top crust everyone fights over.
- Brown sugar (100 g, packed, for cookies): This is what makes the cookie layer chewy rather than crispy, so pack it firmly into your measuring cup.
- Eggs (2 large for brownies, 1 large for cookies): Room temperature eggs blend more smoothly into batters, especially important for the brownie layer where you want an even texture.
- Vanilla extract (1 tsp per layer): Do not skip this in either layer, because it rounds out the chocolate and adds warmth you would absolutely miss.
- All-purpose flour (65 g for brownies, 150 g for cookies): Less flour in the brownie layer keeps it dense and fudgy rather than cakey.
- Unsweetened cocoa powder (30 g): Unsweetened is nonnegotiable here since the sugar is already balanced for it, and dutch processed will change the color and flavor.
- Salt (1/4 tsp for brownies, 1/2 tsp for cookies): Salt makes chocolate taste more like itself, and skimping on it is the fastest way to make a flat tasting dessert.
- Baking soda (1/2 tsp, for cookies): This gives the cookie layer just enough lift to contrast with the dense brownie underneath.
- Chocolate chips (110 g): Semi sweet chips melt into little pockets of goo throughout the cookie layer, and using good quality chips makes a noticeable difference.
Instructions
- Get your oven and pan ready:
- Preheat to 175 degrees C (350 degrees F) and line a 20x20 cm baking pan with parchment paper, leaving an overhang on two sides like handles so you can lift the whole thing out later without drama.
- Build the brownie base:
- In a medium bowl, whisk the melted butter and sugar together until glossy, then add the eggs and vanilla and beat until the mixture looks smooth and slightly thickened. Gently fold in the flour, cocoa powder, and salt until just combined, then spread this dark, velvety batter evenly across the bottom of your prepared pan.
- Make the cookie dough:
- Beat the softened butter, brown sugar, and granulated sugar together until creamy and light, then mix in the egg and vanilla until everything looks unified and inviting. Add the flour, baking soda, and salt gradually, stirring until the dry ingredients just disappear, then fold in the chocolate chips with a spatula.
- Layer it all together:
- Drop spoonfuls of cookie dough over the brownie batter and use a spatula to gently spread it into an even layer, and do not stress if some brownie peeks through because those swirly spots become the best bites.
- Bake until barely done:
- Bake for 28 to 33 minutes until the cookie top is golden at the edges and a toothpick inserted in the center comes out with a few moist crumbs clinging to it, because overbaking is the enemy of that fudgy chewy magic.
- Cool completely before cutting:
- Let the brookies cool entirely in the pan, then use the parchment overhang to lift the whole slab out before slicing into 16 squares with a sharp knife.
 Save
Save One rainy Sunday I wrapped a few brookie bars in wax paper and tucked them into my bag before a long train ride. Sharing them with a stranger who looked like they needed something sweet turned a forgettable trip into a surprisingly warm memory.
Choosing Your Chocolate
The cocoa powder you reach for changes the personality of the brownie layer more than you might expect. Natural unsweetened cocoa gives a sharper, fruitier chocolate punch, while dutch processed yields something deeper and mellower. I have tried both and landed firmly on natural cocoa for this recipe because its slight acidity plays beautifully against the sweet cookie dough on top. Whatever you do, avoid skipping the cocoa entirely or trying to substitute hot chocolate mix, because neither will give you the intensity this layer needs to hold its own.
Mixing Without Overworking
The biggest mistake people make with both brownies and cookies is overmixing once the flour goes in. Stir just until you stop seeing dry streaks and then immediately stop, because every extra stroke develops more gluten and pushes the texture toward tough and cakey rather than tender and fudgy. Use a spatula instead of an electric mixer for folding in dry ingredients, since the gentle motion gives you more control. Your arms do the work and your eyes tell you when to quit, which is a surprisingly satisfying rhythm once you get used to it.
Serving and Storing
These bars taste incredible slightly warmed with a scoop of vanilla ice cream melting over the top, and they also hold up beautifully at room temperature for three days in an airtight container. For longer storage, freeze individual squares wrapped in parchment and sealed in a bag, then thaw at room temperature or give them a quick ten second zap in the microwave. The texture actually improves after a night in the fridge, becoming denser and chewier in a way that makes them almost impossible to stop eating.
- Warm a square for eight seconds in the microwave right before serving for that fresh baked softness.
- Sprinkle flaky sea salt over the top right before baking to elevate every chocolatey bite.
- Always cut with a clean knife wiped between slices for the neatest looking bars.
 Save
Save Make these once and they will become the dessert people request from you by name. That is the quiet power of a recipe that refuses to choose between two classics and simply gives you both.
Questions & Answers
- → How do I achieve a gooey center?
-
Remove from the oven when the cookie layer is golden but a toothpick still shows a few moist crumbs from the brownie beneath. Cool completely in the pan, then chill briefly before slicing to set the center while preserving fudginess.
- → What's the best way to layer the cookie dough over the brownie batter?
-
Drop spoonfuls of cookie dough across the brownie batter and gently spread with an offset spatula or the back of a spoon. It’s fine if some brownie peeks through—this helps create the marbled brookie effect.
- → How should I store and reheat the bars?
-
Store airtight at room temperature for up to 3 days or refrigerate up to 5 days. Freeze in a single layer, wrapped, for up to 3 months. Reheat briefly in a low oven or microwave a few seconds to revive the gooey texture.
- → Can I swap ingredients for dietary needs?
-
Use a gluten-free flour blend in place of all-purpose flour and dairy-free butter and chocolate chips to reduce dairy; egg substitutes will alter texture and may yield denser bars. Make small test batches to fine-tune ratios.
- → How can I tell when the bars are done without overbaking?
-
Look for a golden cookie top and check the center with a toothpick—aim for a few moist crumbs rather than a clean pick to keep the brownie layer fudgy. Avoid long additional bake time to prevent drying.
- → What happen if I change the pan size?
-
An 8x8 inch pan yields thicker, chewier bars; using a larger pan will make them thinner and shorten bake time by several minutes—watch closely and test early to avoid overbaking.
