 Save
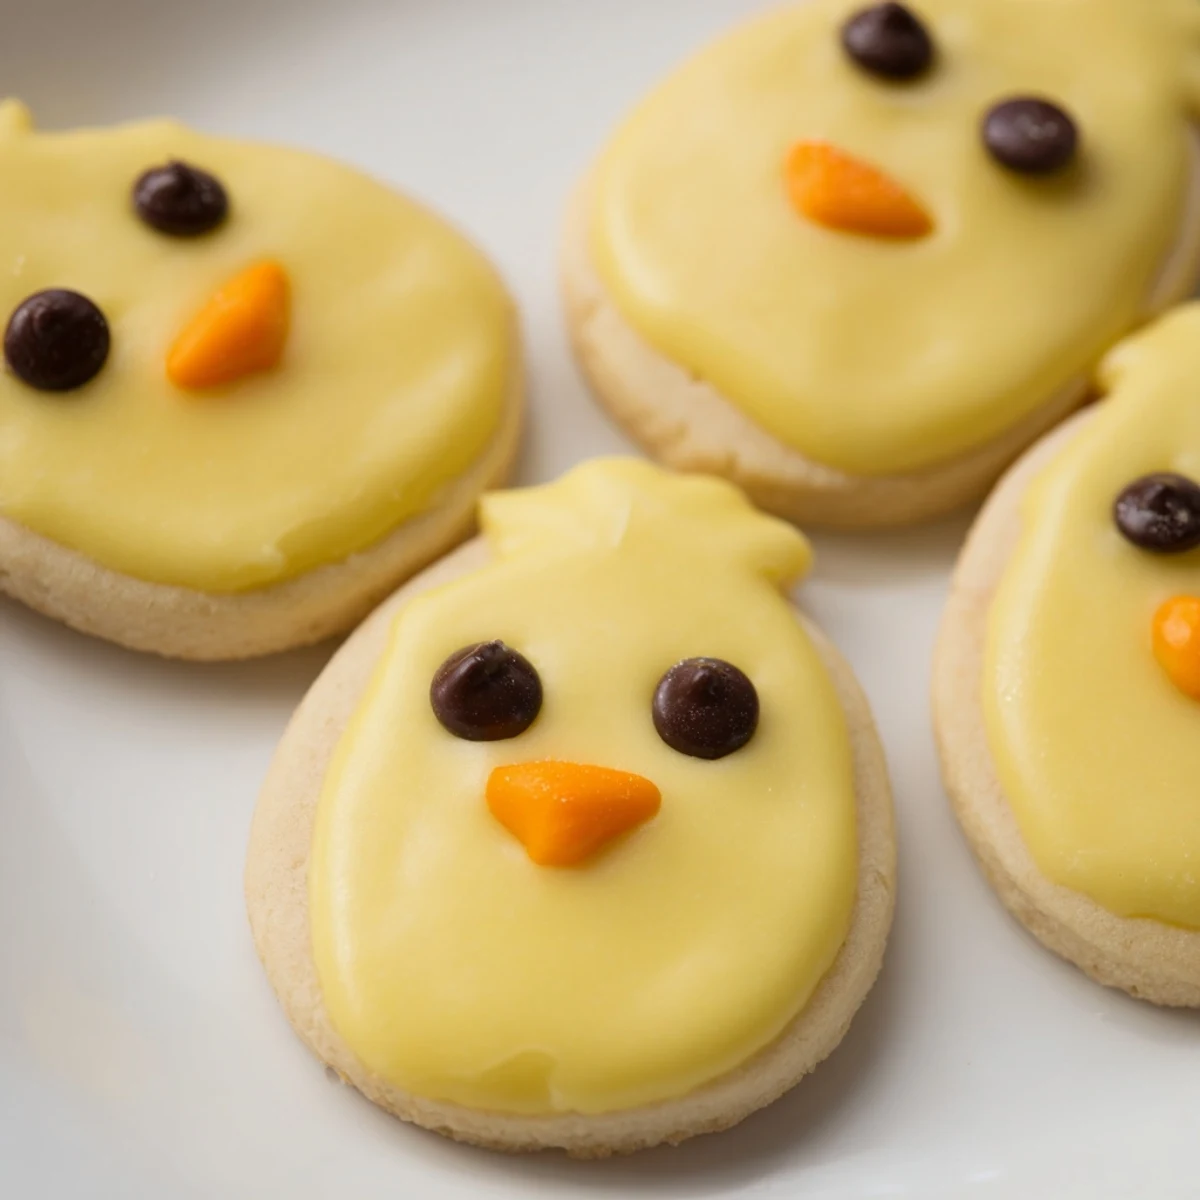
Save These charming chick-shaped sugar cookies combine a rich, buttery dough with vibrant yellow coloring and playful decorations. The base dough creates a tender, melt-in-your-mouth texture, while the two-ball shaping technique gives each treat an instantly recognizable chick silhouette with a rounded body and smaller head.
What makes these particularly special is their versatility for spring occasions—from Easter gatherings to baby showers and birthday celebrations. The optional glaze adds a professional shine, while simple decorating gels or chocolate chips bring the chick faces to life. With just 30 minutes total time and 24 cookies per batch, they're ideal for last-minute entertaining or weekend baking with children.
The dough balances sweetness with subtle vanilla notes, and the chill time ensures clean shapes during baking. For added flair, consider incorporating lemon zest or varying the facial expressions with different decorating techniques.
The first batch I made ended up looking like tiny tennis balls instead of chicks, but my daughter insisted they were perfect and ate three before they even cooled down.
Last spring I made fifty of these for my nieces birthday party and watched a room full of six year olds fall completely silent, mouths full of yellow sugar cookies.
Ingredients
- All-purpose flour: The foundation that holds these tender cookies together without becoming tough
- Baking powder: Just enough lift to keep the chick shapes light and not dense
- Unsalted butter: Room temperature is non negotiable here, it creates that perfect melt in your mouth texture
- Granulated sugar: Sweetens the dough while keeping the edges crisp and centers soft
- Large egg: Binds everything together and adds richness
- Vanilla extract: Pure vanilla makes all the difference in a simple sugar cookie
- Yellow food coloring: Gel coloring works best and wont throw off your dough consistency
- Powdered sugar and milk: Mix these into a simple glaze that adds a professional looking shine
- Black and orange decorating gel: These bring your chicks to life with minimal effort
Instructions
- Preheat and prepare:
- Heat your oven to 350°F and line two baking sheets with parchment paper while you gather your ingredients.
- Whisk the dry ingredients:
- Combine flour, baking powder, and salt in a medium bowl, then set it aside.
- Cream the butter and sugar:
- Beat butter and sugar until the mixture turns pale and fluffy, about 3 minutes, then add the egg and vanilla.
- Combine and color:
- Gradually mix in the dry ingredients until smooth, then add yellow food coloring and knead until evenly distributed.
- Shape your chicks:
- Roll dough into 1 inch balls, then pair a larger ball with a smaller one, pressing gently to attach the head to the body.
- Bake to perfection:
- Space cookies 2 inches apart on baking sheets and bake 8 to 10 minutes until edges are barely golden.
- Cool and glaze:
- Let cookies cool completely on the baking sheet, then brush with a thin powdered sugar glaze for extra shine.
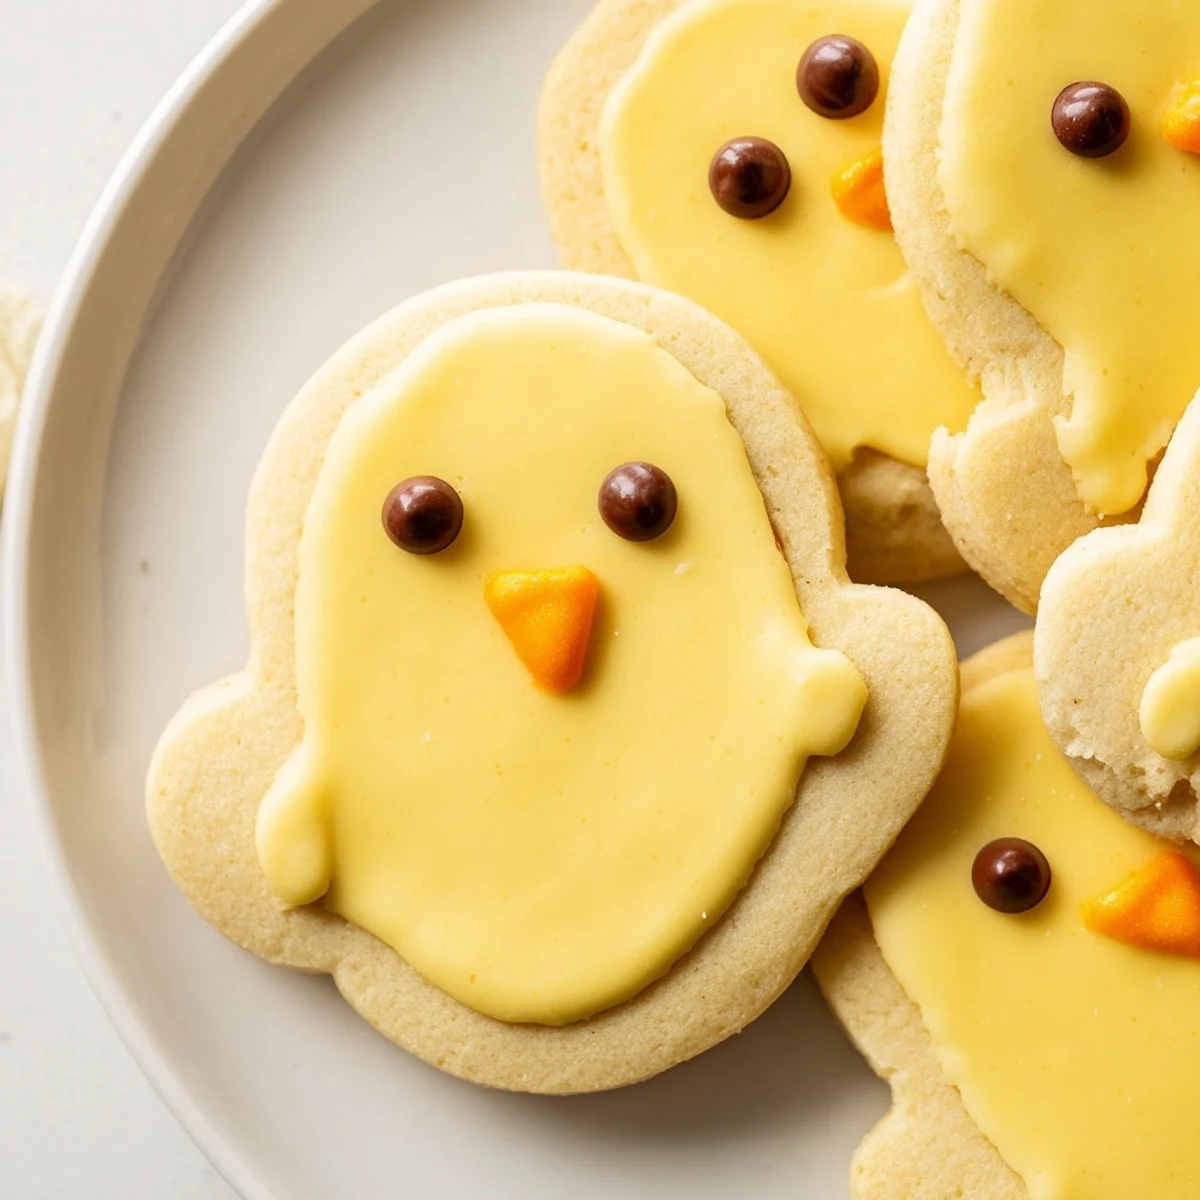
- Add the faces:
- Use black gel for eyes and orange for beaks, letting everything set before serving.
 Save
Save My neighbor asked for the recipe after seeing them on my Instagram and now she makes them every Easter for her grandchildren.
Making Ahead
You can prepare the dough up to two days in advance and store it wrapped tightly in the refrigerator. The formed unbaked chicks freeze beautifully for up to a month.
Decoration Variations
Sprinkle coarse sugar on top before baking for a sparkly texture that kids love. Try pastel colors instead of bright yellow for a softer spring look.
Common Questions
The most frequent question I get is whether the heads fall off during baking. As long as you press them together firmly before baking, they stay attached every time.
- Use gel food coloring instead of liquid to avoid sticky dough
- Let cookies cool completely before adding faces or the gel will run
- Work in batches if your kitchen runs warm to keep dough manageable
 Save
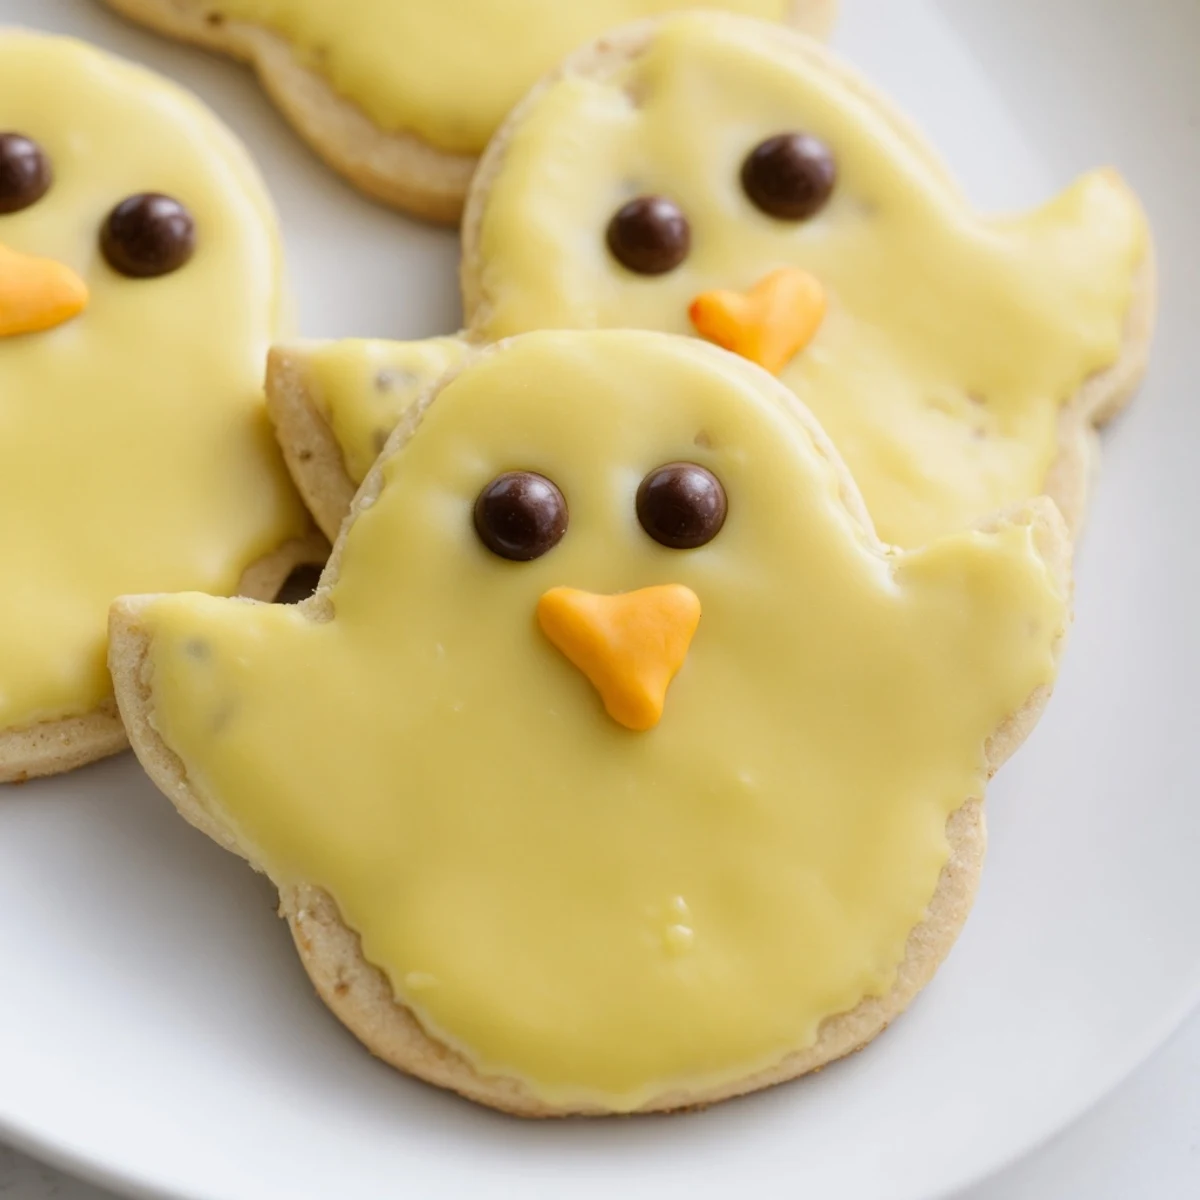
Save These little chicks have become my go to for spring gatherings, always earning smiles before the first bite.
Questions & Answers
- → Can I make the chick dough ahead of time?
-
Yes, prepare the dough up to 2 days in advance. Wrap tightly and refrigerate until ready to shape and bake. Bring to room temperature for easier handling.
- → What's the best way to get even yellow coloring?
-
Start with 2-3 drops of yellow food coloring, then knead thoroughly. Add more drop by drop until the desired shade is achieved—gel colors provide more vibrant results than liquid.
- → Can I freeze these chick-shaped treats?
-
Absolutely. Freeze undecorated baked cookies for up to 3 months. Thaw completely, then add faces with gel or chocolate chips. The glaze works best when fresh.
- → How do I prevent the heads from separating during baking?
-
Gently press the body and head balls together, slightly flattening the bottom of each where they connect. The dough expands during baking, fusing the pieces together.
- → What alternatives work for the chick faces?
-
Mini chocolate chips make quick eyes, while orange candy melts or carrot shavings create beaks. For a nut-free version, use sunflower seeds or colored icing.
- → Can I double this batch for larger parties?
-
Certainly. The dough scales easily without adjustments. Use multiple baking sheets or bake in batches, rotating pans halfway through for even results.
