
 Save
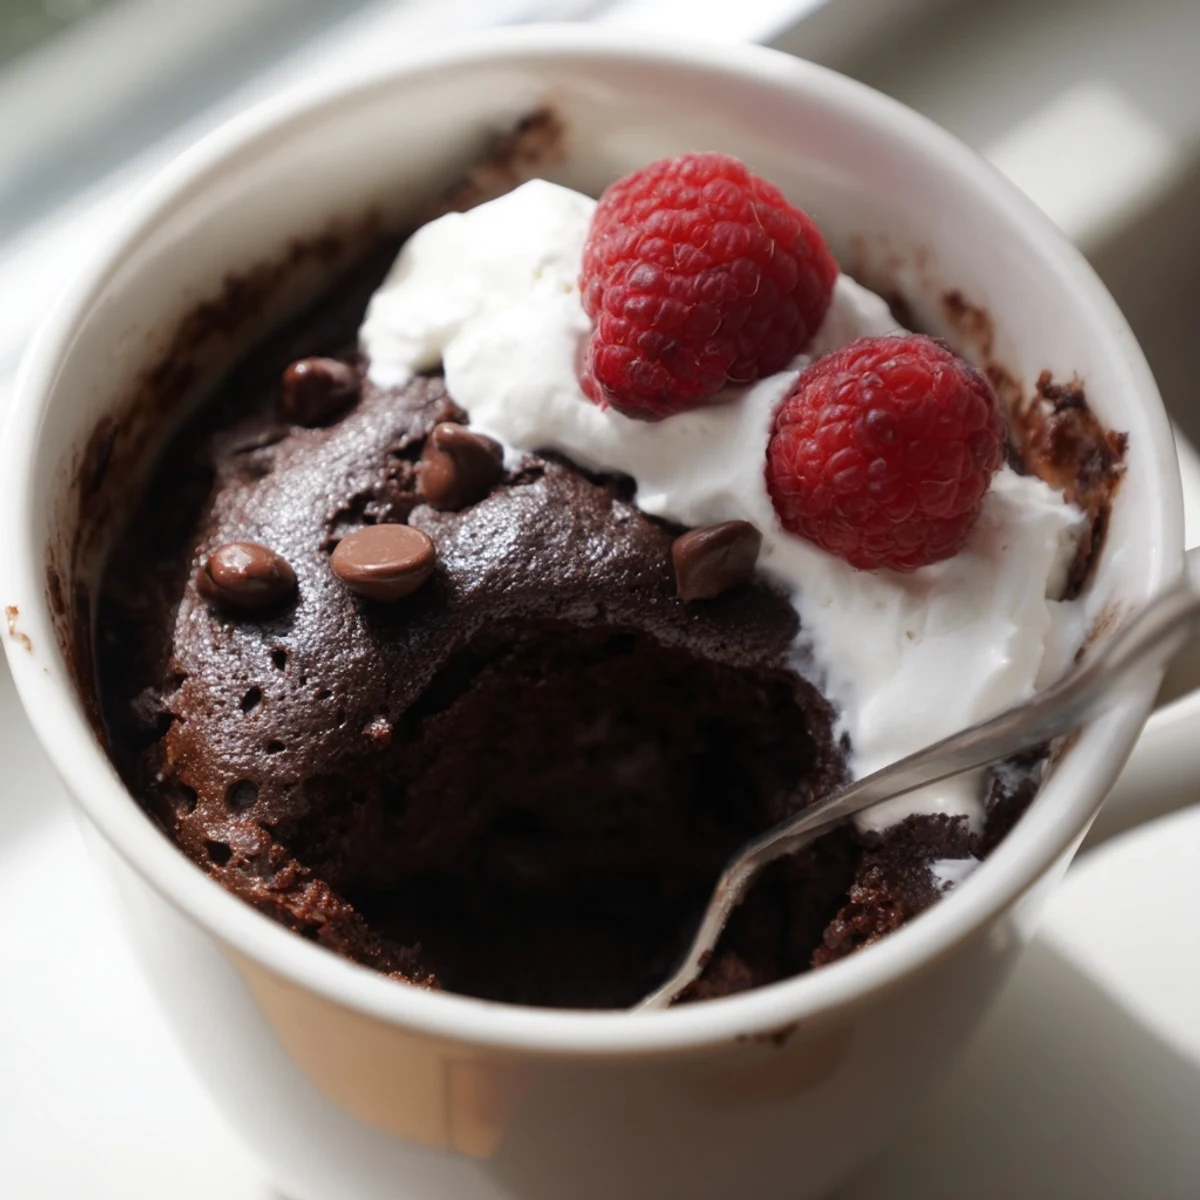
Save This gluten-free chocolate mug cake is the ultimate quick-fix dessert for anyone craving something rich and chocolaty without the wait. Using a simple blend of gluten-free flour, cocoa powder, and pantry staples, you can have a warm, decadent single-serving treat ready in under 7 minutes.
Simply mix the dry and wet ingredients directly in a microwave-safe mug, pop it in the microwave for about 2 minutes, and enjoy. It's endlessly customizable with add-ins like chocolate chips, and you can easily swap in your favorite non-dairy milk to suit your dietary needs.
Late one Tuesday night, halfway through a terrible movie, the chocolate craving hit hard and my pantry offered nothing but gluten free flour and cocoa powder. Two minutes later, I was eating the richest, goofiest little cake out of a mug, wondering why I ever bothered with real baking. That random weeknight experiment turned into a ritual I now keep closer than any fancy dessert recipe. It just works.
My friend Sara came over after a particularly brutal work day and I handed her a warm mug of chocolate cake without explanation. She laughed, took a bite, and immediately asked if I was hiding a bakery in my kitchen. That is the power of this recipe: it makes people think you tried way harder than you did.
Ingredients
- Gluten free all-purpose flour blend (3 tablespoons): The backbone of the cake, and you really do need a proper blend with xanthan gum already included for the best texture.
- Unsweetened cocoa powder (2 tablespoons): Use a quality brand you would drink in hot chocolate, because that deep flavor is the whole point.
- Granulated sugar (3 tablespoons): Balances the bitterness of cocoa and helps form that slightly crisp top edge.
- Baking powder (1/4 teaspoon): Just enough lift to keep it from turning into a dense hockey puck.
- Salt (pinch): A tiny pinch wakes up every bit of chocolate flavor.
- Milk, dairy or non-dairy (3 tablespoons): Any milk works here, so use what you love or what your diet requires.
- Neutral oil (2 tablespoons): Oil keeps the crumb moist in a way butter simply cannot match at microwave speed.
- Pure vanilla extract (1/4 teaspoon): Rounds out the flavor and makes it taste like real baking happened.
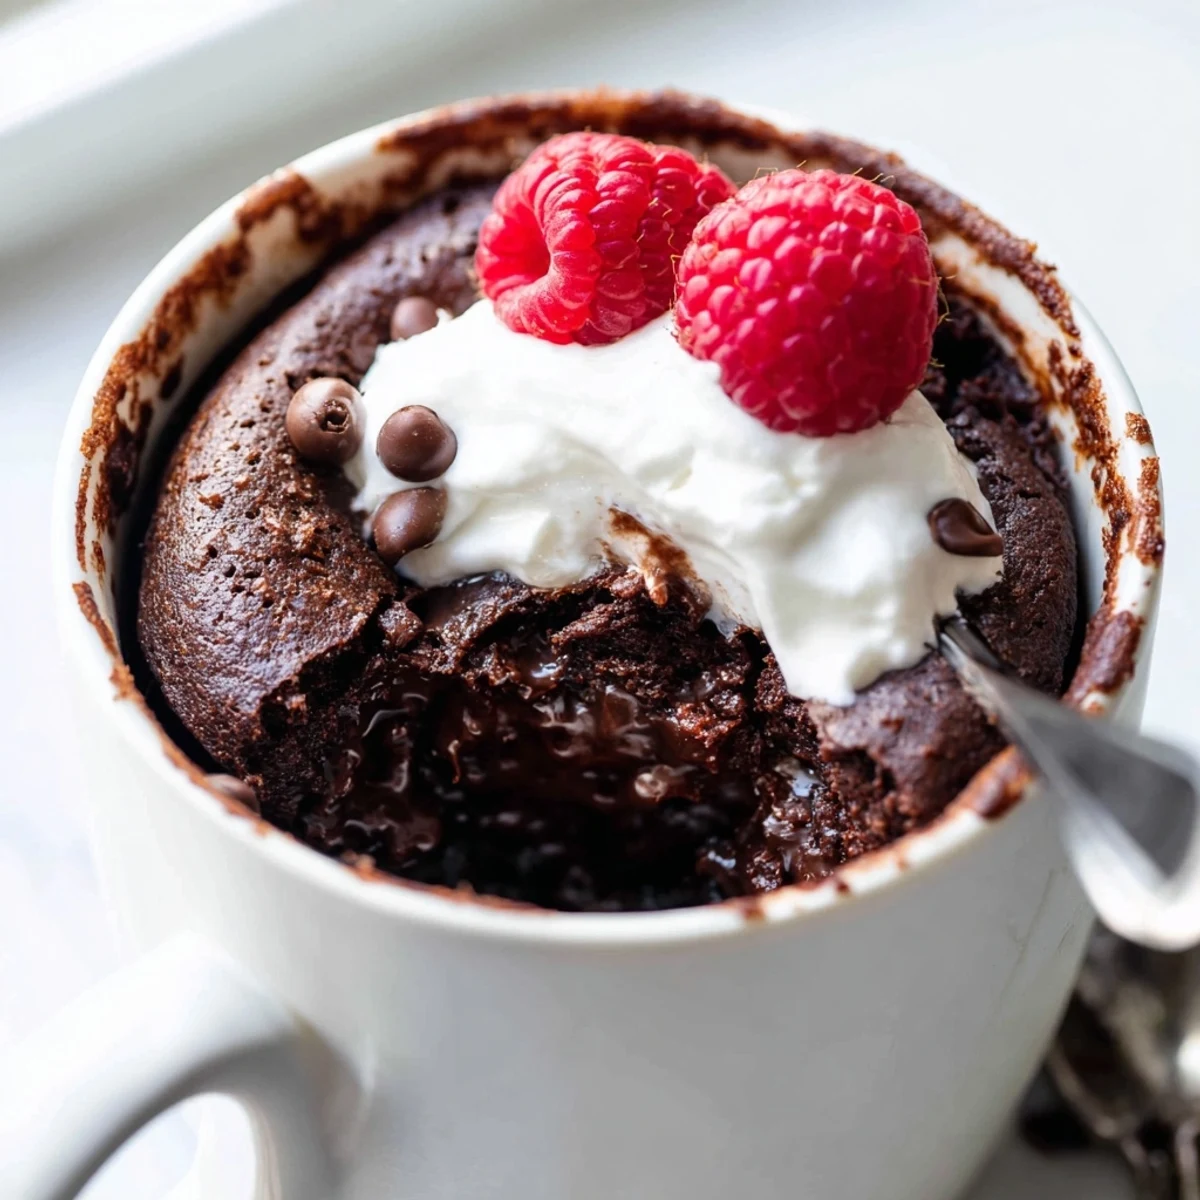
- Chocolate chips (1 tablespoon, optional): Fold them in for molten pockets, or press one into the center before microwaving for a hidden lava surprise.
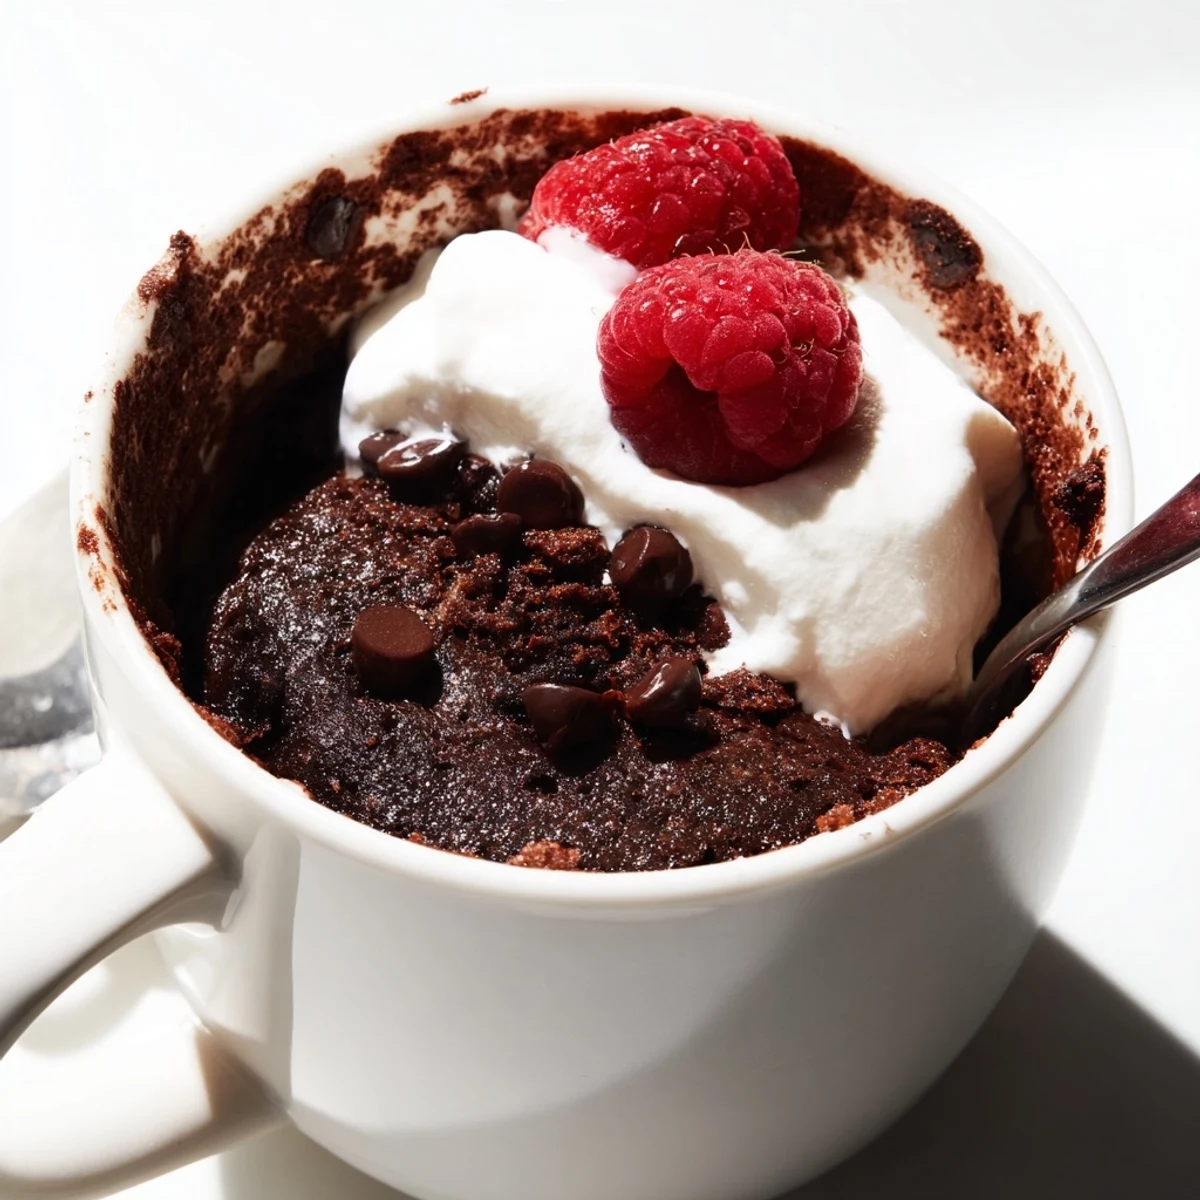
- Whipped cream or berries (for serving, optional): A dollop of cream or a few fresh berries turn a casual snack into something worth photographing.
Instructions
- Build your dry base:
- Drop the flour, cocoa, sugar, baking powder, and salt straight into a microwave safe mug at least twelve ounces, then whisk them together until the mixture looks uniformly dark and no pale flour pockets remain.
- Add the wet ingredients:
- Pour in the milk, oil, and vanilla, then stir vigorously with a fork or small whisk, scraping the bottom and sides until the batter is completely smooth with no lumps hiding in the corners.
- Optional chocolate boost:
- Fold in chocolate chips if you are using them, stirring gently so they spread evenly through the batter rather than sinking to the bottom.
- Into the microwave:
- Cook on high for one minute and thirty seconds to two minutes, watching through the door until the cake rises, sets, and springs back lightly when you gently press the top with your finger.
- Rest and finish:
- Let it sit for one to two minutes so the center finishes cooking and the mug cools enough to hold, then top with whipped cream or berries if the mood strikes.
 Save
Save There is something oddly comforting about making a cake in a mug, like you are getting away with a small act of rebellion against proper baking. On nights when the world feels too loud, stirring cocoa and flour together in silence is honestly enough.
Choosing the Right Mug
Pick a mug that holds at least twelve ounces and has straight sides, because the batter will rise significantly and you do not want it spilling over into your microwave. A wider mug produces a shorter, more evenly cooked cake, while a tall narrow one can leave the center underdone. I learned this the messy way with a dainty teacup that turned into a volcanic disaster.
Making It Dairy Free
Swapping in almond, soy, or oat milk works seamlessly, and the flavor difference is barely noticeable beneath all that chocolate. Just avoid thin watery milks like some rice milks, since they can make the crumb a bit fragile. Coconut oil can replace neutral oil in a pinch, but it will add a faint tropical note that some people love and others find distracting.
Serving and Storing
This cake is absolutely best eaten immediately, warm and slightly gooey from the microwave, because it firms up and loses its magic as it cools completely. If you somehow have leftovers, cover the mug with a small plate and reheat for fifteen seconds the next day.
- A scoop of vanilla ice cream on top turns this into a genuinely impressive last minute dessert for guests.
- A dusting of powdered sugar and a few raspberries make it feel like a café treat.
- Never forget that the mug will be hot, so use a towel or oven mitt when you grab it.
 Save
Save Keep this recipe in your back pocket for late night cravings, surprise guests, or any day that deserves chocolate without a twenty minute cleanup. It is small, fast, and impossibly comforting.
Questions & Answers
- → Can I make this mug cake dairy-free as well?
-
Absolutely. Simply swap the milk for almond, soy, oat, or any non-dairy milk of your choice, and use dairy-free chocolate chips. The texture and flavor remain wonderfully rich and satisfying.
- → Why did my mug cake turn out rubbery?
-
A rubbery texture usually means the cake was overcooked. Microwave strengths vary, so start with 1 minute 30 seconds and check for doneness. The center should still look slightly moist but set, and the cake should spring back lightly when touched.
- → What gluten-free flour blend works best?
-
A store-bought gluten-free all-purpose flour blend that contains xanthan gum typically yields the best results. If your blend doesn't include it, add a small pinch of xanthan gum to help bind the batter and achieve a tender crumb.
- → Can I prepare the dry mix ahead of time?
-
Yes, you can pre-mix the dry ingredients and store them in a small airtight container or zip-top bag. When you're ready, just add the wet ingredients, stir, and microwave. This makes an excellent quick dessert option for busy weeknights.
- → What size mug should I use?
-
Use a microwave-safe mug that holds at least 12 ounces to allow the cake to rise without overflowing. A standard 14 to 16 ounce mug works perfectly and gives you a little extra room for toppings like whipped cream or berries.
- → Can I add a gooey center to this mug cake?
-
Yes. Tuck a small piece of chocolate or a spoonful of Nutella into the center of the batter before microwaving. As the cake cooks, the center will melt into a luscious, molten pocket of chocolate.