
 Save
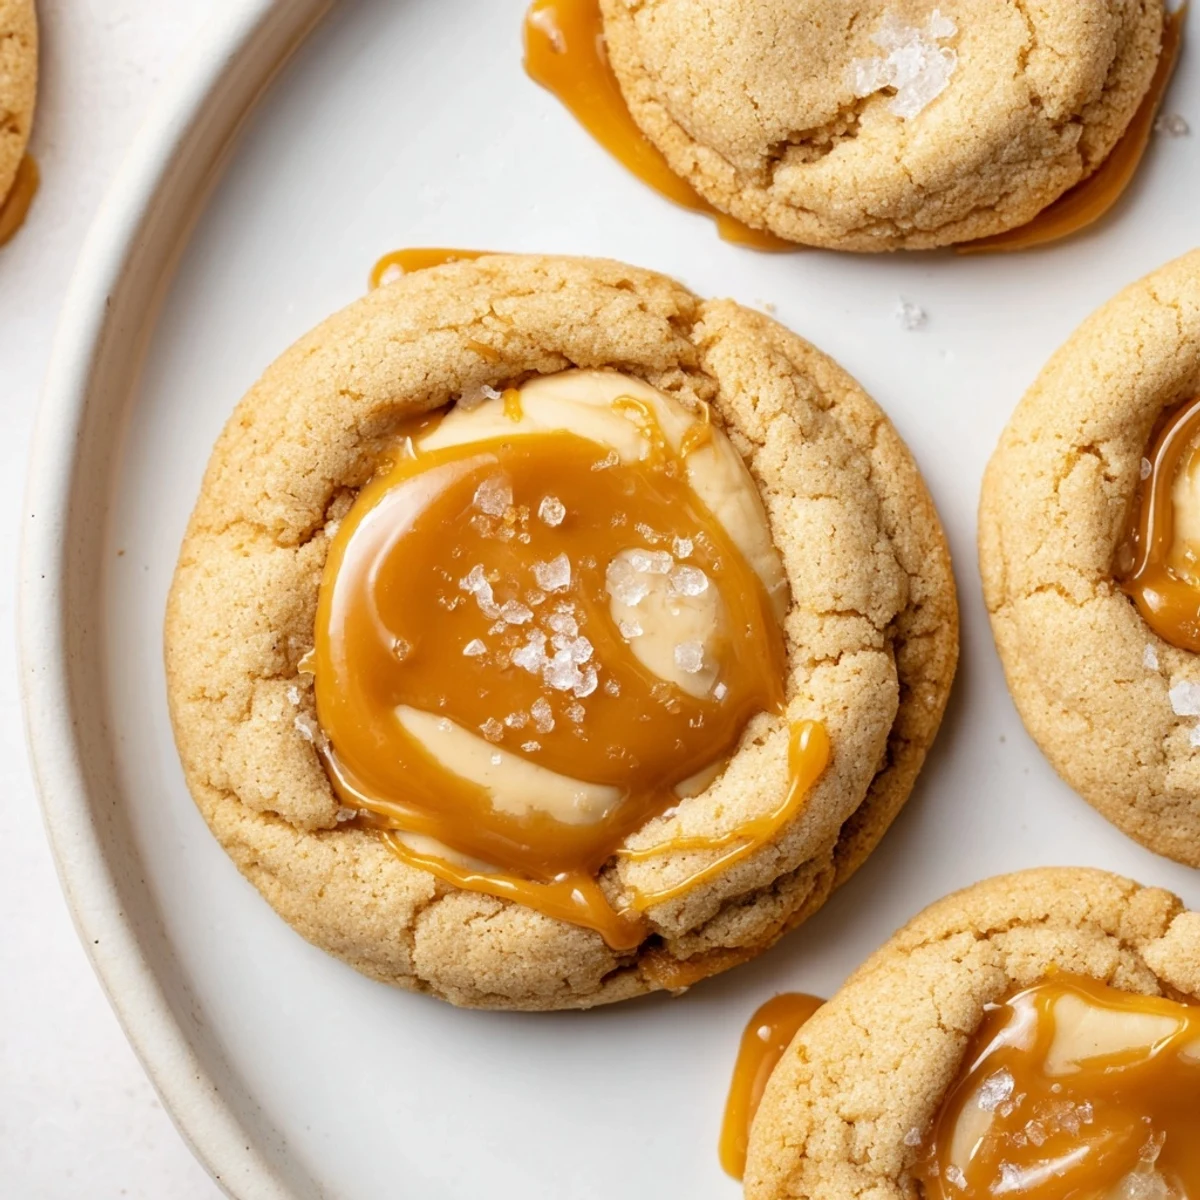
Save These caramel cheesecake cookies combine a tender cream cheese dough with gooey caramel swirls for an irresistible sweet treat.
The butter and cream cheese base creates a soft, pillowy texture, while the caramel adds a decadent richness in every bite.
Simple to prepare with basic pantry ingredients, they're perfect for holiday platters, bake sales, or everyday indulgence.
The rain was hammering against the kitchen window the afternoon these cookies were born, mostly because I had promised to bring dessert to a potluck and completely forgotten until two hours before. I stared into my fridge, saw a tub of cream cheese and a jar of caramel sauce sitting next to each other, and decided the universe was giving me a hint. What came out of the oven was a soft, pillowy cookie with a gooey caramel center that made three people ask for the recipe before they even finished chewing. Sometimes chaos produces the best things in my kitchen.
My neighbor Linda stopped by the following week specifically to tell me she had dreamed about these cookies, which is either the highest compliment or slightly concerning. I brought another batch to her doorstep that weekend and we stood on her porch eating them warm while her dog tried to participate. They disappeared so fast I barely got one myself.
Ingredients
- Unsalted butter (1/2 cup, softened): Room temperature butter is nonnegotiable here, and I learned the hard way that microwaving it creates a greasy mess instead of a creamy dough.
- Cream cheese (4 oz, softened): Full fat cream cheese gives the best texture, and it should be just as soft as the butter so they blend seamlessly together.
- Granulated sugar (1 cup): This amount strikes the right balance since the caramel adds extra sweetness on top.
- Large egg (1): Let it come to room temperature so it incorporates without creating weird lumps in the batter.
- Vanilla extract (1 tsp): A good quality vanilla makes a quiet but real difference in a simple dough like this one.
- All-purpose flour (2 cups): Spoon it into the measuring cup and level it off, because packed flour turns these into sad little hockey pucks.
- Baking powder (1/2 tsp): Just enough lift to keep them soft without puffing away the caramel indent you carefully made.
- Salt (1/4 tsp): Do not skip this, because salt is what makes the caramel taste like caramel instead of just sweet.
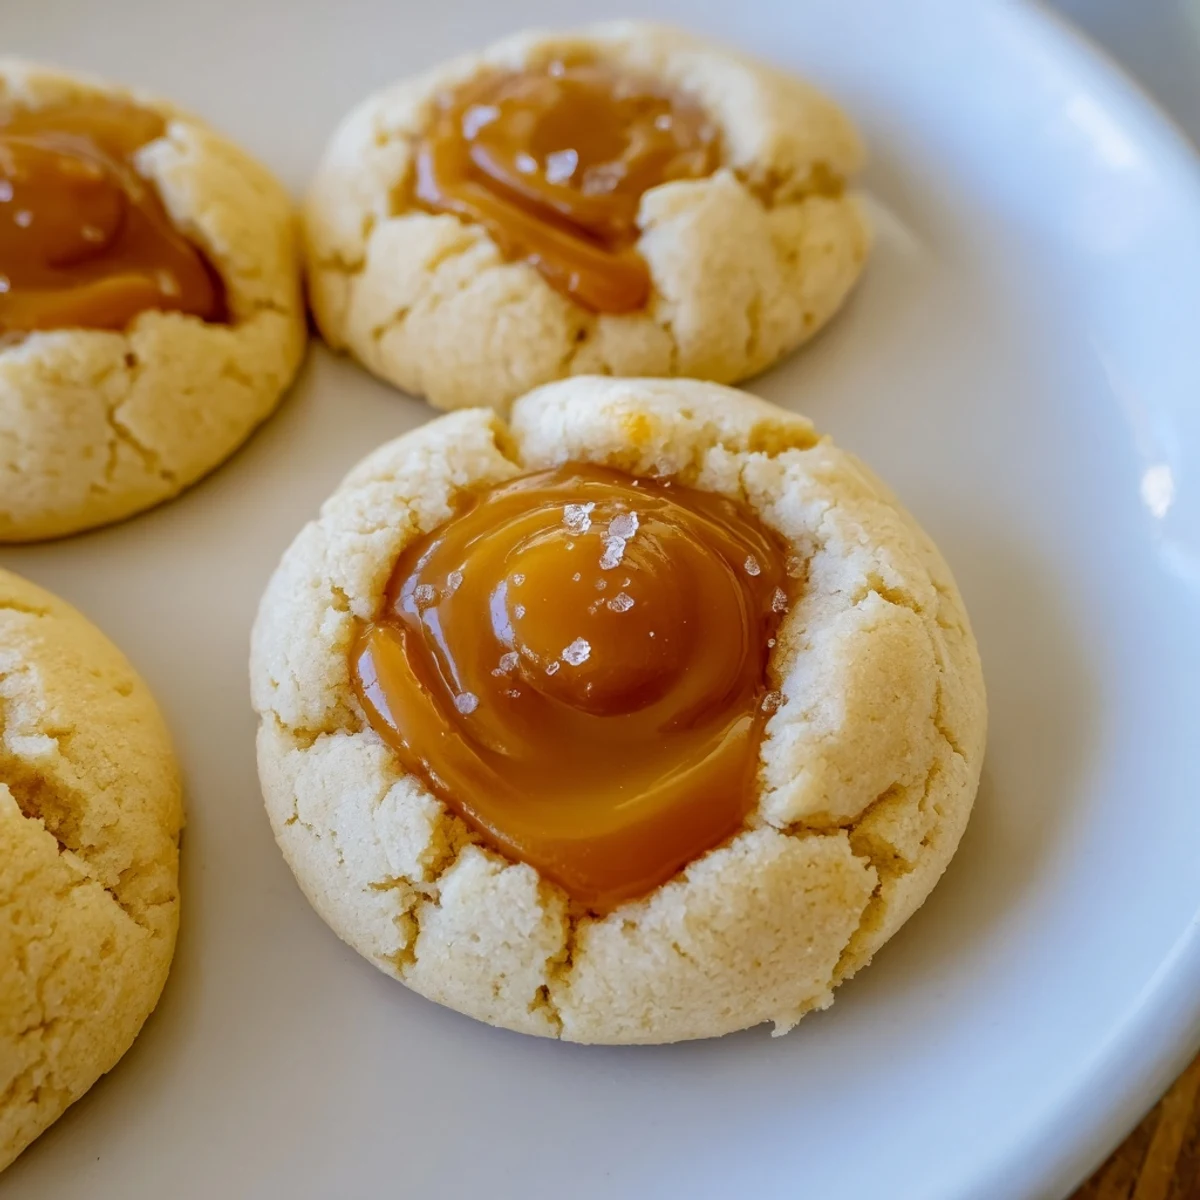
- Soft caramel sauce (1/2 cup, slightly cooled): Warm caramel spreads too much and cold caramel refuses to swirl, so aim for that just barely lukewarm temperature.
Instructions
- Beat the butter and cream cheese:
- Use an electric mixer on medium speed until the mixture is completely smooth and looks like the palest frosting, scraping down the bowl once or twice to catch any stubborn bits.
- Add sugar and whip it:
- Pour in the sugar and beat for about two minutes until everything looks lighter and fluffier than when you started, because this aeration is what gives the cookies their tenderness.
- Blend in egg and vanilla:
- Crack in the egg and pour the vanilla, then mix until you can no longer see any streaks of yolk or golden liquid floating around.
- Incorporate the dry ingredients:
- Whisk the flour, baking powder, and salt together in a separate bowl first, then add it gradually to the wet mixture and stop mixing the moment the last streak of flour disappears into the dough.
- Chill the dough:
- Cover the bowl tightly and slide it into the refrigerator for at least thirty minutes, which firms up the butter and cream cheese so the cookies hold their shape instead of spreading into flat puddles.
- Preheat and prepare:
- Set your oven to 350 degrees Fahrenheit and line two baking sheets with parchment paper while the dough finishes chilling.
- Scoop and shape:
- Drop heaping tablespoons of dough onto the sheets with about two inches of breathing room between each one, then use the back of a spoon to press a small well into the center of every mound.
- Swirl in the caramel:
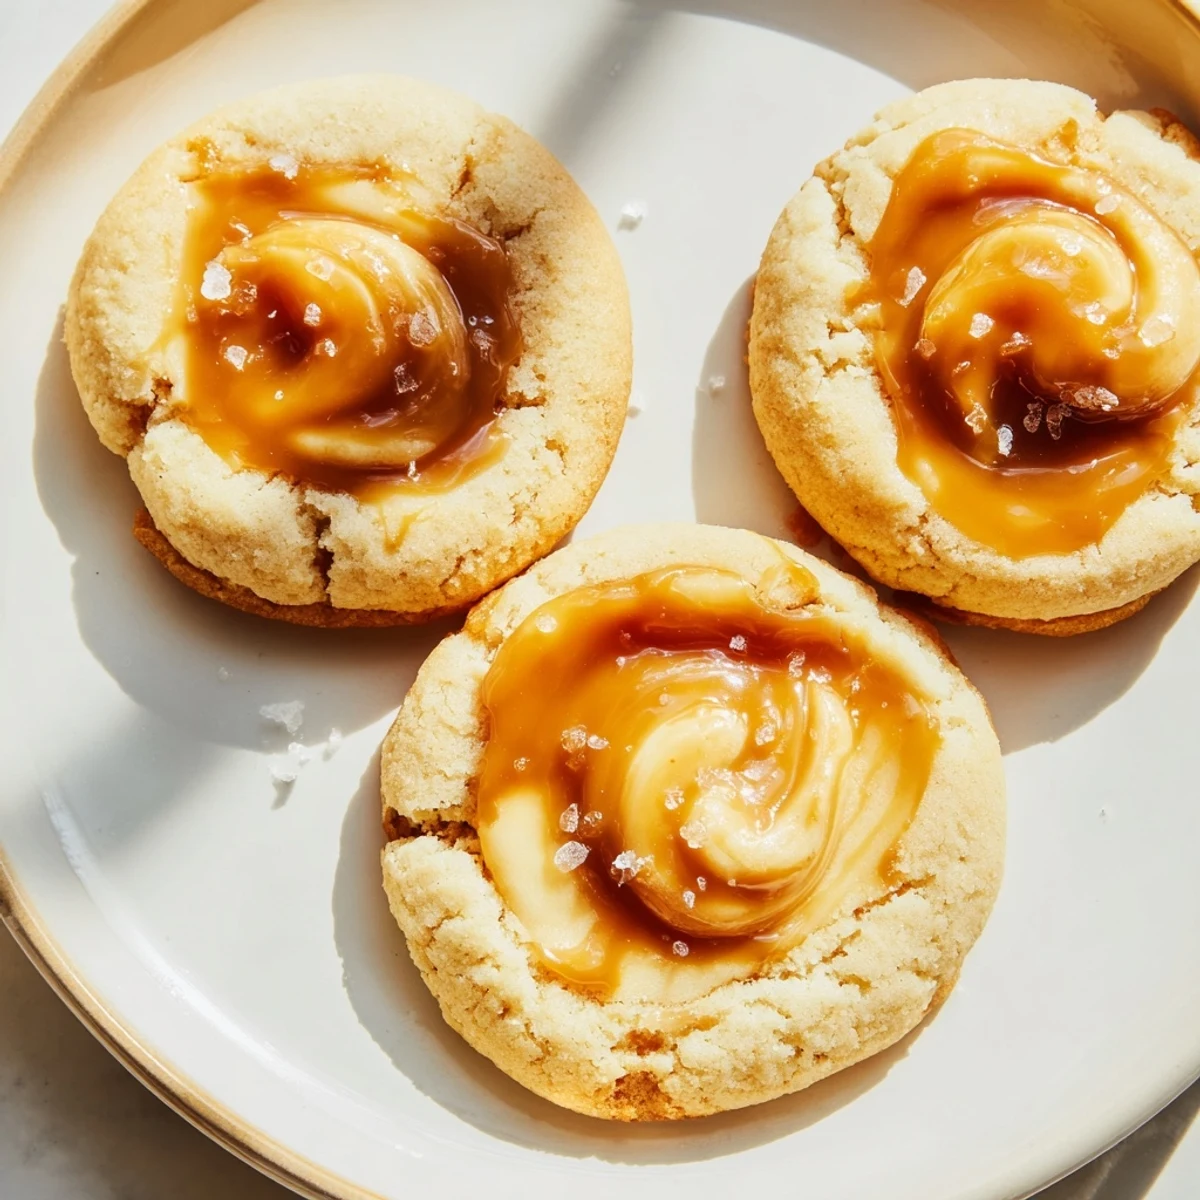
- Spoon roughly half a teaspoon of caramel sauce into each little well and drag a toothpick or knife through it in a gentle figure eight to create a swirled effect without overworking it.
- Bake:
- Slide the trays into the oven for eleven to thirteen minutes, pulling them out when the edges are just turning golden but the centers still look slightly underdone and soft.
- Cool properly:
- Let the cookies rest on the hot baking sheet for five full minutes so they set without crumbling, then transfer them gently to a wire rack to finish cooling completely.
 Save
Save The real magic happened when I brought these to my book club and the discussion completely derailed into a heated debate about whether these counted as cookies or tiny cheesecakes. Someone called them cheeokies, which we all agreed was a terrible name, but everyone ate three more while arguing about it.
Flavor Variations Worth Trying
I have made these at least a dozen times now and the caramel version remains my favorite, but a chocolate ganache center is a close second and requires almost no extra effort. My sister suggested fruit preserves once and raspberry worked surprisingly well, though strawberry got a little too jammy for my taste. The dough itself is a blank canvas that plays nice with almost anything sweet you want to tuck inside.
Storing and Sharing
These cookies keep beautifully in an airtight container at room temperature for about three days, though in my house they rarely last past day two. The caramel firms up as they sit and develops a chewy quality that is honestly just as good as the fresh baked version. If you want to make them ahead for a party, freeze the unbaked dough balls with the caramel already swirled in, then bake straight from frozen adding two extra minutes to the timer.
A Few Last Things
Baking these has become my go-to when I need a small win on a difficult day, because the process is simple and the result feels like something special even though it took almost no effort. The kitchen always smells like butter and caramel and comfort by the time the first tray comes out of the oven.
- A sprinkle of flaky sea salt on top before baking transforms these into a salted caramel situation that will ruin you for plain desserts.
- If your caramel sauce is store bought, read the ingredient list for hidden allergens because some brands sneak in nuts or unexpected additives.
- These are best served slightly warm, so a quick ten second ride in the microwave brings back that fresh baked softness beautifully.
 Save
Save I hope these become one of those recipes you reach for when you need a little kitchen therapy and a lot of happy faces around you. They certainly earned that spot in my rotation.
Questions & Answers
- → Can I make the cookie dough ahead of time?
-
Yes, the dough can be prepared and refrigerated for up to 48 hours before baking. The chilling step is essential for firming the dough and improving the final texture.
- → Why is my caramel sinking into the cookies during baking?
-
This can happen if the caramel sauce is too warm or too thin. Let the caramel cool slightly before adding it, and avoid overfilling the indents. A thicker caramel sauce works best for holding its shape.
- → Can I use homemade caramel sauce instead of store-bought?
-
Absolutely. Homemade caramel sauce adds wonderful depth of flavor. Simply melt soft caramels with a splash of heavy cream until smooth, then let it cool slightly before swirling into the cookies.
- → How should I store baked caramel cheesecake cookies?
-
Store cooled cookies in an airtight container at room temperature for up to 3 days. For longer storage, refrigerate for up to a week or freeze in a sealed bag for up to 3 months.
- → Can I add a salted caramel twist to these cookies?
-
Yes, a light sprinkle of flaky sea salt over the caramel before baking creates a delicious salted caramel variation. The salt balances the sweetness and enhances the overall flavor beautifully.
- → What can I substitute for caramel sauce?
-
Chocolate ganache, fruit preserves, or nutella all work as delicious alternatives. Keep the same small amount per cookie to maintain the proper texture and baking time.