 Save
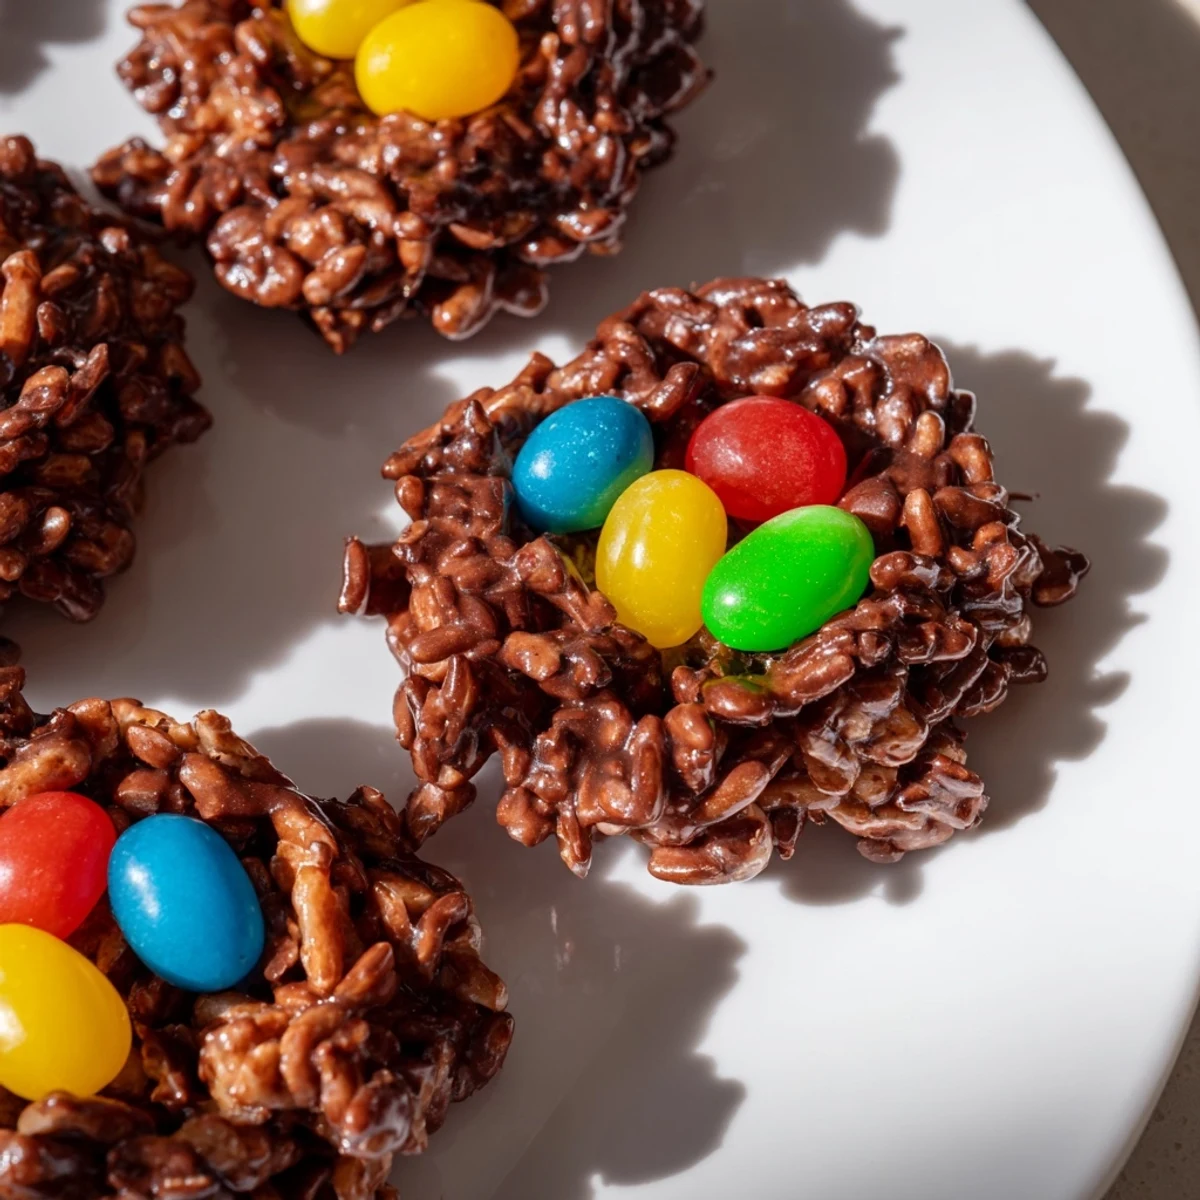
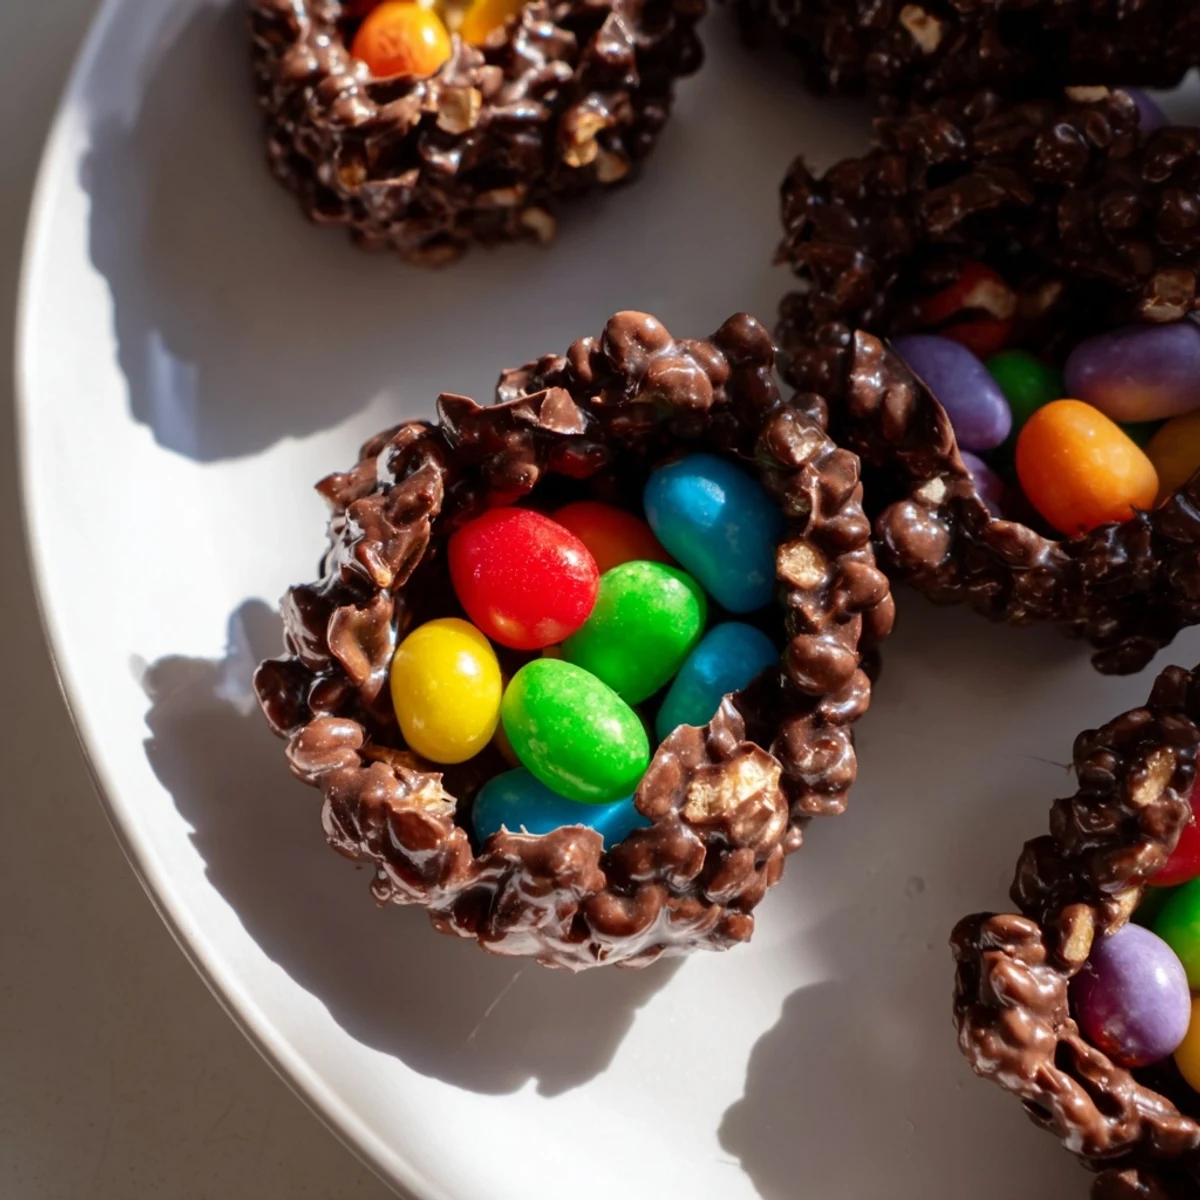
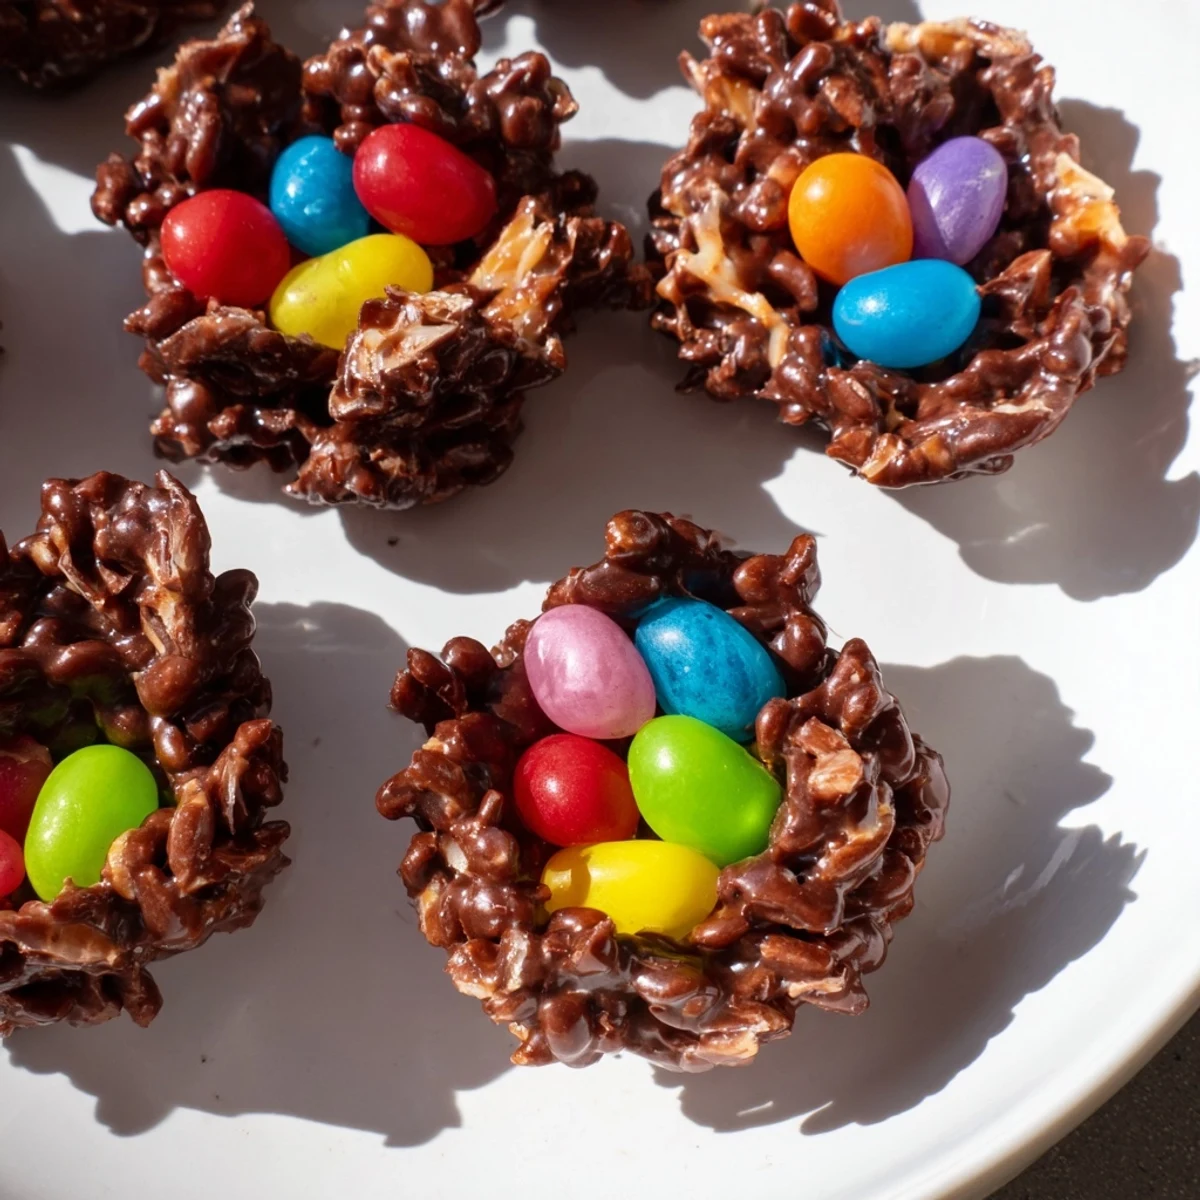
Save These crispy chocolate nests combine melted semi-sweet chocolate with crunchy rice cereal to create delightful edible nests. Once coated and shaped, they are chilled to set. Filled with a colorful assortment of jelly beans, they add a festive touch to any gathering. Optional shredded coconut adds texture, while variations with nuts or different chocolates can customize the flavor. Perfect for a quick, fun, and colorful treat for all ages.
My kitchen smelled like chocolate heaven yesterday, and honestly, that's the only reason I need to make these nests. I discovered this recipe when I was scrambling for something festive that wouldn't require me to actually turn on my oven during spring's first warm week.
Last Easter my niece insisted we make these together, and she took such pride in arranging every single jelly bean like she was creating edible art. We made a mess of course but seeing her face light up when she served them to everyone made the sticky counters completely worth it.
Ingredients
- 3 cups crispy rice cereal: This creates that satisfying crunch in every bite
- 1 cup shredded coconut: Optional but adds lovely texture and subtle sweetness
- 1 1/2 cups semi-sweet chocolate chips: The rich chocolate base that holds everything together
- 2 tablespoons unsalted butter: Helps the chocolate melt smoothly and adds creaminess
- 1 cup assorted jelly beans: The colorful eggs that make these nests so festive and fun
Instructions
- Prepare your nest mold:
- Line a muffin tin with paper cupcake liners or cut parchment paper into squares
- Melt the chocolate mixture:
- Combine chocolate chips and butter in a large heatproof bowl, melting in 30-second microwave bursts while stirring between each
- Coat the crispy base:
- Fold in the crispy rice cereal and coconut until every piece is glistening with chocolate
- Shape your nests:
- Spoon about 2 tablespoons of mixture into each muffin cup and press the back of a spoon into the center to create a well
- Let them set:
- Refrigerate for at least 30 minutes until firm and completely set
- Add the finishing touch:
- Gently remove from liners and fill each nest with colorful jelly beans right before serving
 Save
Save I brought these to a spring potluck once and watched them disappear in minutes. Someone actually asked if I'd sell them, which I took as the highest compliment possible for something so simple to throw together.
Making Them Your Own
White chocolate creates stunning nests that look like snow-dipped branches, while milk chocolate makes them taste like pure nostalgia. I've tried adding crushed pretzels for a salty kick and let me tell you, that sweet and salty combo is dangerously good.
Getting Kids Involved
The stirring step is perfect for small hands, and decorating with jelly beans is basically an art project you can eat. My advice is to set out bowls of different candy colors and let them create patterns or faces in their nests.
Storage And Serving
These keep beautifully in an airtight container in the refrigerator for up to three days, though they've never lasted that long in my house. Layer them between wax paper to prevent sticking.
- Set them out on a pretty platter for instant party decor
- Pair with cold milk or sparkling cider for the full spring experience
- Consider wrapping individual nests in clear bags as edible gifts
 Save
Save There's something so satisfying about making something that looks impressive but actually requires zero real cooking skills. These nests have become my go-to whenever I need to bring joy to a table without spending hours in the kitchen.
Questions & Answers
- → What type of chocolate works best for these nests?
-
Semi-sweet chocolate chips melt smoothly and provide a balanced sweetness, but milk or white chocolate can be used for different flavor profiles.
- → Can I add nuts to the mixture?
-
Yes, adding chopped toasted hazelnuts or almonds adds a pleasant crunch and nuttiness without overpowering the nests.
- → How do I shape the nests evenly?
-
Use a muffin tin lined with paper liners and press the cereal-chocolate mixture firmly, creating a well in the center for the filling.
- → How long should the nests chill before filling?
-
Refrigerate for at least 30 minutes or until the chocolate is firm to ensure the nests hold their shape before adding jelly beans.
- → Are there storage recommendations for these nests?
-
Store in an airtight container in the refrigerator for up to three days to maintain freshness and texture.
