 Save
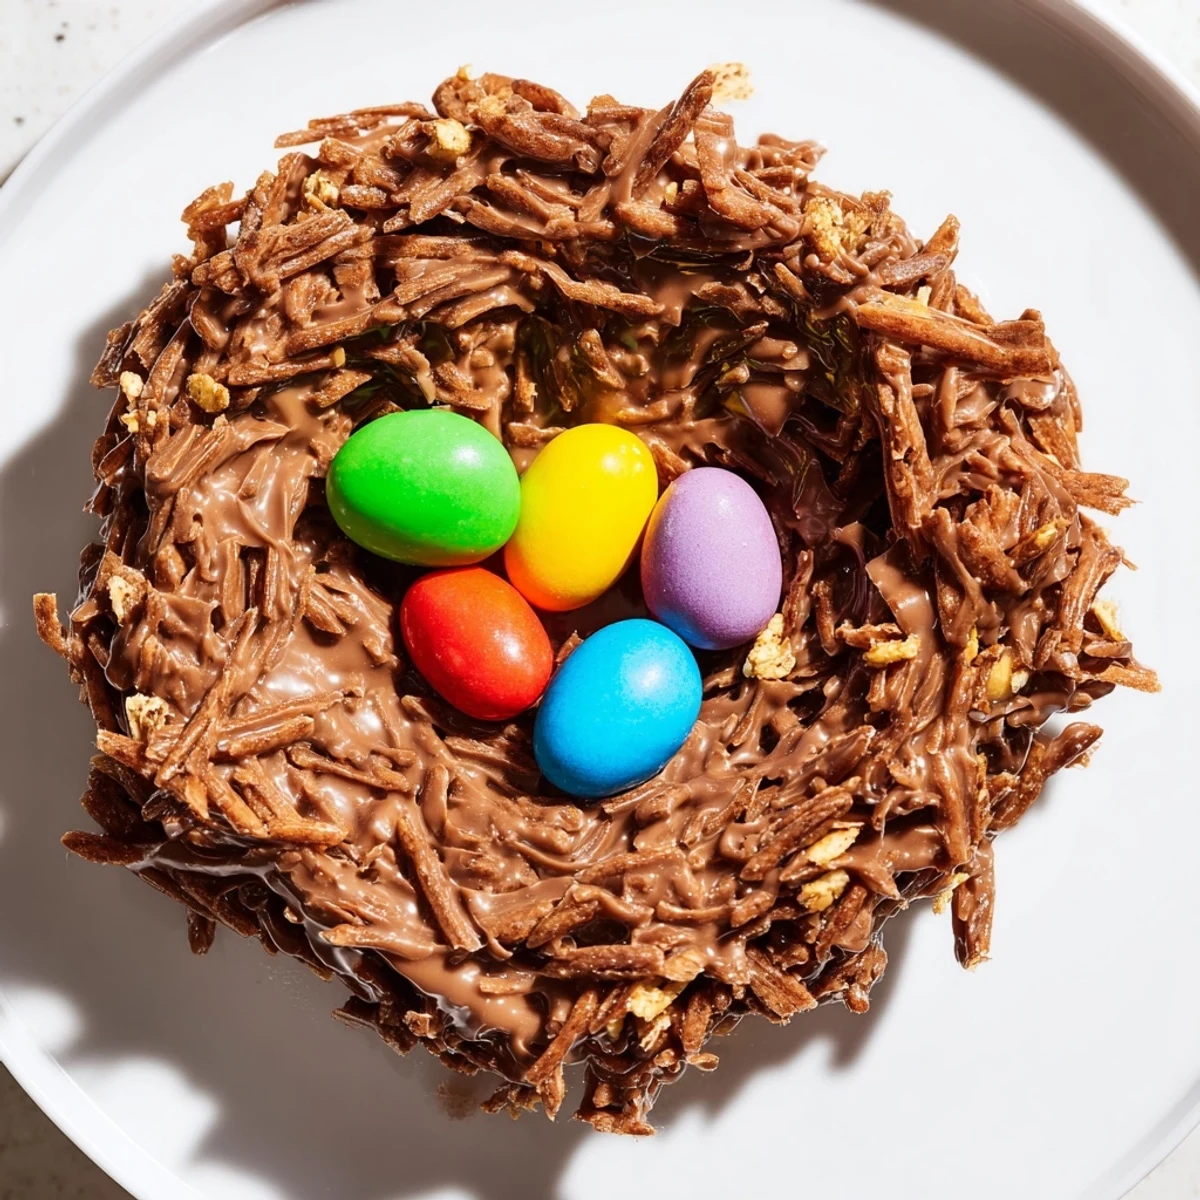
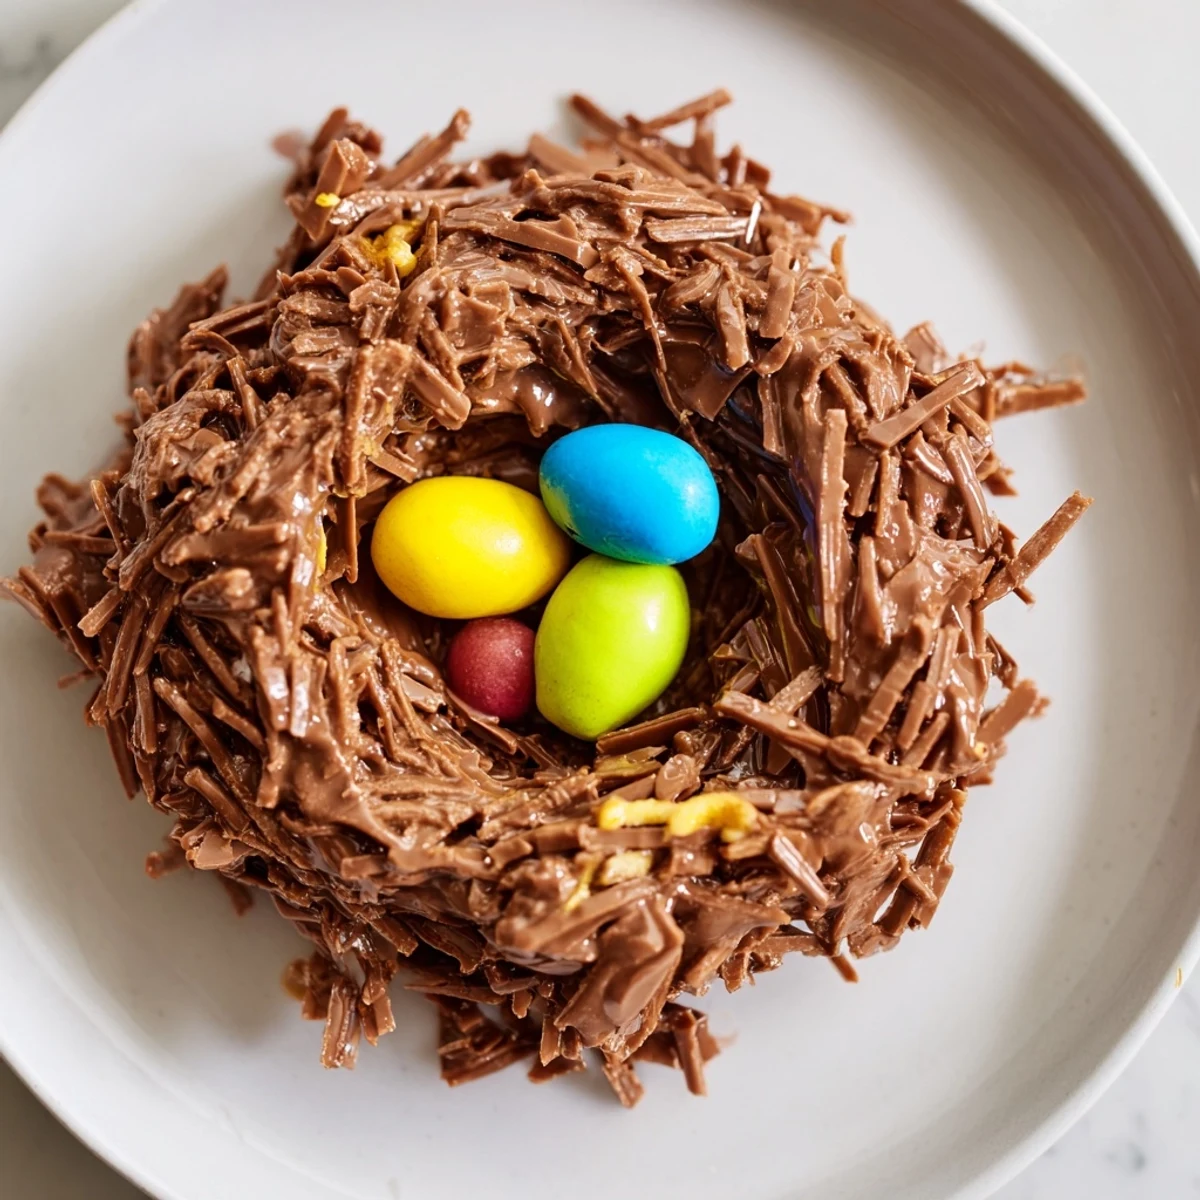
Save These no-bake chocolate egg nests combine melted milk chocolate with butter and golden syrup, folded into crushed shredded wheat or cornflakes to create a crispy base. The mixture is shaped into nest forms in muffin cups and chilled until firm. Mini candy-coated eggs are placed in the center for a festive touch. Easy to prepare and perfect for spring gatherings or holiday celebrations.
My kitchen smelled like pure chocolate heaven last Easter when my niece grabbed the bag of mini eggs and asked if we could make "bird homes" for them. We ended up with chocolate everywhere, fingerprints on the fridge, and these adorable crispy nests that disappeared faster than we could chill them. The whole house got involved, and somehow the adults were just as excited about the candy eggs as the kids were.
Last year I made these for a spring brunch and watched my typically reserved friend Peter quietly eat three in a row while pretending to help with dishes. There is something deeply nostalgic about the combination that makes people regress to childhood glee. I have started doubling the recipe because they vanish the moment they hit the serving plate.
Ingredients
- 200 g milk chocolate, chopped: Milk chocolate creates the classic nostalgic flavor but dark chocolate adds sophisticated depth if you prefer
- 50 g unsalted butter: This helps the chocolate set properly and gives the nests a velvety finish
- 2 tbsp golden syrup or light corn syrup: The secret ingredient that keeps the chocolate glossy and prevents it from seizing
- 100 g shredded wheat or cornflakes, lightly crushed: Shredded wheat creates authentic twig like strands while cornflakes offer lighter crispiness
- 36 mini candy coated chocolate eggs: These colorful eggs make the nests instantly recognizable and add a satisfying crunch
Instructions
- Prep your nest stations:
- Line a 12 cup muffin tin with paper cupcake liners and clear some fridge space for chilling later
- Melt the chocolate base:
- Combine the chocolate butter and golden syrup in a heatproof bowl set over gently simmering water stirring until completely smooth and glossy
- Create the nest texture:
- Gently fold the crushed shredded wheat or cornflakes into the melted chocolate until every piece is coated but still maintaining some crispy texture
- Shape your nests:
- Divide the mixture evenly among the muffin cups using the back of a spoon to press it into the corners and create a hollow center
- Add the eggs:
- Place three mini candy eggs into the center indentation of each nest while the chocolate is still slightly tacky so they adhere
- Set and serve:
- Chill for at least 30 minutes until firm then carefully peel away the liners and arrange on your serving plate
 Save
Save These became my go to contribution for classroom parties after the year I brought store bought cookies and they sat ignored on the counter. Now I show up with a box of nests and suddenly every kid wants to help carry things in. There is pure joy in watching tiny hands carefully place each egg as if conducting delicate surgery.
Making Them Your Own
White chocolate nests with pastel sprinkles look absolutely stunning on a spring dessert table. I have also made them with dark chocolate and salted caramel eggs for adult dinner parties where the color scheme matters less than the flavor profile. The basic technique works with any chocolate you love.
Timing Secrets
You can make these up to three days ahead and store them in the fridge layered between parchment paper. Actually they taste better on day two when the flavors have melded and the texture has settled. Just bring them to room temperature for ten minutes before serving so the chocolate is not rock hard.
Common Questions
After making dozens of batches I have learned that these are remarkably forgiving despite their delicate appearance. The most common question I get is whether they freeze well and the answer is a surprising yes.
- Can I use rice cereal instead of shredded wheat
- What if my chocolate seizes while melting
- How do I transport them without breaking
 Save
Save These chocolate nests have become my personal signal that spring has truly arrived. Happy making everyone
Questions & Answers
- → Can I substitute the shredded wheat with other cereals?
-
Yes, you can use cornflakes, puffed rice, or rice cereal for varied textures without affecting the overall taste.
- → How long should the nests chill before serving?
-
Chill the nests in the refrigerator for at least 30 minutes to ensure they set properly and hold their shape.
- → Are there alternative chocolates suggested for this treat?
-
Dark or white chocolate can be used instead of milk chocolate to vary the flavor profile.
- → Can nuts be added for extra texture?
-
Adding chopped hazelnuts or almonds to the chocolate mixture provides a nice nutty crunch.
- → What is the best way to store these nests?
-
Store them in an airtight container in the refrigerator for up to five days to maintain freshness.
- → Is a double boiler necessary to melt the chocolate?
-
A heatproof bowl over simmering water ensures smooth melting, but a microwave can be used carefully to avoid burning.
