 Save
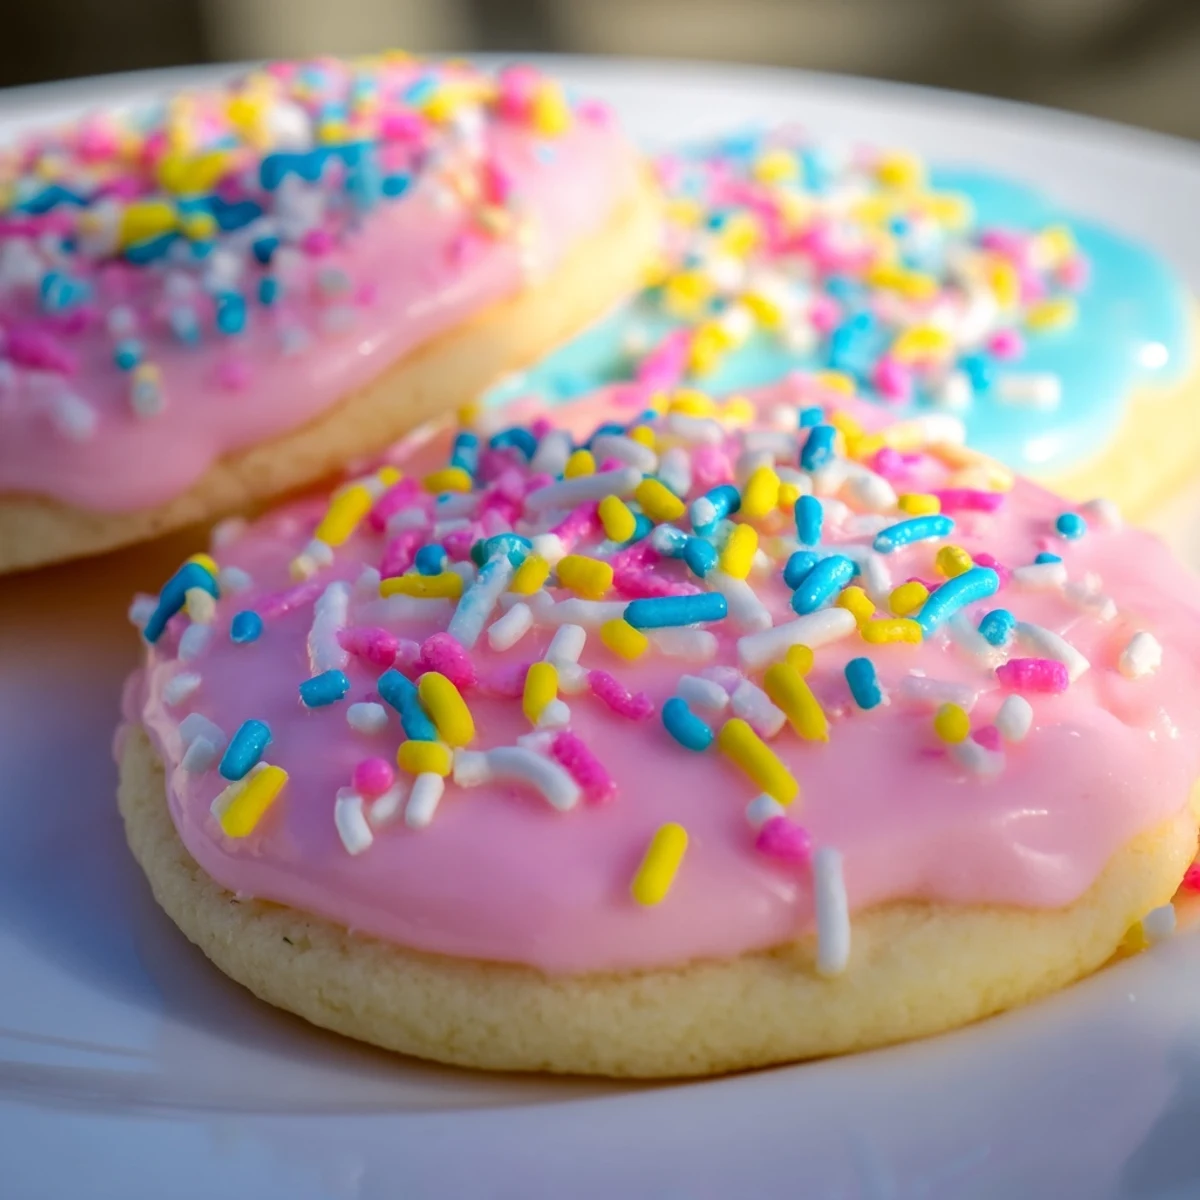
Save These delightful Easter cookies feature a classic buttery sugar cookie base that's soft, tender, and perfect for cutting into festive shapes. The dough comes together quickly with simple pantry staples, then chills for easy rolling. After baking to golden perfection, decorate with smooth royal icing in pastel colors and add sprinkles for that authentic Easter touch. Great for cookie decorating activities with kids.
Last spring, my kitchen table disappeared under an explosion of pastel sprinkles and sticky fingerprints. My niece decided we needed exactly 47 bunnies and no fewer than 12 Easter eggs, a sudden mission that turned a lazy Saturday into the most chaotic, joy-filled afternoon I'd had in months.
I've learned the hard way that royal icing dries faster than expected, creating those perfect stained-glass edges if you work quickly but becomes impossible to spread if you hesitate. My first batch looked like abstract art, but by the third cookie, I'd found my rhythm and ended up with little edible masterpieces.
Ingredients
- All-purpose flour: The foundation that gives these cookies their tender crumb, keeping them sturdy enough to decorate but still melt-in-your-mouth soft
- Baking powder: Just enough lift to prevent flat, sad cookies without making them puff up and lose their carefully cut shapes
- Unsalted butter: Room temperature is non-negotiable here, cold butter creates a dough that fights you and warm butter turns everything into a sticky mess
- Granulated sugar: Sweetens and helps create those crisp edges while keeping centers soft and pillowy
- Large egg: Binds everything together and adds richness, make sure it's at room temperature so it incorporates smoothly
- Pure vanilla extract: The flavor backbone, don't skimp here because real vanilla makes all the difference in a simple sugar cookie
- Powdered sugar: Sift it first or face the frustrating lumps that will clog your icing and create speckled designs you didn't plan
- Milk or water: Start with less liquid, you can always add more but you can't take it back once your icing turns into soup
- Light corn syrup: The secret ingredient that gives royal icing that gorgeous glossy finish and helps it set properly
- Food coloring: Gel colors work best, delivering vibrant pastels without thinning your icing like liquid drops can
Instructions
- Whisk the dry ingredients:
- Combine flour, baking powder, and salt in a medium bowl, giving it a quick whisk to distribute everything evenly before it meets the butter and sugar
- Cream butter and sugar:
- Beat the butter and sugar for a full 2 to 3 minutes until it's pale and fluffy, this creates tiny air pockets that make cookies tender and light
- Add the wet ingredients:
- Mix in the egg and vanilla until everything comes together in a smooth, glossy batter that smells like every good memory you've ever had
- Combine the dough:
- Gradually stir in the dry ingredients just until you no longer see streaks of flour, overworking now means tough cookies later
- Chill the dough:
- Divide in half, flatten into disks, wrap tightly, and let them rest in the refrigerator for at least 30 minutes so they firm up and hold their shapes
- Preheat and prepare:
- Heat your oven to 350°F and line baking sheets with parchment paper so nothing sticks and cleanup becomes almost effortless
- Roll and cut:
- Roll the dough to a quarter-inch thickness on a lightly floured surface, then press in your Easter cutters, gathering and rerolling scraps until you've used every bit
- Bake to perfection:
- Arrange cookies an inch apart on prepared sheets and bake for 8 to 10 minutes until edges look set but the centers still seem slightly soft
- Cool completely:
- Let them rest on the baking sheet for 5 minutes before moving them to a wire rack, because warm cookies and icing do not get along
- Mix the royal icing:
- Stir together powdered sugar, your liquid, corn syrup, and extract until smooth, adjusting until it flows like thick honey off the spoon
- Color and decorate:
- Divide the icing and tint each portion with food coloring, then pipe or spread onto cooled cookies and add sprinkles before everything sets
 Save
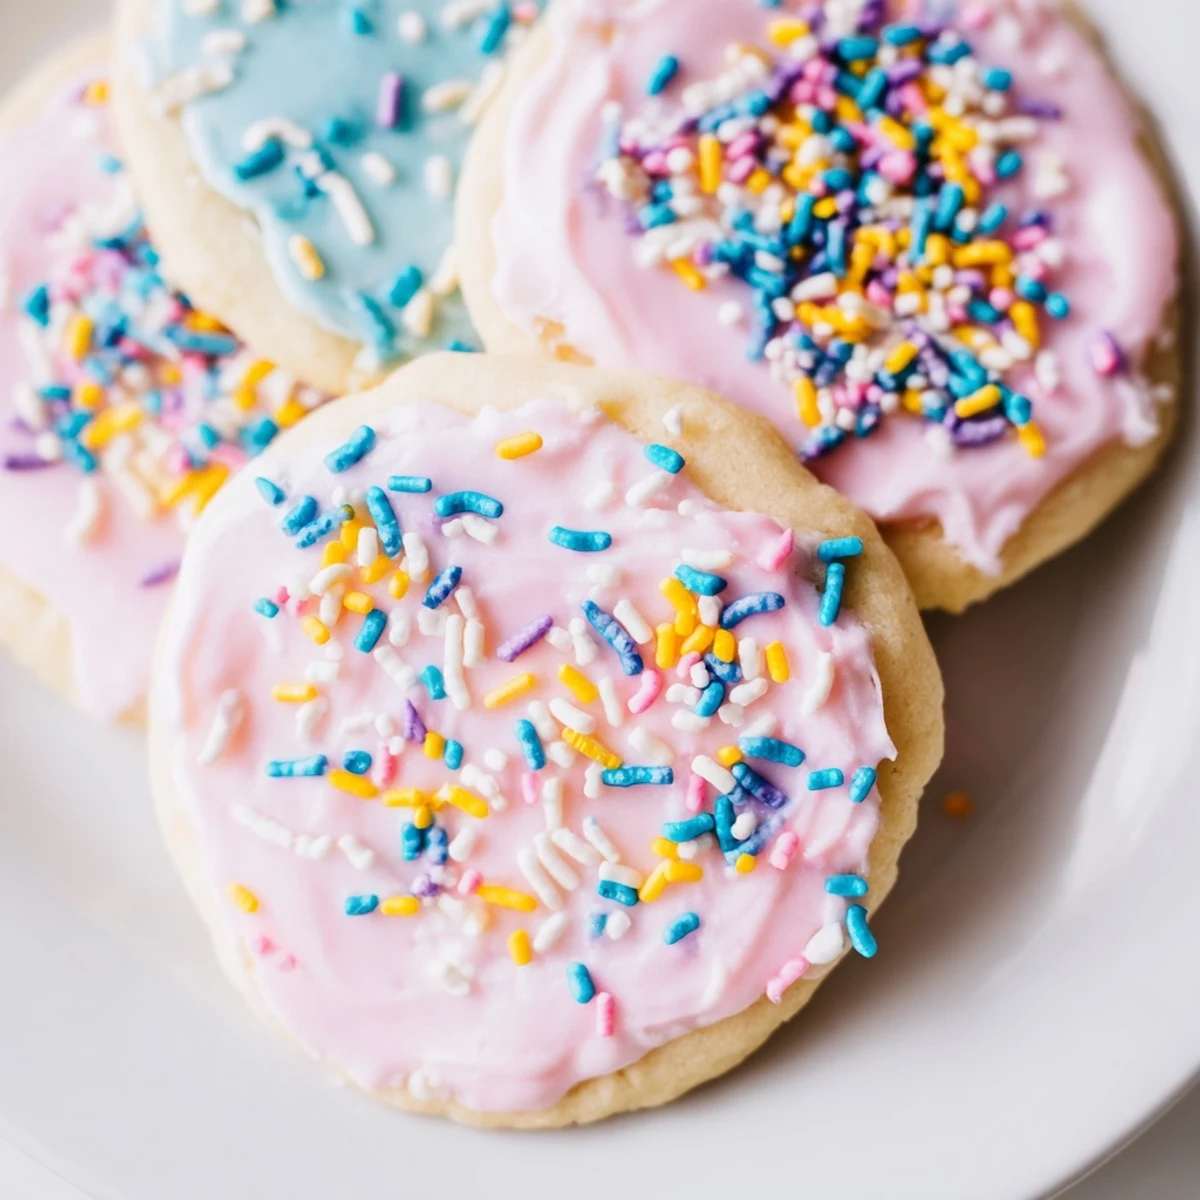
Save These cookies have become my go-to for spring gatherings, partly because they're delicious but mostly because decorating them together turns strangers into friends and family moments into memories. Something about sprinkles and icing makes people forget their worries and just create.
Perfect Icing Consistency
The ideal royal icing should flow back into itself within 10 seconds when you drag a knife through it, thin enough to spread smoothly but thick enough to hold distinct lines and patterns. I keep a small bowl of extra water nearby, adding just a drop at a time if my icing starts feeling too stiff to work with.
Storage Secrets
Once decorated, let these cookies dry uncovered at room temperature for several hours or overnight so the icing sets completely without any sticky spots. Layer them between sheets of parchment paper in an airtight container and they'll stay fresh for up to a week, though in my house they rarely last more than two days.
Making Ahead
You can prepare the dough up to three days in advance and keep it wrapped tightly in the refrigerator, or freeze it for up to a month if you want to get a head start on holiday baking. Let frozen dough thaw overnight in the fridge before rolling, and never try to roll it straight from the freezer or it'll crack and resist every cut.
- Double the recipe and freeze half the dough for next time, you'll thank yourself later
- Mix your icing colors in small ramekins so you can adjust each shade separately
- Keep a damp paper towel over any icing you're not actively using to prevent it from crusting over
 Save
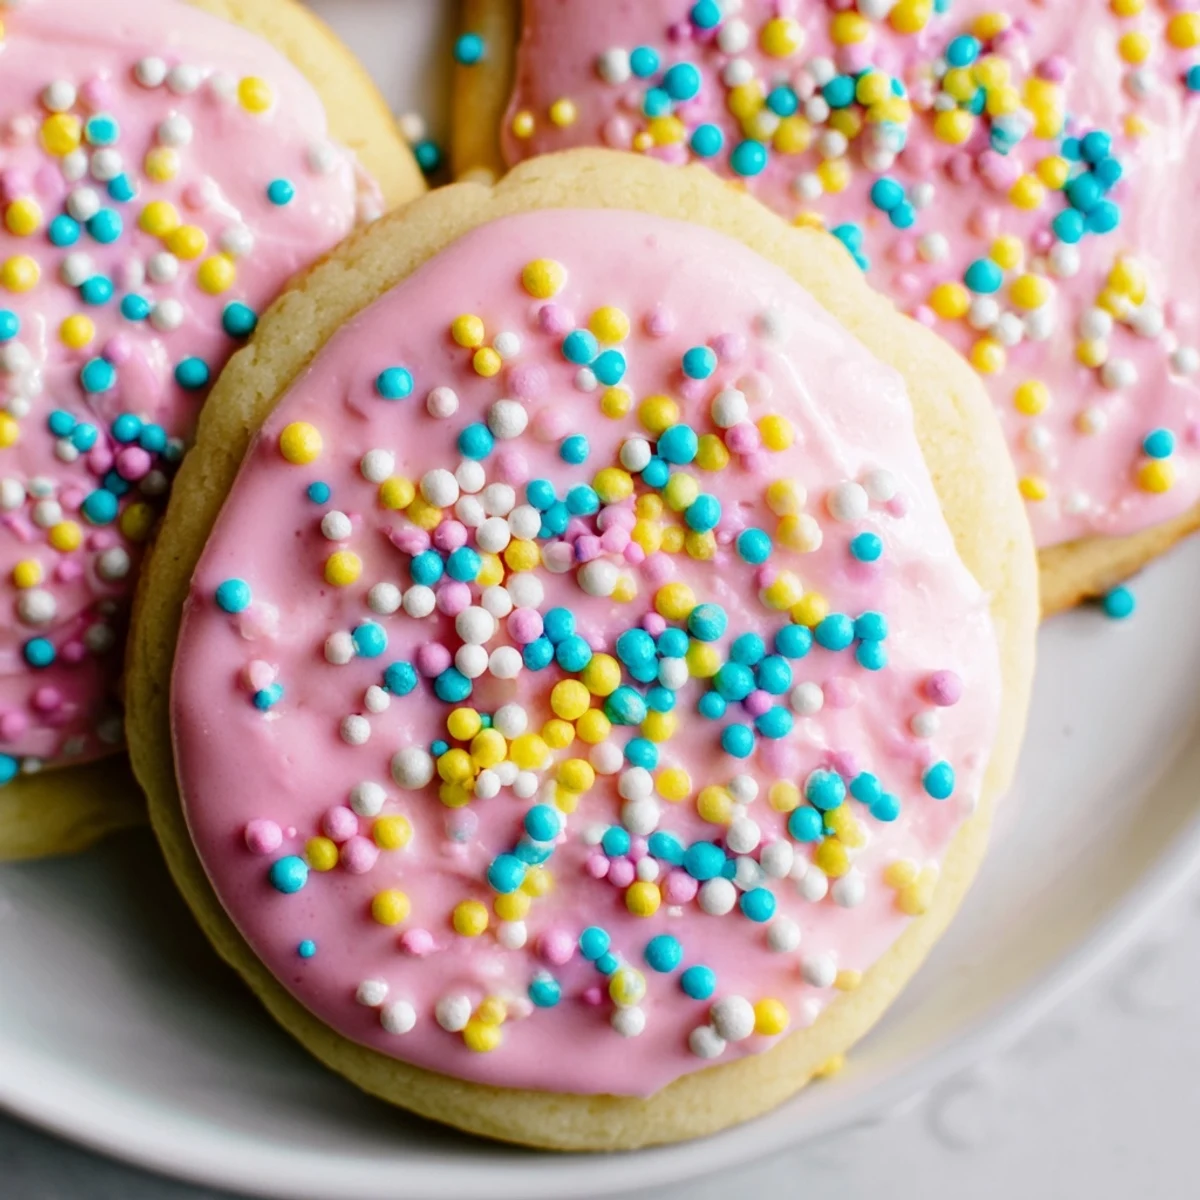
Save May your Easter be filled with sticky fingers, colorful sprinkles, and the kind of laughter that echoes through the kitchen long after the last cookie disappears.
Questions & Answers
- → How long should I chill the cookie dough?
-
Chill the dough for at least 30 minutes after dividing and flattening into disks. This makes rolling easier and helps cookies hold their shape during baking.
- → Can I make these cookies ahead of time?
-
Yes! You can chill the dough for up to 2 days before baking. Once baked and decorated, store cookies in an airtight container for up to 1 week at room temperature.
- → What's the best way to achieve smooth royal icing?
-
Sift powdered sugar before mixing to avoid lumps. Start with 1½ tablespoons of milk and add more gradually until you reach your desired consistency—thicker for outlining, thinner for flooding.
- → Why did my cookies spread too much while baking?
-
This usually happens when dough is too warm. Always chill dough thoroughly before rolling, and work quickly. If your kitchen is warm, chill cutouts on the baking sheet for 5-10 minutes before baking.
- → Can I use different cookie cutter shapes?
-
Absolutely! While Easter-themed cutters like eggs, bunnies, and chicks are traditional, any shape works beautifully with this versatile dough and icing combination.
- → How do I know when the cookies are done baking?
-
The cookies are ready when edges are set but not browned—about 8-10 minutes at 350°F. They'll continue firming slightly on the hot baking sheet during the 5-minute cooling period.
