 Save
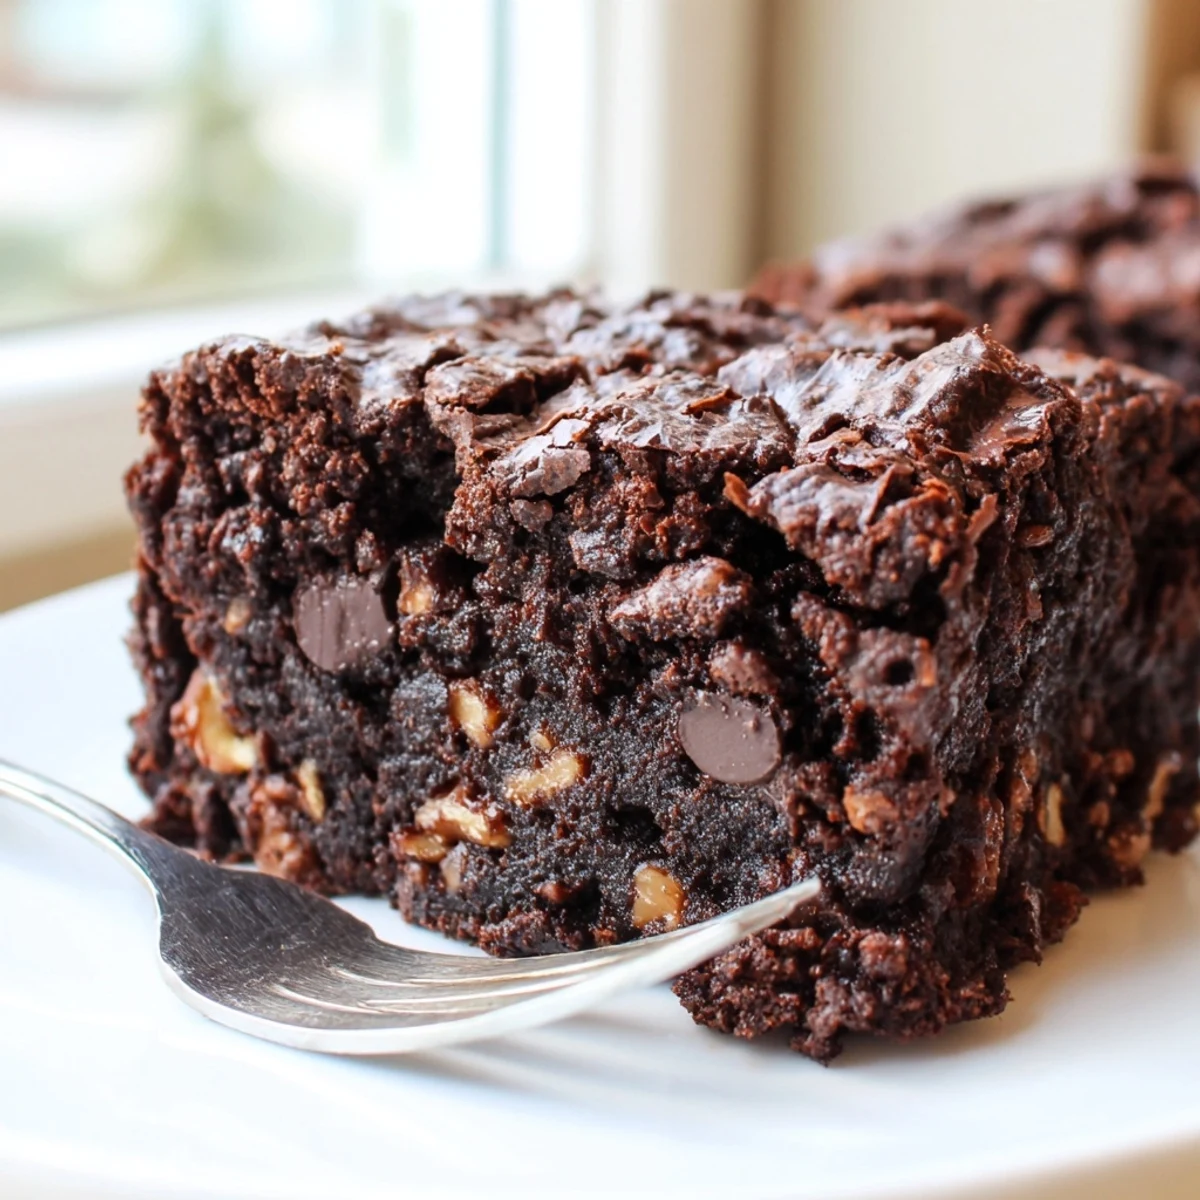
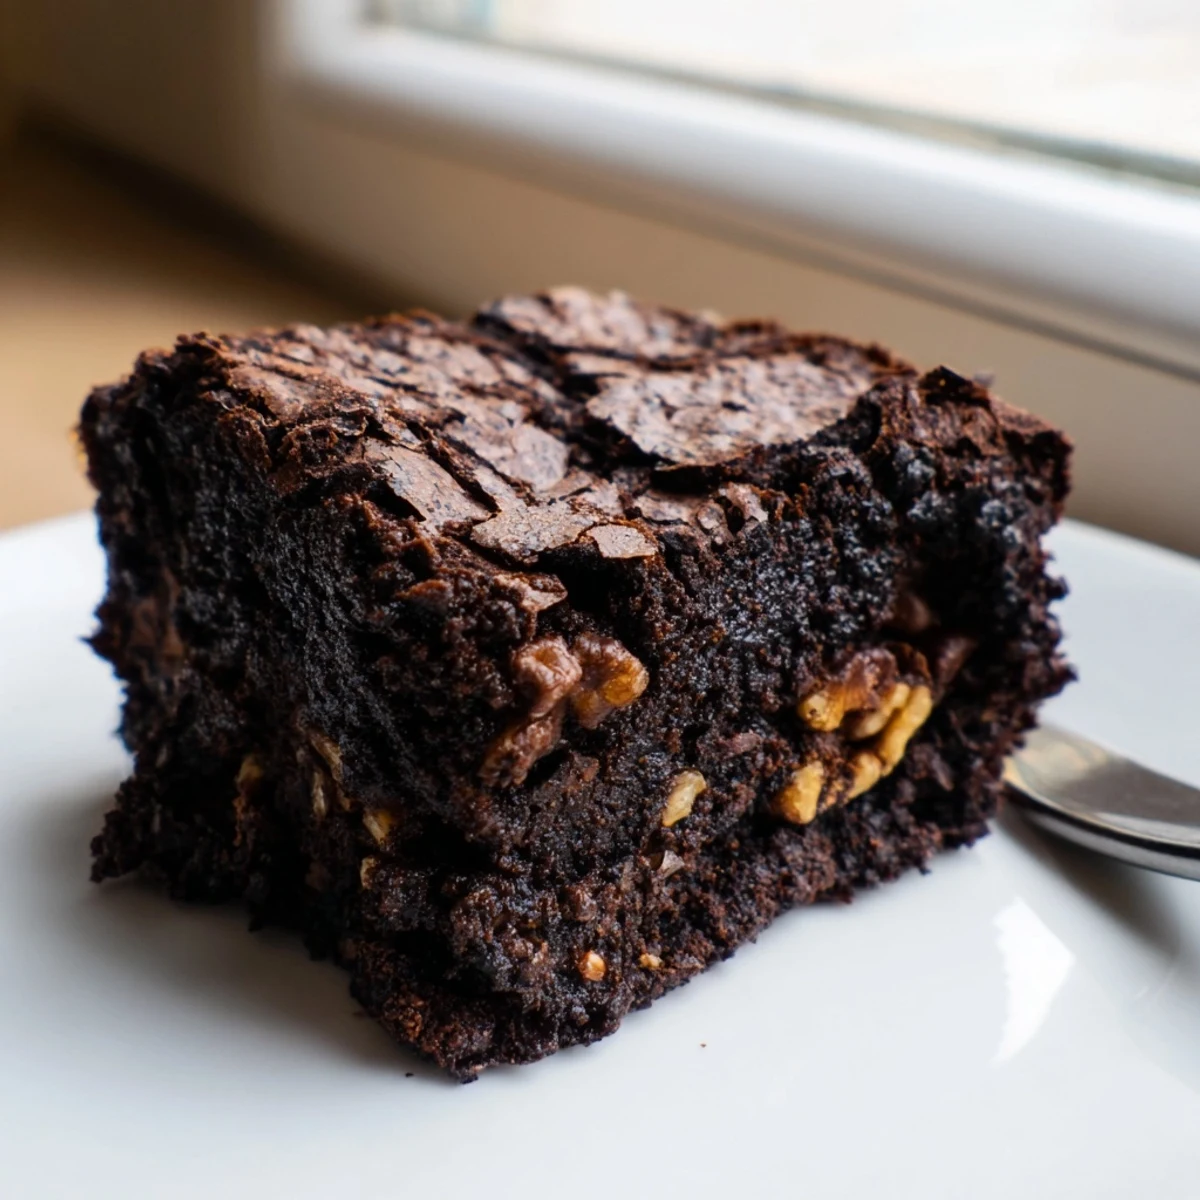
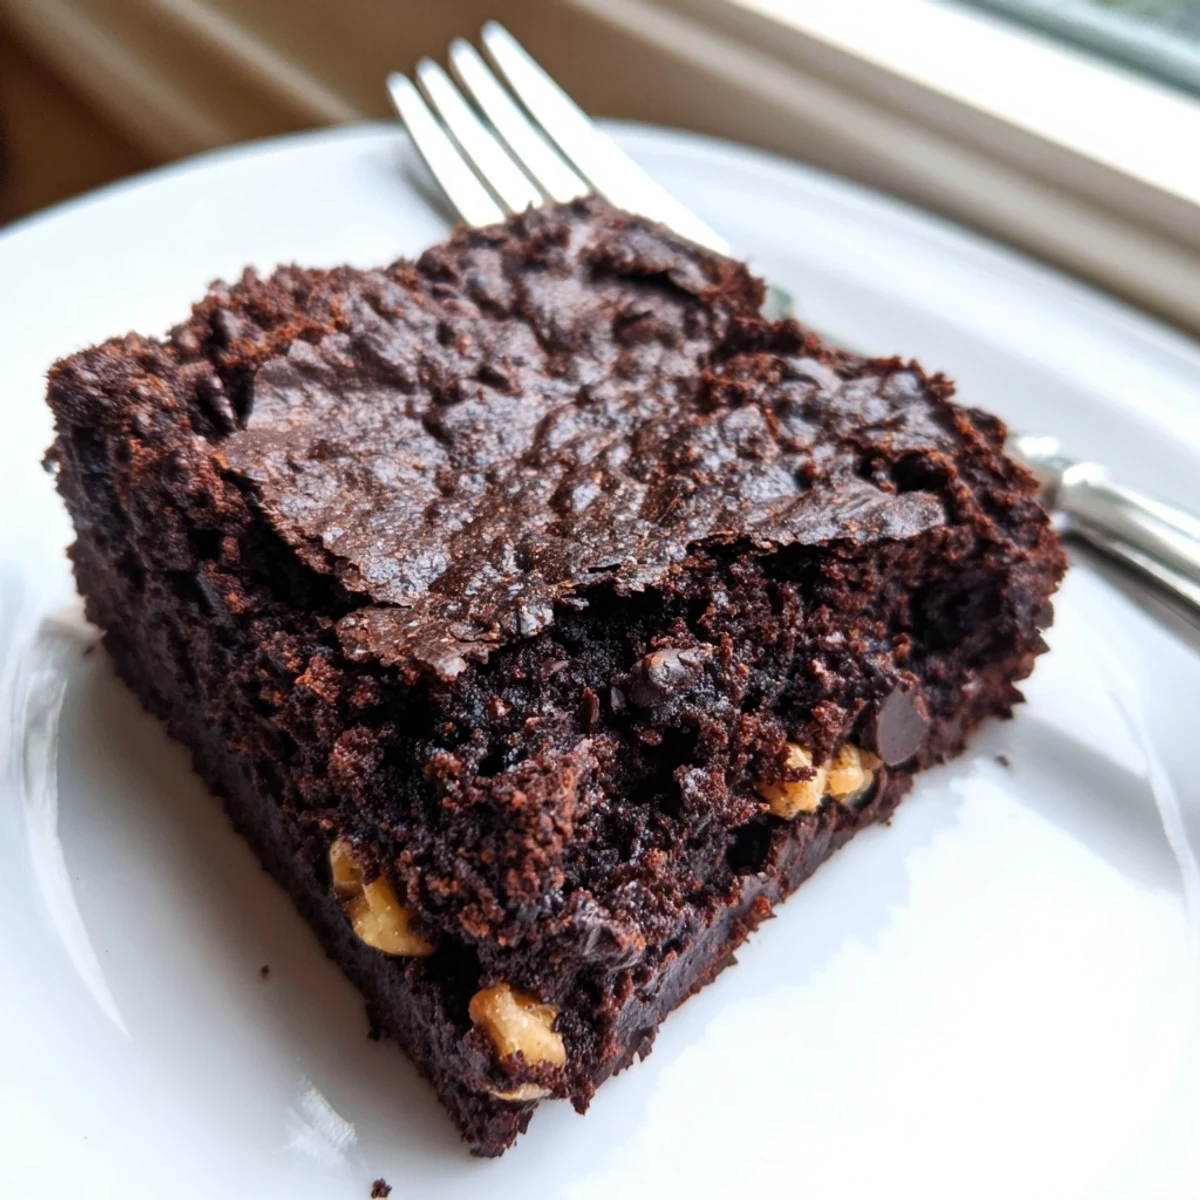
Save These dark chocolate brownies strike the perfect balance between fudgy and cakey, featuring a signature crackly crust on top and a dense, melt-in-your-mouth interior. Made with high-quality dark chocolate, a blend of granulated and brown sugars, and a touch of vanilla, they come together in just 15 minutes of prep.
Baked in a simple square pan, they're versatile enough for casual snacking or dressed up with a scoop of vanilla ice cream for a decadent dessert. Optional walnuts, pecans, or chocolate chips let you customize each batch to your liking.
The apartment smelled like a chocolate factory had exploded, and honestly, I was not mad about it. My first attempt at homemade brownies came during a rainy Tuesday when the store was closed and the craving hit hard. That batch was lopsided, slightly overbaked on one corner, and absolutely devoured within an hour by two grateful roommates.
I brought a tray of these to a friends potluck once and watched a quiet guest go back for her fourth piece while pretending to examine the bookshelf.
Ingredients
- 120 g all-purpose flour: The structural backbone, but keep it minimal because too much flour turns fudgy into cakey, a mistake I learned the hard way.
- 40 g unsweetened cocoa powder: Deepens the chocolate intensity without adding extra sweetness or fat to the batter.
- 1/2 tsp baking powder: Just enough lift to give the brownies a slight rise without making them fluffy.
- 1/4 tsp salt: Never skip this, because salt is what makes chocolate taste like itself rather than just sweet brown sludge.
- 200 g dark chocolate (at least 60% cocoa), chopped: The star player here, so splurge on decent chocolate and your tastebuds will thank you for it.
- 150 g unsalted butter, plus extra for greasing: Butter carries the chocolate flavor and creates that irresistible richness in every single bite.
- 200 g granulated sugar: Provides structure and that beautiful shiny crust on top that crackles when you cut into it.
- 100 g brown sugar: Adds moisture and a subtle caramel note that makes these brownies taste more complex than they have any right to be.
- 3 large eggs: The binding agent that also helps create the crackly top when whisked thoroughly with sugar.
- 1 tsp pure vanilla extract: Rounds out the chocolate flavor and adds a warmth that artificial vanilla simply cannot match.
- 100 g walnuts or pecans, roughly chopped (optional): A welcome crunch that breaks up the dense texture if you are a nut person.
- 80 g chocolate chips (optional): Little pockets of melted chocolate hidden inside an already chocolate dessert, because more is more here.
Instructions
- Prep the oven and pan:
- Heat your oven to 175 degrees Celsius (350 degrees Fahrenheit) and line a 23x23 cm square pan with parchment paper, leaving overhang on two sides for easy lifting later.
- Melt the chocolate and butter:
- Set a heatproof bowl over a pot of barely simmering water and melt the dark chocolate with the butter, stirring gently until glossy and smooth, then let it cool for a few minutes so it does not scramble the eggs.
- Whisk the wet base:
- In a large bowl, whisk the granulated sugar, brown sugar, eggs, and vanilla extract vigorously until the mixture turns pale and looks slightly thickened, about two minutes of enthusiastic whisking.
- Bring it all together:
- Pour the melted chocolate mixture into the egg mixture and stir until evenly combined, watching the batter transform into a dark, glossy river of potential.
- Fold in the dry ingredients:
- Sift the flour, cocoa powder, baking powder, and salt directly into the bowl, then fold gently with a spatula until just combined and you see no more dry pockets, but stop before you overmix.
- Add the extras if using:
- Fold in the chopped nuts and chocolate chips now, distributing them evenly so every square gets a fair share of the good stuff.
- Pour and bake:
- Scrape every last bit of batter into the prepared pan, smooth the top, and bake for 22 to 25 minutes until the edges are set but the center still has a slight wobble when you gently shake the pan.
- Cool and slice:
- Let the brownies cool completely in the pan before lifting them out with the parchment overhang and cutting into twelve squares with a sharp knife.
 Save
Save One winter evening my neighbor knocked on my door to return a borrowed pan, caught one whiff from my kitchen, and ended up staying for tea and three brownies.
Getting That Perfect Fudgy Texture
The secret lies entirely in restraint. Brownie batter does not need aggressive mixing, and the oven does not need extra time.
Serving and Storing
These brownies are at their most magical when served slightly warm alongside a scoop of vanilla ice cream that slowly melts into the fudgy crumb.
Making It Your Own
This recipe is a willing canvas for whatever you have lurking in your pantry. Dried cherries, a swirl of peanut butter, a pinch of espresso powder, or a scattering of flaky sea salt on top all transform the final result into something distinctly yours.
- Swap half the dark chocolate for milk chocolate if you prefer a sweeter, milder brownie.
- Espresso powder added with the dry ingredients makes the chocolate flavor sing without tasting like coffee.
- Always let them cool completely before cutting if you want clean, bakery style squares.
 Save
Save Some recipes earn a permanent spot in your kitchen, and this is one of mine. Share them generously, because happiness multiplies when it is passed through a warm plate of chocolate.
Questions & Answers
- → How do I know when my brownies are done baking?
-
The edges should look set and slightly pulled away from the pan, while the center still has a slight jiggle. A toothpick inserted in the middle should come out with moist crumbs clinging to it—not wet batter, but not completely clean either. Start checking at the 22-minute mark to avoid overbaking.
- → Can I use milk chocolate instead of dark chocolate?
-
You can substitute milk chocolate, but the brownies will be sweeter and less intensely chocolatey. If using milk chocolate, consider reducing the granulated sugar by about 30 g to balance the sweetness. Dark chocolate (60% cocoa or higher) gives the best fudgy texture and depth of flavor.
- → Why did my brownies turn out cakey instead of fudgy?
-
Cakey brownies usually result from overmixing the batter or adding too much flour. Fold the dry ingredients gently until just combined—overworking the batter incorporates excess air. Also, make sure you measure flour by weight rather than volume for accuracy, and avoid baking longer than the recommended time.
- → How should I store leftover brownies?
-
Store cut brownies in an airtight container at room temperature for up to 4 days. Place parchment paper between layers to prevent sticking. For longer storage, freeze individual squares wrapped tightly in plastic wrap for up to 3 months. Thaw at room temperature or warm briefly in the microwave.
- → Can I make these brownies without eggs?
-
Yes, you can substitute each egg with 60 g of plain yogurt, 3 tablespoons of applesauce, or a flax egg (1 tablespoon ground flaxseed mixed with 3 tablespoons water). Keep in mind the texture may vary slightly—the brownies might be less chewy and more dense, but still delicious.
- → What size pan should I use for these brownies?
-
A 23x23 cm (9x9 inch) square baking pan is ideal for this quantity of batter. Using a smaller pan will yield thicker brownies that need longer baking, while a larger pan produces thinner, potentially drier results. If using a different size, adjust the baking time and keep a close eye on doneness.
