 Save
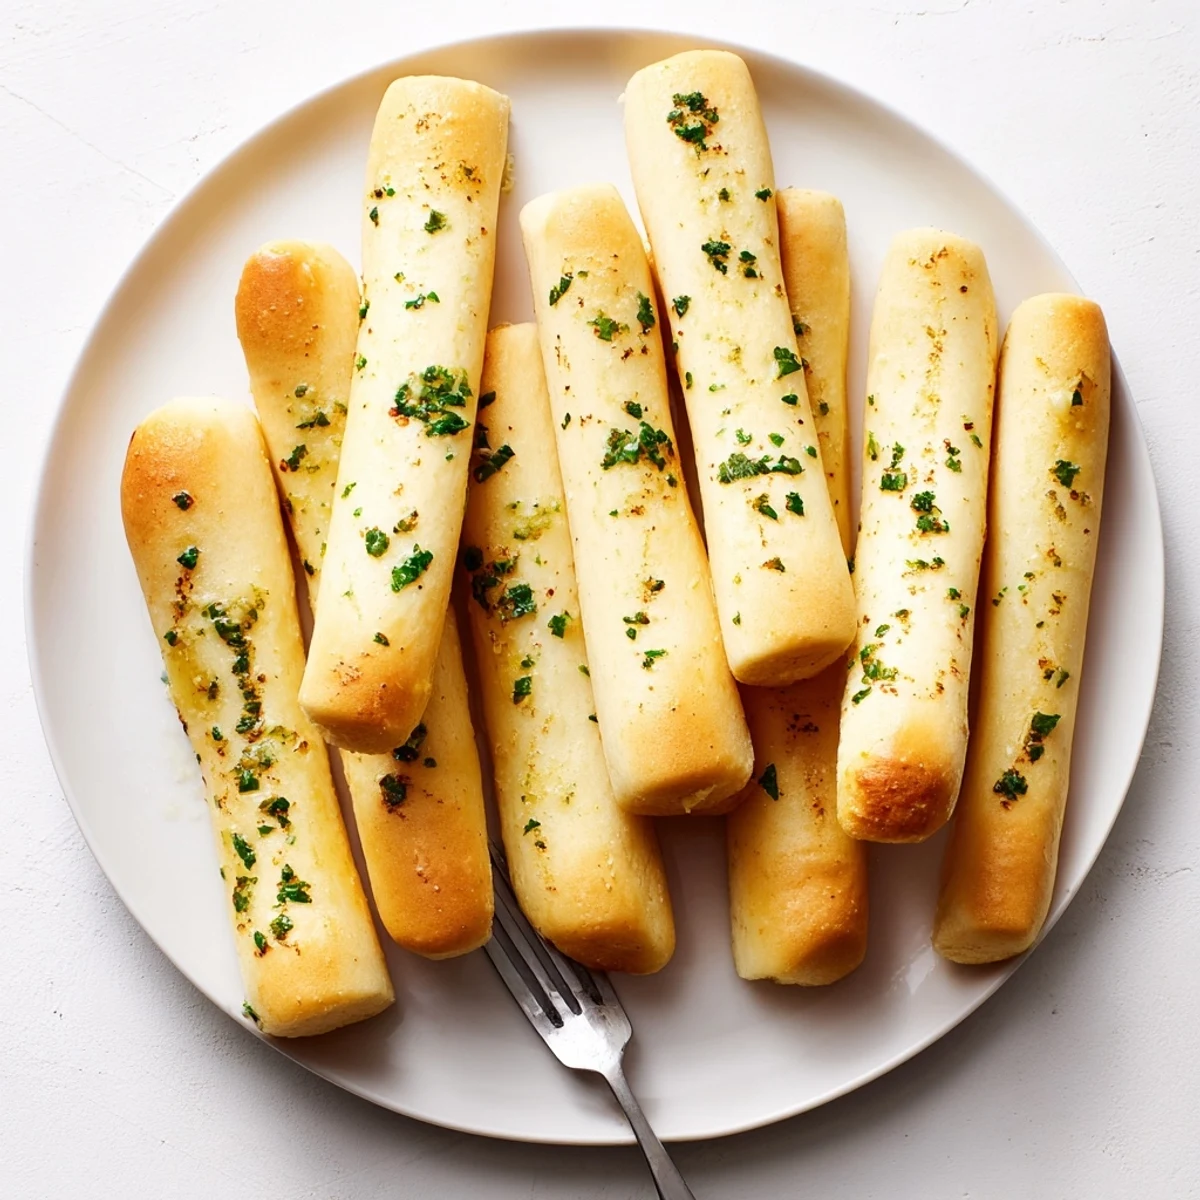
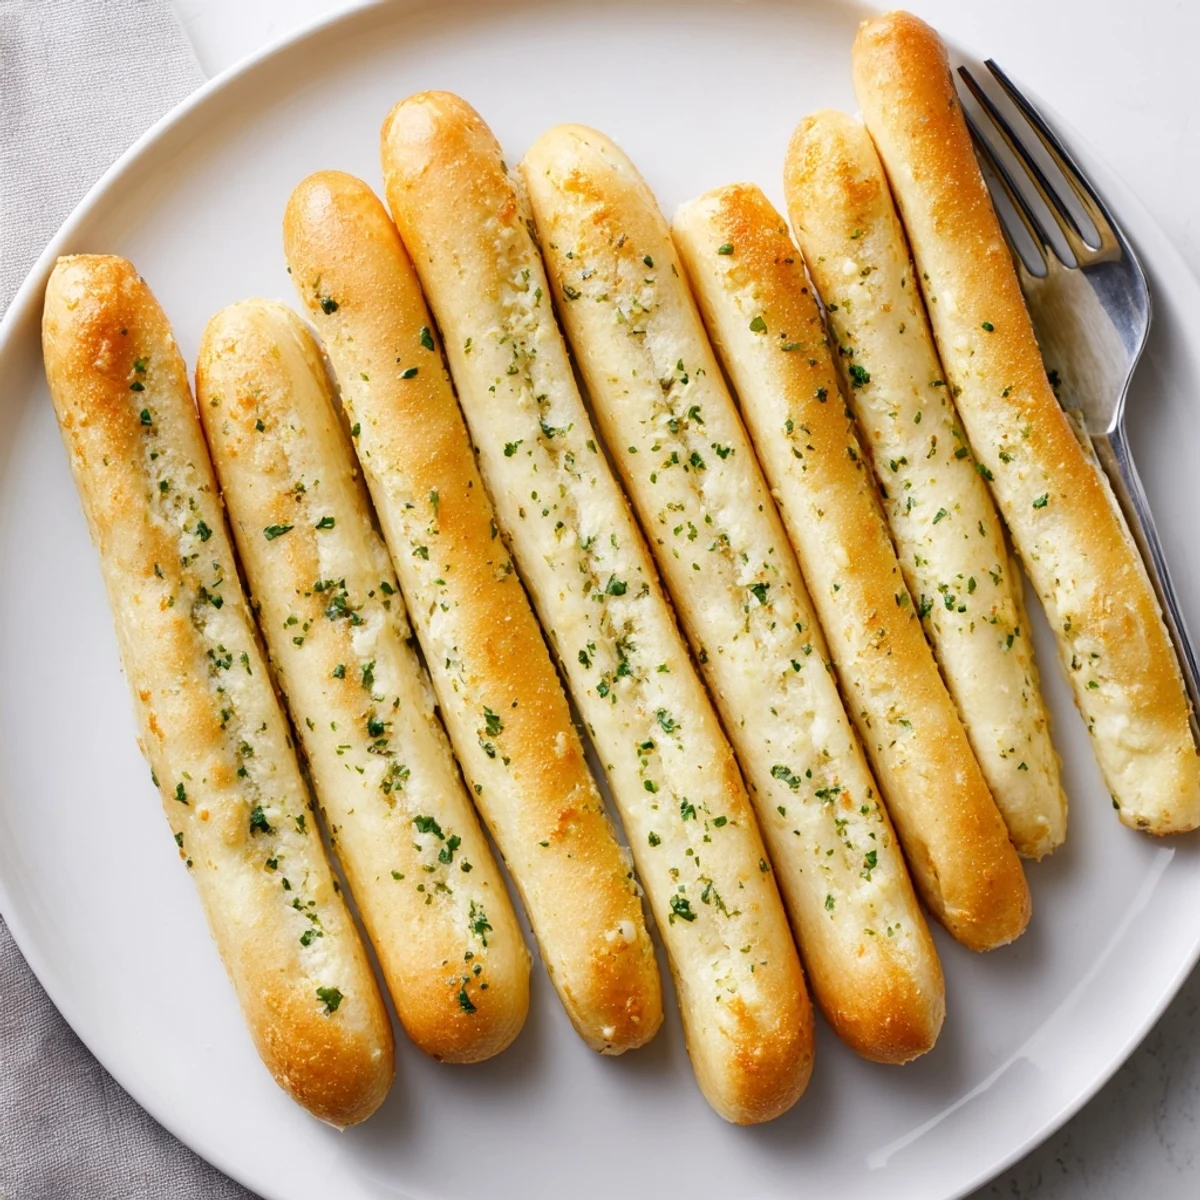
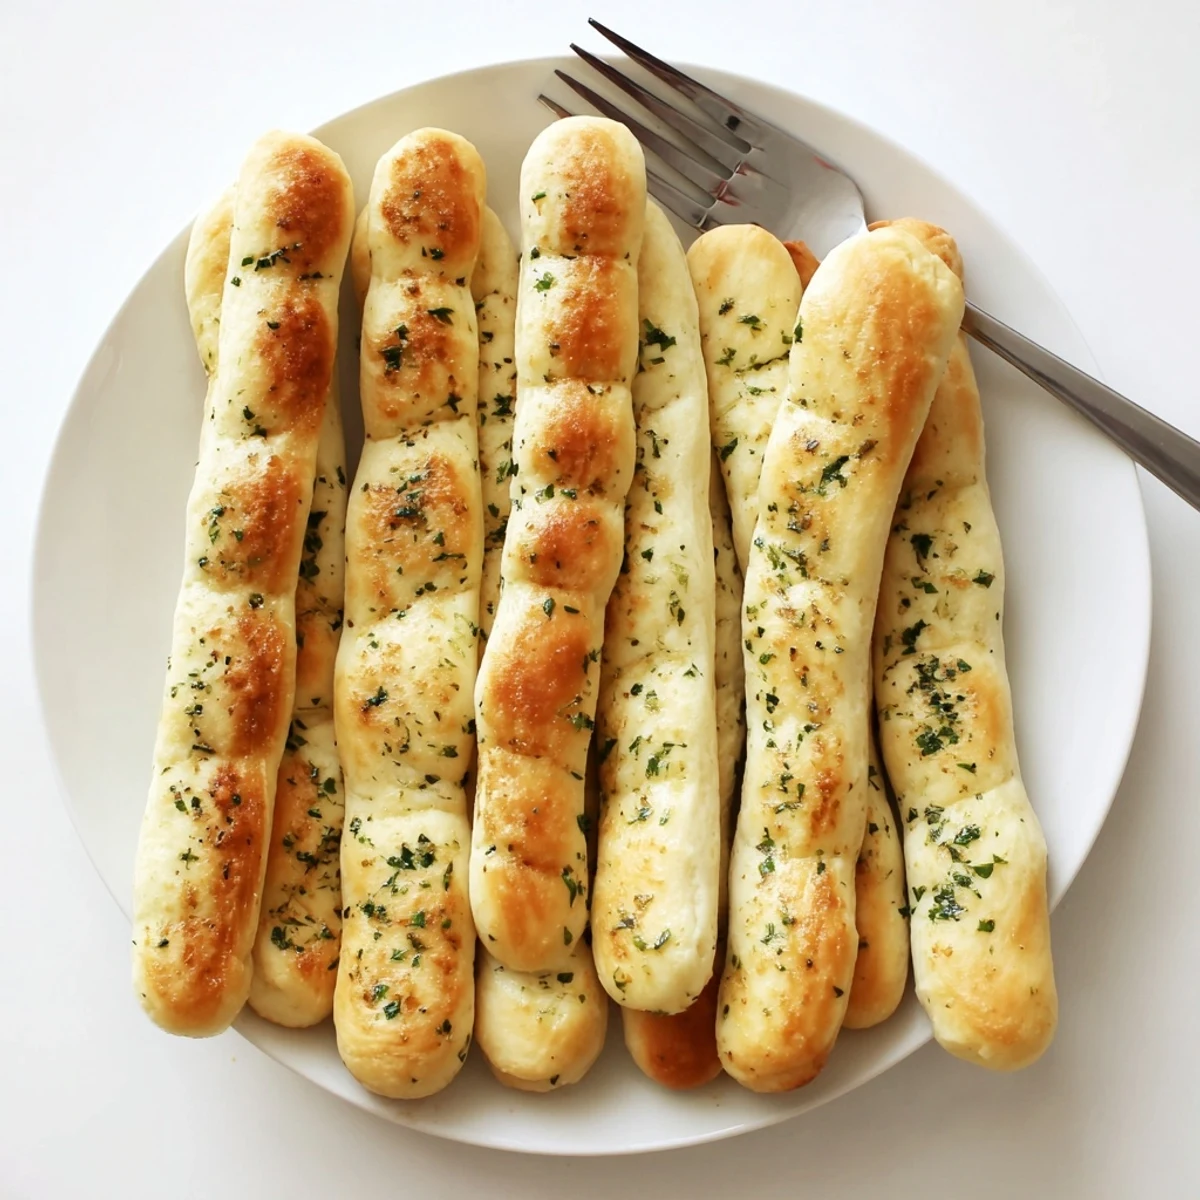
Save These homemade breadsticks deliver restaurant-quality results with simple ingredients. The dough rises to perfection, creating pillowy soft interiors with golden exteriors. A generous brushing of melted butter infused with fresh garlic and parsley adds irresistible flavor and aroma.
Ready in under 2 hours including rising time, these breadsticks bake to light golden perfection. The technique ensures even cooking and maximum garlic butter absorption. Serve them warm for the ultimate comfort food experience that family and guests will love.
The smell of garlic butter hitting fresh baked bread is the kind of thing that makes everyone wander into the kitchen asking when dinner is ready.
One rainy Saturday my niece stood on a step stool at the counter and rolled the most wonderfully lopsided breadsticks you have ever seen, and they still disappeared in minutes.
Ingredients
- All-purpose flour (2 cups): Spoon and level it into the cup rather than scooping directly from the bag for accurate measuring.
- Warm water (1 cup): Should feel like a warm bath on your wrist, not hot, since scalding water kills the yeast.
- Instant yeast (1 1/2 tsp): Instant yeast skips the bloom step but letting it proof anyway gives you peace of mind that it is alive.
- Sugar (1 tsp): Just enough to wake up the yeast without making the dough sweet.
- Salt (3/4 tsp): Add it with the flour, never directly onto the yeast, because direct contact can slow things down.
- Unsalted butter, softened (2 tbsp): Room temperature butter incorporates smoothly into the dough without tearing it.
- Unsalted butter, melted (3 tbsp): This is for the garlic butter finish, so keep it separate from the dough butter.
- Garlic cloves (2): Mince them as finely as you can because rough chunks burn in hot butter.
- Fresh parsley (1 tbsp): Optional but the color and freshness it adds are worth the extra chop.
- Salt (1/2 tsp): For the garlic butter, balances the richness beautifully.
Instructions
- Wake up the yeast:
- Pour warm water into a large bowl, stir in the sugar and yeast, and watch for creamy bubbles forming across the surface after about five minutes.
- Bring the dough together:
- Add the flour, salt, and softened butter, then mix with your hands or a wooden spoon until everything comes together into a shaggy ball.
- Knead until proud:
- Turn the dough onto a lightly floured counter and knead for seven to eight minutes until it feels smooth and springs back when you poke it gently with your finger.
- Let it rise:
- Drop the dough into a greased bowl, cover it with a damp kitchen towel, and tuck it somewhere warm for about an hour until it has puffed up to double its size.
- Shape the breadsticks:
- Punch the dough down gently, divide it into twelve even pieces, and roll each one into a seven inch rope using flat palms on an unfloured surface so you get some grip.
- Second rise:
- Arrange the shaped breadsticks on a parchment lined baking sheet, cover loosely with a towel, and let them puff up for twenty to thirty minutes while the oven preheats to 400 degrees Fahrenheit.
- Bake to golden:
- Slide the tray into the oven and bake for twelve to fifteen minutes, watching for that light golden color on top and slightly firm bottoms.
- Butter them hot:
- Melt the butter with minced garlic and salt while the breadsticks bake, then brush the mixture generously over every surface the second they come out of the oven so it soaks right in.
 Save
Save The best part of making these is standing around the kitchen island with family, tearing breadsticks apart while they are still too hot to hold properly.
Making Them Your Own
Sprinkle grated Parmesan over the breadsticks right before they go into the oven for a cheesy crust that elevates everything.
Herb Swaps
Parsley is classic but torn basil leaves or a pinch of dried oregano in the garlic butter gives you a completely different flavor profile worth trying.
Serving and Storing
These are best eaten warm but reheat beautifully in a 300 degree oven for five minutes.
- Wrap any leftovers in foil and store at room temperature for up to two days.
- A small bowl of warm marinara on the side turns these into a snack people cannot stop eating.
- Never microwave them to reheat because they turn chewy and tough instead of soft.
 Save
Save Once you have made these a few times, the whole process feels like second nature and you will start finding excuses to bake them.
Questions & Answers
- → Can I prepare the dough ahead of time?
-
Yes, prepare the dough through the first rise, then refrigerate overnight. Let it come to room temperature before shaping and baking for the best results.
- → What's the best way to store leftover breadsticks?
-
Store in an airtight container at room temperature for up to 2 days. Reheat in a 350°F oven for 5 minutes to restore freshness. Avoid microwaving as they become tough.
- → Can I freeze these breadsticks?
-
Absolutely. Freeze baked breadsticks in freezer bags for up to 3 months. Thaw at room temperature and reheat in the oven. You can also freeze unbaked dough after shaping.
- → How do I know when the yeast is activated properly?
-
After mixing with warm water and sugar, the mixture should become foamy and bubbly within 5-10 minutes. If no foam appears, your yeast may be inactive and you should start with fresh yeast.
- → Can I make these dairy-free?
-
Substitute the butter with olive oil or vegan butter alternative. The texture will remain similar, though the flavor profile will shift slightly. Brush with olive oil mixed with garlic for a dairy-free version.
- → Why did my breadsticks turn out dense?
-
Dense breadsticks usually result from under-kneading, insufficient rising time, or using water that's too hot which killed the yeast. Ensure proper kneading and let dough double in size during rises.
