 Save
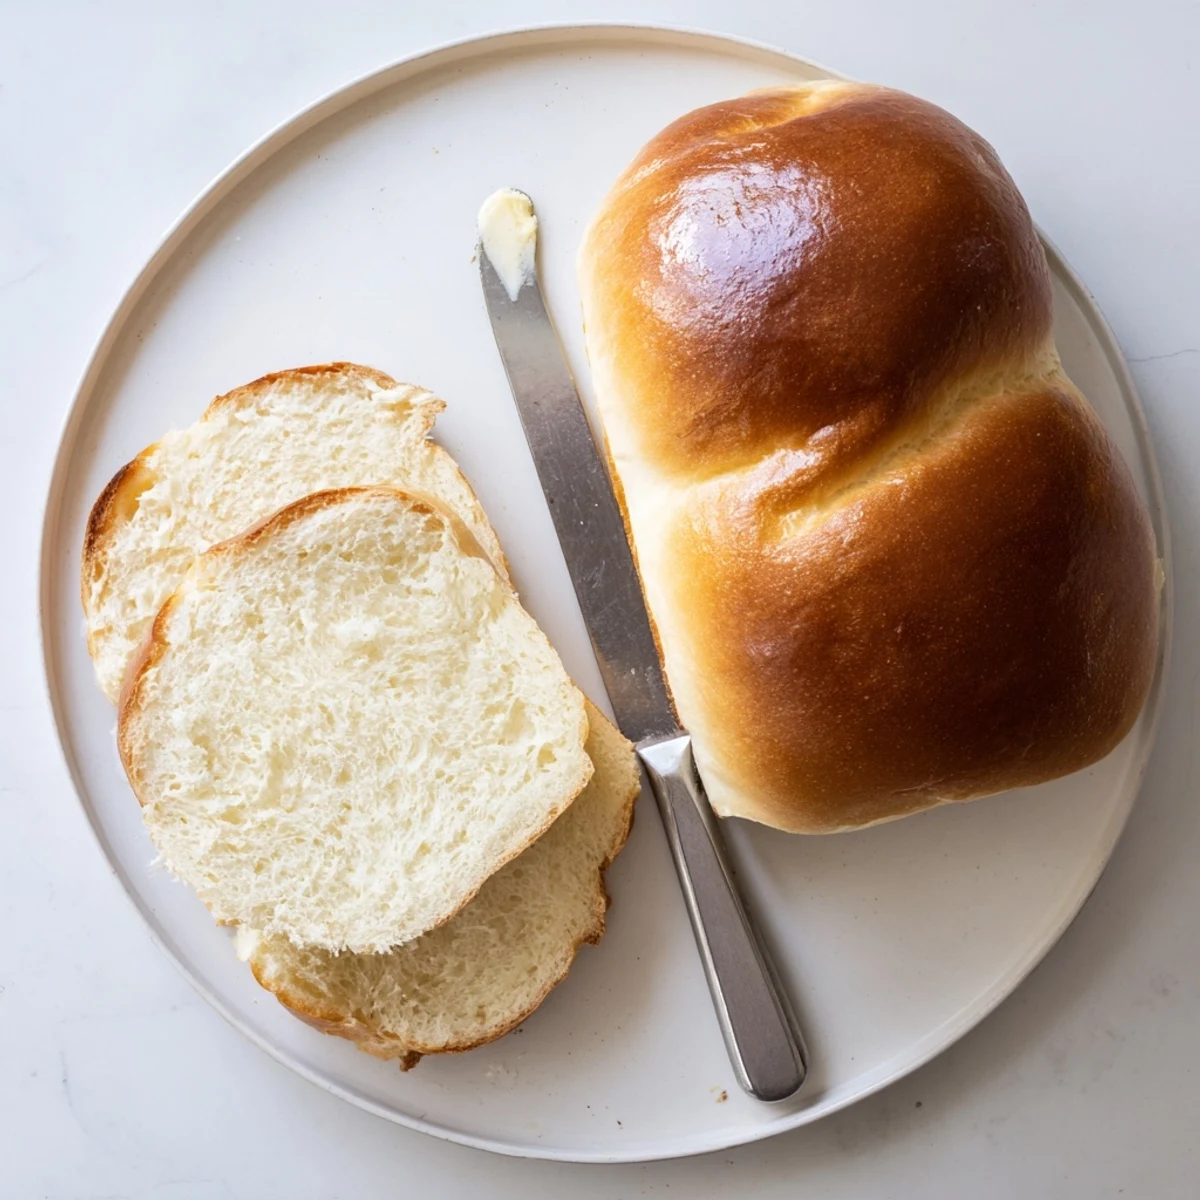
Save Create two beautiful golden loaves of soft, slightly sweet white bread using simple pantry staples. This beloved Amish-style bread rises beautifully in the oven, developing a tender crumb perfect for morning toast, lunchtime sandwiches, or homemade French toast.
The dough comes together with just warm water, sugar, yeast, salt, oil, and flour. After two simple rise periods, you'll have bakery-style loaves with a golden crust and pillowy interior. Brushing the tops with melted butter right after baking adds extra richness and keeps the crust soft.
This versatile dough also welcomes variations—try replacing some water with milk or adding honey for floral notes. Store in an airtight container for up to four days, or freeze slices for longer keeping.
My grandmother never measured anything when she baked bread, but she taught me to recognize the perfect dough by touch—when it stops clinging to your fingers and feels like a baby's cheek, you know you've got it right. That wisdom clicked into place the first time I made this Amish white bread, watching the yeast bubble up in warm water like magic.
I started baking this bread during a particularly snowy winter when we were snowed in for three days. Something about kneading dough while watching snow accumulate outside made the house feel warmer somehow, and my roommate started timing her work breaks to catch the bread fresh from the oven.
Ingredients
- 2 cups warm water (about 43°C/110°F): Think bathwater temperature—too hot and you'll kill the yeast, too cool and it won't wake up properly
- 2/3 cup granulated sugar: This feeds the yeast and adds that characteristic Amish bread sweetness that makes it so irresistible
- 1 1/2 tablespoons active dry yeast: Don't be shy with this amount—the extra yeast guarantees those tall, beautiful bakery-style loaves
- 1 1/2 teaspoons salt: Essential for flavor balance, plus it helps regulate the yeast so the bread doesn't rise too wildly
- 1/4 cup vegetable oil: Keeps the bread tender and gives it that softer crumb that makes it perfect for sandwiches
- 5 1/2 to 6 cups all-purpose flour: Start with 5 1/2 cups and only add more if needed—too much flour makes heavy bread
- 1 tablespoon melted butter (optional): Brushing this on after baking gives the crust a gorgeous golden sheen and keeps it soft
Instructions
- Wake up the yeast:
- Dissolve the sugar in warm water, then sprinkle yeast on top and watch it bloom until foamy, about 5–10 minutes.
- Mix the dough:
- Stir in salt and oil, then gradually add flour one cup at a time until the dough pulls away from the bowl sides.
- Knead it right:
- Work the dough on a floured surface for 6–8 minutes until smooth and elastic, adding only enough flour to prevent sticking.
- First rise:
- Place dough in a greased bowl, cover, and let rise in a warm spot until doubled, about 1 hour.
- Shape the loaves:
- Punch down dough, divide in half, shape each piece into a loaf, and place in greased 9x5-inch pans.
- Second rise:
- Cover pans and let dough rise again until it's about 1 inch above the pan rim, 30–45 minutes.
- Bake to perfection:
- Bake at 350°F (175°C) for 25–30 minutes until golden brown and loaves sound hollow when tapped.
- Finish with butter:
- Brush tops with melted butter immediately after baking, then cool on wire racks before slicing.
 Save
Save This bread became a weekend ritual during my first year of teaching. My students started asking what smelled so wonderful on Monday mornings, and eventually I started bringing in small slices as prizes for completing assignments—suddenly everyone wanted to practice their math problems.
Making It Your Own
I've learned that replacing half the water with warm milk creates a richer, creamier loaf that toasts beautifully. The milk proteins help the bread brown more deeply and add a subtle flavor that reminds me of bakery bread from childhood.
Troubleshooting Tips
If your bread comes out dense, the most likely culprit is either under-kneading or not letting it rise long enough. The dough needs those full 6–8 minutes of kneading to develop gluten structure, and patience during the rising periods absolutely pays off.
Storage And Serving Ideas
This bread keeps remarkably well when stored in an airtight bag at room temperature for up to 4 days, though I've never had a loaf last longer than two days in my house. It also freezes beautifully—wrap cooled loaves tightly in plastic and then foil, and they'll stay fresh for up to three months.
- Day-old bread makes exceptional French toast—the slightly stale texture absorbs the custard perfectly
- Cube leftover bread and freeze it for bread pudding or homemade croutons later
- Slice before freezing so you can grab individual slices for toast straight from the freezer
 Save
Save There's something profoundly satisfying about pulling two golden loaves from the oven, knowing you created something so basic yet so wonderful with your own hands. This recipe has become my go-to for housewarming gifts and comfort food alike.
Questions & Answers
- → What makes Amish white bread different from regular white bread?
-
Amish white bread typically has a slightly sweeter taste and softer texture than standard white bread. The addition of sugar and oil creates a tender crumb that stays fresh longer, making it ideal for sandwiches and toast.
- → Can I use whole wheat flour instead of all-purpose?
-
You can substitute up to half of the all-purpose flour with whole wheat flour. Keep in mind that whole wheat absorbs more liquid, so you may need to add slightly more water. The texture will be denser and heartier.
- → How do I know when the dough has risen enough?
-
The dough is ready when it has doubled in size during the first rise. For the second rise in the pans, wait until the dough rises about 1 inch above the rim of the pan. Gently press the dough with your finger—if the indentation remains, it's ready to bake.
- → Why did my bread turn out dense?
-
Dense bread usually results from not kneading enough, using water that's too hot (which kills the yeast), or not letting the dough rise properly. Ensure your water is around 110°F, knead for the full 6-8 minutes, and allow plenty of time in a warm, draft-free spot for rising.
- → Can I make this dough in a stand mixer?
-
Absolutely. Use the dough hook attachment and mix on low speed until the dough comes together, then knead on medium-low for about 5 minutes. The dough should pull away from the sides of the bowl and feel smooth and elastic.
- → How should I store this bread?
-
Once completely cooled, store the loaves in an airtight plastic bag or container at room temperature for up to 4 days. For longer storage, slice the bread and freeze in freezer bags—individual slices thaw quickly and toast beautifully.
