
 Save
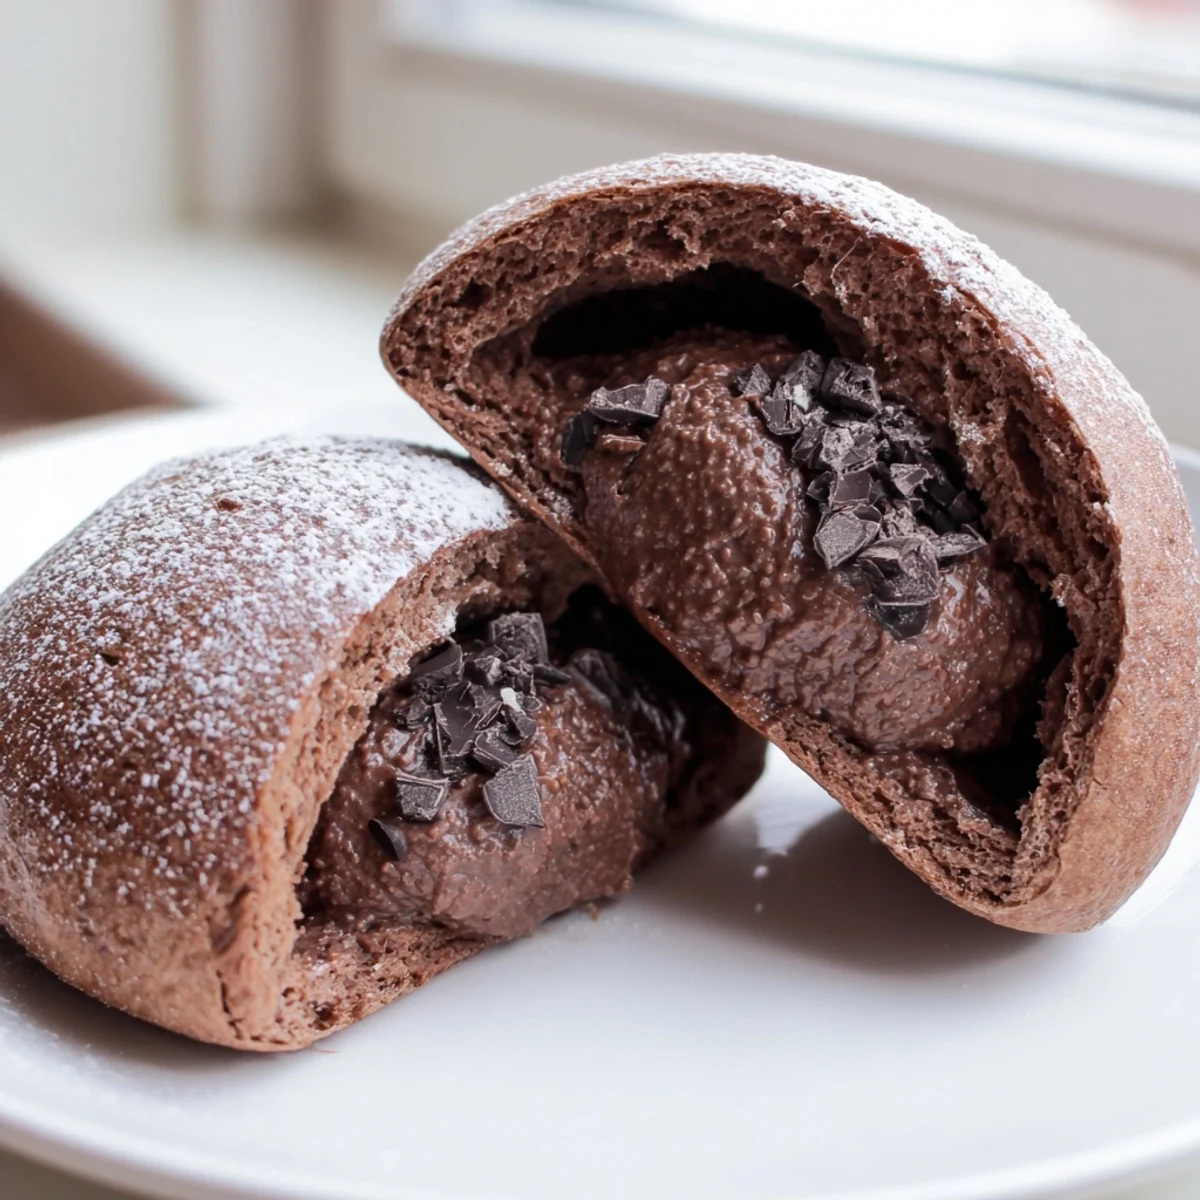
Save These Italian chocolate maritozzi are soft, pillowy sweet buns enriched with cocoa powder and studded with dark chocolate chunks.
Once baked and cooled, each bun is sliced and generously filled with a luscious dark chocolate whipped cream.
They capture the spirit of the classic Roman breakfast pastry with a deeply chocolatey twist.
There is something almost theatrical about maritozzi, the way Roman pastry shops stack them behind glass like velvet jewels, their bellies split wide and spilling cream. My first encounter was in a tiny corner bakery near the Pantheon, where the owner handed me one wrapped in wax paper and winked as though sharing a secret. The chocolate version was nowhere to be found on that trip, but the idea followed me home and refused to leave. I finally built this recipe over a rainy Sunday when ordinary buns simply would not do.
I made a batch of these for my neighbors after they helped me rescue a fig tree during a windstorm, and they stood in the hallway eating them still slightly warm with cream dripping down their wrists. Nobody said a word for several minutes, which is the highest compliment any pastry can receive. Now they knock on my door every time the weather turns rough, and I suspect it is only partly about the tree.
Ingredients
- All-purpose flour (350 g): Provides the sturdy but tender structure these enriched buns need, and anything with higher protein would make them tough.
- Unsweetened cocoa powder (40 g): Blooms directly into the dough for an earthy chocolate backbone that balances the sweet filling beautifully.
- Whole milk, lukewarm (120 ml): Wakes the yeast gently and enriches the crumb, and cold milk would stall the rise completely.
- Granulated sugar (60 g): Feeds the yeast while adding just enough sweetness without competing with the filling.
- Active dry yeast (7 g): The leavening agent that gives these buns their cloud-like lift, and freshness matters more than anything here.
- Large egg (1): Binds and enriches the dough while contributing to that golden brushed finish.
- Unsalted butter, softened (40 g): Creates tenderness and a faint richness that makes the crumb feel luxurious without turning it brioche-heavy.
- Vanilla extract (1/2 tsp for dough, 1 tsp for filling): Warm floral notes that quietly underscore the chocolate in both components.
- Salt (1/2 tsp): Sharpens every flavor in the dough and keeps the sweetness honest.
- Dark chocolate, chopped (60 g for dough): Melts into pockets throughout the crumb during baking, creating little treasure spots of intensity.
- Heavy whipping cream (300 ml): The foundation of the filling, and it must be very cold to whip properly.
- Dark chocolate, melted and cooled (70 g for filling): Folds into the cream for a ganache-like filling that holds its shape dramatically.
- Powdered sugar (30 g for filling): Sweetens the whipped cream gently without making it grainy.
- Egg yolk + 2 tbsp milk (for brushing): Gives the buns a burnished, bakery-quality sheen that cocoa dough desperately needs for visual appeal.
Instructions
- Wake the yeast:
- Stir the yeast and a tablespoon of sugar into the lukewarm milk and let it sit undisturbed for about ten minutes until the surface swells with creamy foam. If nothing happens, your yeast is dead and you must start over with a fresh packet.
- Build the dry base:
- Whisk the flour, cocoa powder, remaining sugar, and salt together in a large bowl until the color is uniform and no pale streaks remain.
- Bring the dough together:
- Create a well in the center and drop in the egg, vanilla, softened butter, and foamy yeast mixture. Stir with a wooden spoon until a shaggy, sticky mass forms and pulls away from the sides of the bowl.
- Knead until elastic:
- Turn the dough onto a lightly floured surface and knead by hand or with a dough hook for eight to ten minutes until it feels smooth and springs back when poked. Scatter in the chopped chocolate during the final two minutes so it distributes without melting into the dough.
- First rise:
- Transfer the dough to a clean, lightly oiled bowl, cover it tightly with a towel or plastic, and leave it in a warm, draft-free spot for one to two hours until it has visibly doubled in volume.
- Shape the buns:
- Gently deflate the dough and divide it into eight equal pieces, rolling each into a plump oval. Arrange them on a parchment-lined baking tray with space between them for spreading.
- Second rise:
- Cover the shaped buns loosely and let them puff for about forty minutes until they look swollen and soft to the touch.
- Brush and bake:
- Preheat your oven to 180 degrees C (355 degrees F). Whisk the egg yolk with two tablespoons of milk and brush it gently over each bun, then bake for fifteen to eighteen minutes until the tops feel set and slightly firm. Cool them completely on a wire rack before even thinking about the filling.
- Make the chocolate cream:
- Whip the cold heavy cream with powdered sugar and vanilla to firm peaks that hold their shape when the whisk is lifted. Gently fold in the melted and cooled dark chocolate with a spatula, working in slow sweeps to keep the volume airy.
- Fill and serve:
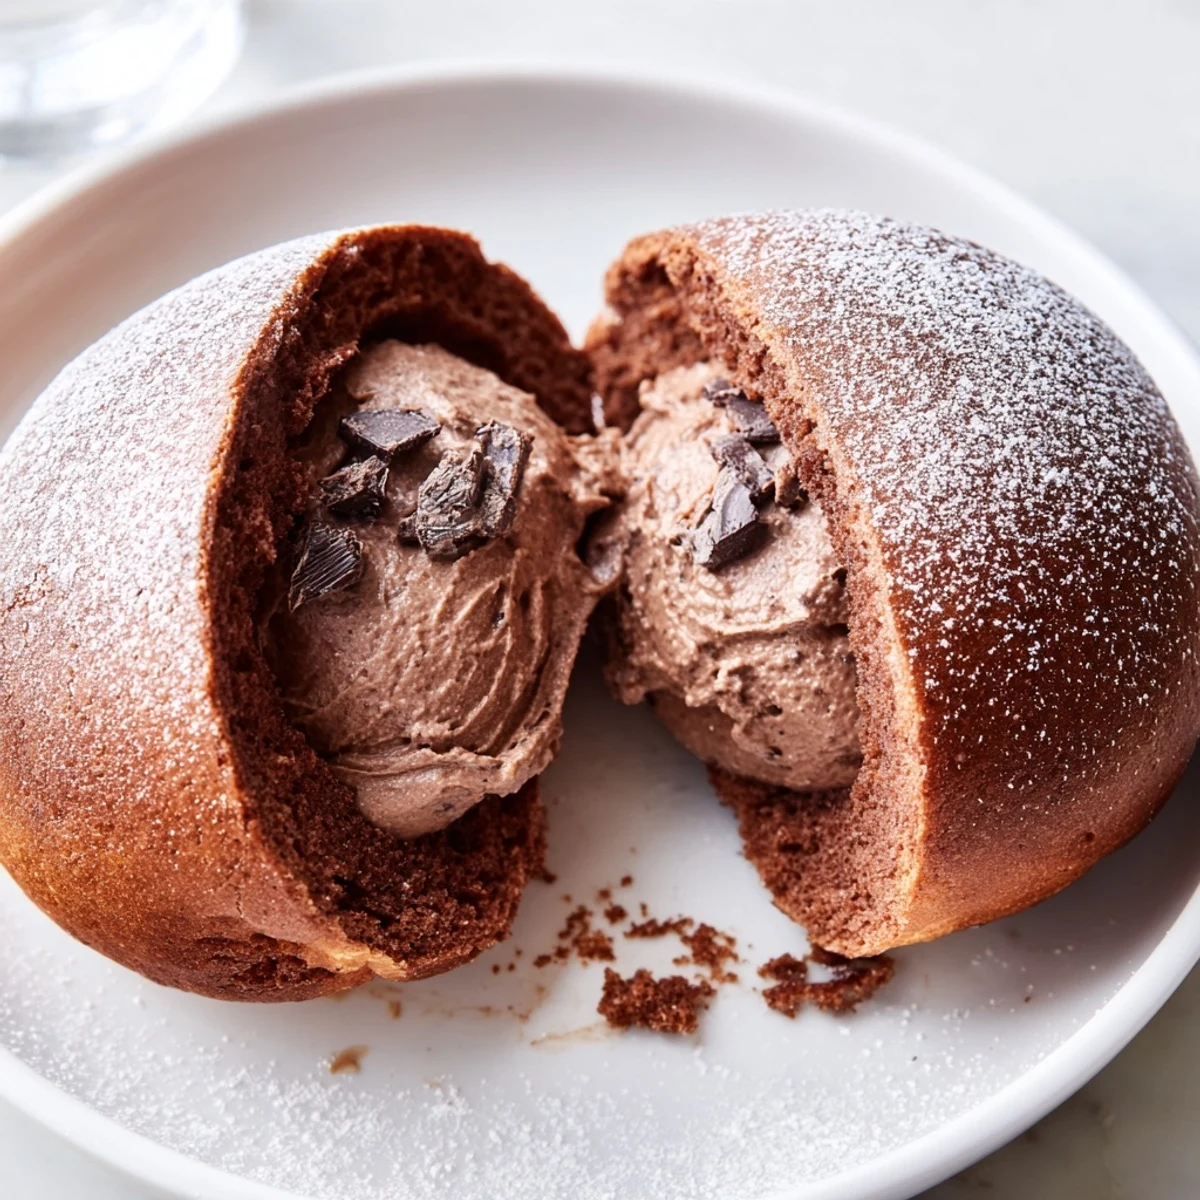
- Slice each cooled bun lengthwise with a serrated knife, leaving a hinge on one side so it opens like a clam. Pipe or spoon the chocolate cream generously into each opening, dust with powdered sugar if you like, and serve immediately while the contrast between tender bun and cool cream is at its peak.
 Save
Save The morning I brought a tray of these to a friend who had just come home from the hospital, she sat on her kitchen floor instead of a chair and ate two in silence while her coffee went cold. Some foods simply become the language you use when words fall short.
Getting the Dough Consistency Right
Cocoa powder absorbs moisture differently depending on the brand and humidity in your kitchen, so the dough may feel slightly stickier or drier than expected. If it clings stubbornly to your hands after five minutes of kneading, add flour one tablespoon at a time, but stop before the dough loses its softness. A slightly tacky surface is exactly what you want for a tender crumb, and over-flouring is the fastest path to dry, heavy buns.
Shaping Without Deflating
When dividing the dough, use a bench scraper or sharp knife rather than tearing it, which damages the gluten network you just spent ten minutes building. Roll each piece against the counter with a cupped hand to create surface tension that keeps the oval plump during baking. Handle them as briefly as possible, because warmth from your palms starts collapsing the air pockets the yeast worked so hard to create.
Serving and Storing
These buns are at their absolute best within an hour of filling, when the cream is cold and the pastry is still faintly soft. Assembled maritozzi do not hold well overnight because the cream slowly soaks into the crumb and turns it soggy. Store the unfilled buns in an airtight container at room temperature for up to two days, and whip the cream fresh when you are ready to serve.
- You can freeze the baked, unfilled buns for up to one month and thaw them at room temperature before filling.
- A dusting of powdered sugar right before serving covers any small cracks and makes them look bakery-finished.
- Always serve with espresso or cappuccino if you want the full Roman breakfast experience.
 Save
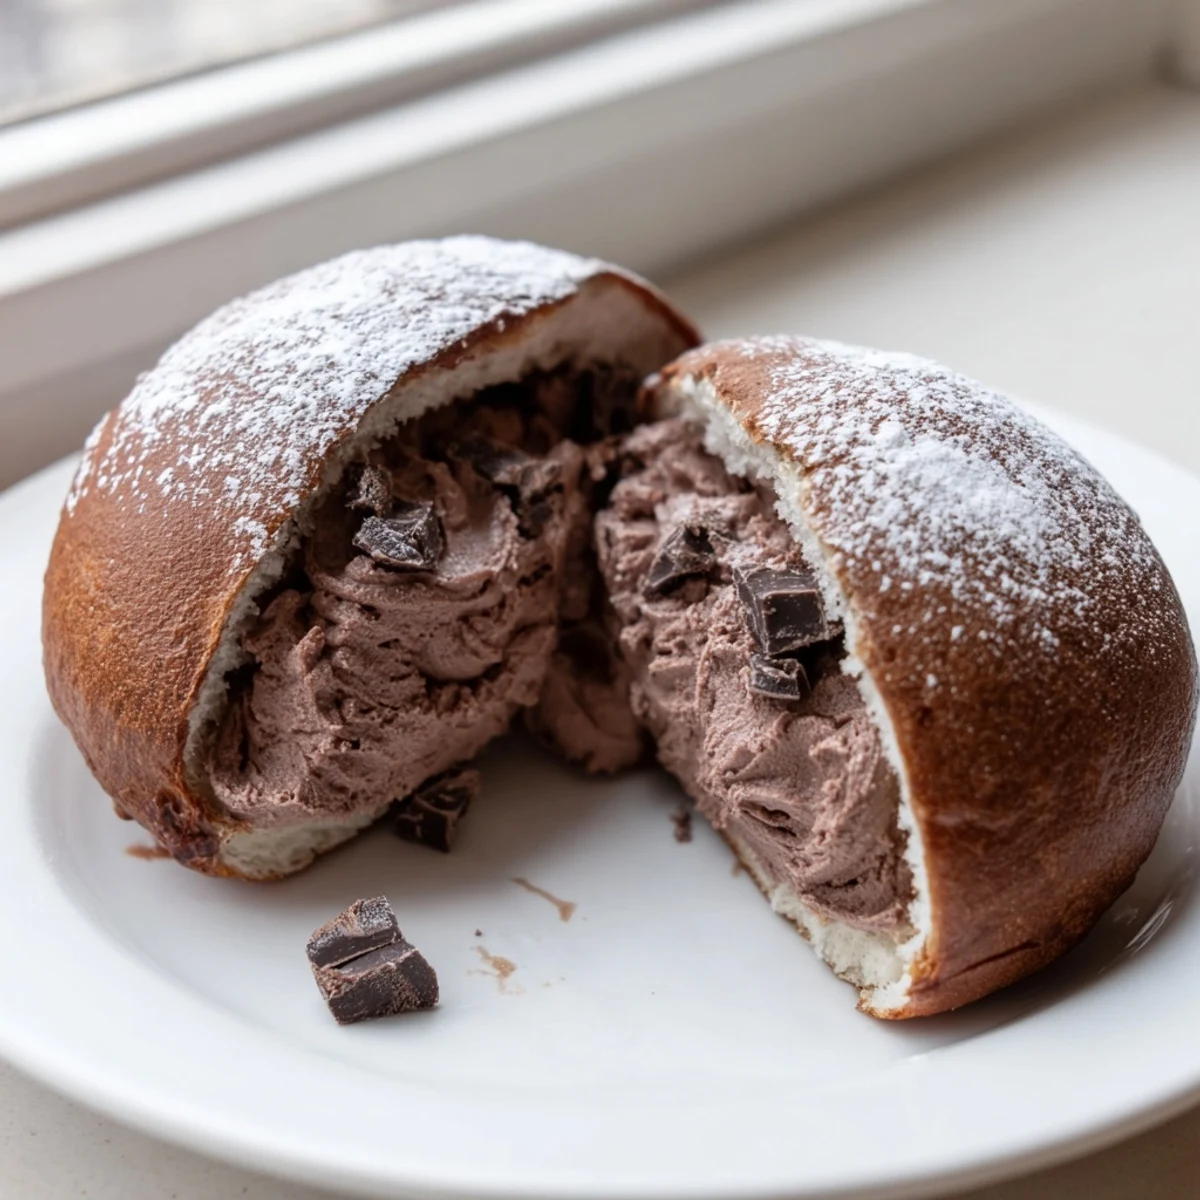
Save Maritozzi are proof that the most memorable baking projects are rarely the most complicated. They just require patience while the dough rises and generosity when it comes time to fill them.
Questions & Answers
- → Can I make the dough ahead of time?
-
Yes, you can prepare the dough and let it rise overnight in the refrigerator. The slow cold rise actually develops deeper flavor. Shape the buns and let them come to room temperature for about 30 minutes before the second rise and baking.
- → Why did my maritozzi turn out dense?
-
Dense buns usually result from under-kneading or insufficient rising time. Make sure to knead the dough for a full 8-10 minutes until smooth and elastic, and allow both rises to complete fully — the dough should double in size each time.
- → Can I use milk chocolate instead of dark chocolate?
-
Absolutely. Milk chocolate will give the filling a sweeter, creamier flavor. You can also use semi-sweet chocolate for a balanced taste. Just make sure the melted chocolate has cooled completely before folding it into the whipped cream.
- → How should I store leftover maritozzi?
-
Store filled maritozzi in an airtight container in the refrigerator for up to 2 days. The whipped cream filling requires refrigeration. For the best texture, let them sit at room temperature for 10-15 minutes before serving.
- → Can I freeze the baked buns before filling?
-
Yes, the unfilled buns freeze well for up to 1 month. Wrap each cooled bun tightly in plastic wrap and place in a freezer bag. Thaw at room temperature, then fill with freshly made chocolate whipped cream when ready to serve.
- → What type of cocoa powder works best?
-
Use unsweetened cocoa powder for the dough. Natural cocoa powder will give a lighter, fruitier chocolate note, while Dutch-processed cocoa yields a darker color and mellower flavor. Both work well in this preparation.