 Save
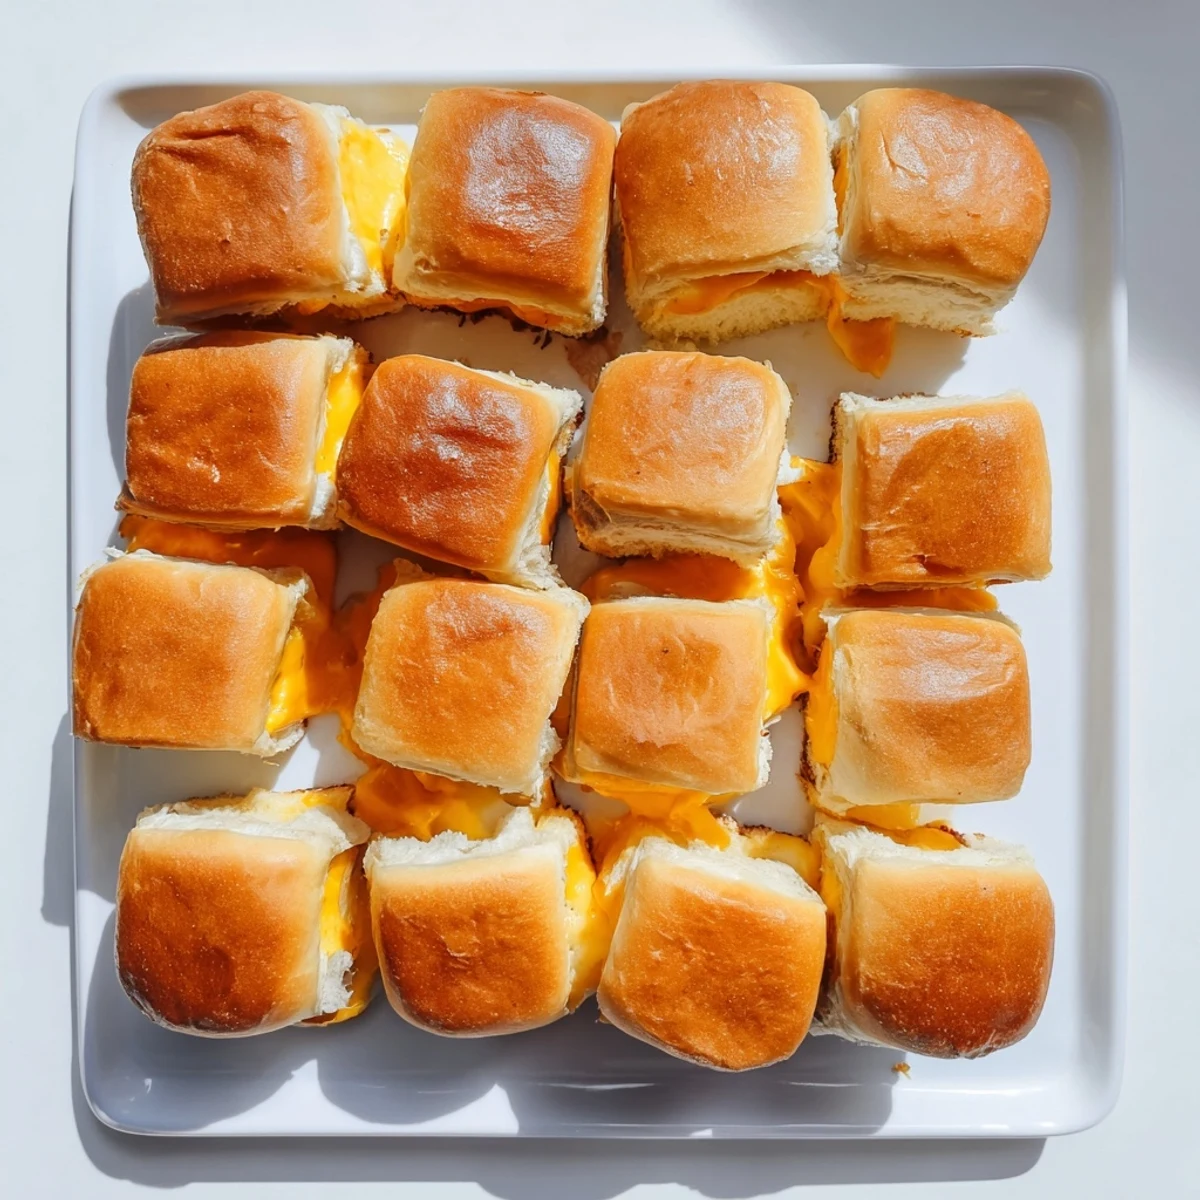
Save These bite-sized sliders transform sweet Hawaiian rolls into irresistibly cheesy snacks. The rolls stay connected while baking, making preparation incredibly efficient. A generous brush of garlic-infused butter creates beautifully golden, aromatic tops that complement the rich, melted cheddar inside.
Ready in just 25 minutes, these handheld treats work perfectly for parties, game day spreads, or casual weeknight dinners. The sweet-and-savory balance makes them universally appealing, while the simple ingredient list allows for easy customization.
The first time I brought these to a game day gathering, my friend Sarah actually stopped mid conversation, eyes wide, and asked what was in the pan. Something about the sweet rolls meeting savory cheddar just works in a way regular grilled cheese never quite captured for me.
Last winter my niece was visiting and we needed something warm after sledding. I whipped these up, and she stood by the oven watching them turn golden, asking every 30 seconds if they were done yet. That anticipation builds something special.
Ingredients
- 12 Hawaiian rolls: The natural sweetness is what makes this recipe sing—regular sandwich rolls just give you a different experience entirely
- 12 slices cheddar cheese: Sharp cheddar cuts through the sweet rolls beautifully, though Ive used pepper jack when feeling adventurous
- 4 tablespoons unsalted butter, melted: Get it fully melted so it brushes evenly and soaks into those tops
- 1 teaspoon garlic powder: This savory note balances everything out
- 1 teaspoon dried parsley: Mostly for color but adds a subtle fresh note
- 1/4 teaspoon salt: Just enough to enhance without overwhelming
Instructions
- Preheat and prep:
- Get your oven to 350°F while you slice the rolls horizontally, keeping them attached like a connected row of little doors
- Layer the cheese:
- Nestle a slice of cheddar onto each bottom half, letting the cheese overlap slightly if your slices are generous
- Reunite the rolls:
- Place those tops back on like little blankets tucking in the cheese
- Make the butter magic:
- Whisk together your melted butter with garlic powder, parsley, and salt until well combined
- Brush and bake:
- Generously brush that butter mixture over the tops, then bake for 12 to 15 minutes until golden and bubbly
- The final cut:
- Let them cool for just a couple minutes so the cheese sets slightly, then slice into individual sandwiches
 Save
Save My dad typically claims he doesnt like sweet bread with cheese, but he ate three of these before realizing what he was eating. Sometimes the best recipes are the ones that surprise you.
Cheese Variations That Work
Ive learned that gruyère adds this sophisticated nuttiness that feels fancy, while mozzarella creates the most ridiculous cheese pulls. Mix and match based on your mood.
Make Ahead Strategy
You can assemble these hours before baking, just wrap tightly and refrigerate. Add the butter mixture right before they hit the oven for that fresh baked texture.
Serving Ideas
These shine alongside tomato soup but also hold their own as party appetizers. I like to serve them with pickles for that acid contrast.
- Pair with a light green salad to balance the richness
- Cut into quarters for cocktail sized appetizers
- Keep them warm in a 200°F oven if serving over time
 Save
Save Theres something about pulling apart warm, gooey cheese that brings people together in the best way.
Questions & Answers
- → Can I make these ahead of time?
-
Assemble the sliders up to 8 hours before baking, cover tightly, and refrigerate. Add the garlic butter just before popping them in the oven for best results.
- → What cheese works best?
-
Sharp cheddar provides excellent flavor and melt. Provolone, Swiss, mozzarella, or pepper jack also work beautifully. Mix multiple cheeses for extra complexity.
- → How do I store leftovers?
-
Keep refrigerated in an airtight container for up to 3 days. Reheat in a 350°F oven for 5-7 minutes to restore crispiness. Microwaving makes them soggy.
- → Can I add meat?
-
Thinly sliced ham, turkey, or cooked bacon layer perfectly between the cheese. Cook cured meats beforehand to prevent excess moisture during baking.
- → Why keep the rolls connected?
-
Baking them connected retains moisture, prevents burning, and creates that impressive pull-apart presentation. Cut into individual portions after baking for easy serving.
