 Save
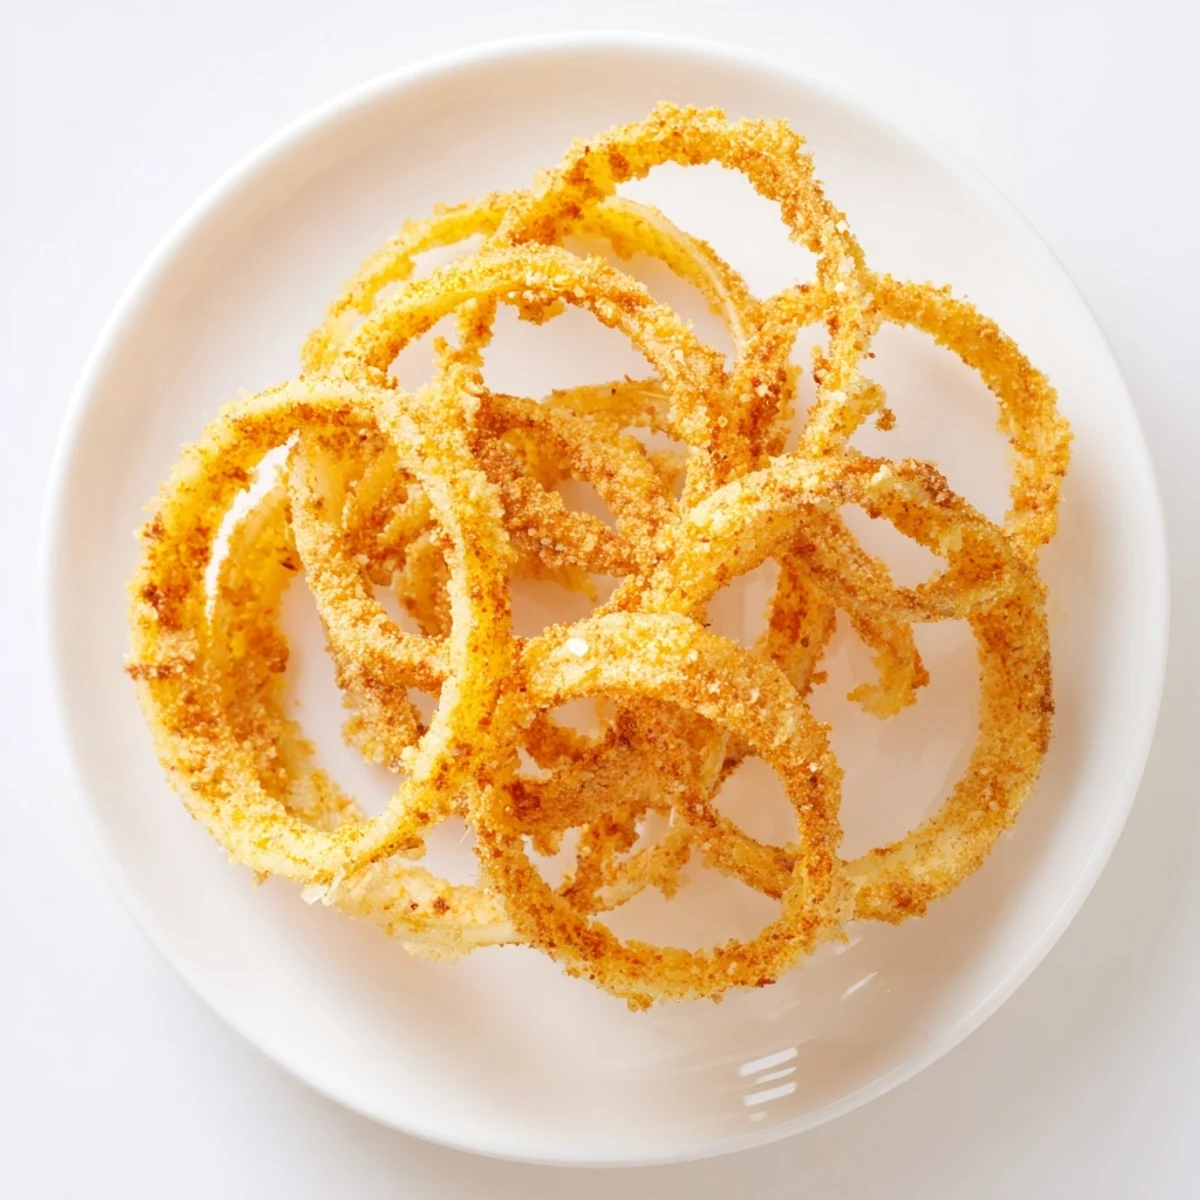
Save These golden onion crisps deliver a perfect crunchy texture that enhances salads, casseroles, and burgers. Thinly sliced onions are coated with a seasoned mix of flour and spices before being fried until crisp and golden. Ready in about 25 minutes, they offer a quick way to add savory crunch and flavor to your meals or enjoy as a satisfying snack. Optional spices like paprika and garlic powder let you customize the taste to suit your palate.
There's something about the smell of onions hitting hot oil that just stops me in my tracks. I discovered these crispy onion rings by accident one weeknight when I was trying to salvage a sad salad, and I ended up with something so addictively crunchy that my roommate actually put down her phone to ask what I was making. Now they're my secret weapon for turning ordinary meals into something people actually get excited about.
I made these for my mom's green bean casserole last Thanksgiving, and she literally asked me to make a double batch before the meal was even over. Watching her sneak them straight from the cooling rack before anyone else got to them was worth every bit of the oil splatter on my apron.
Ingredients
- 2 large yellow onions, thinly sliced: Yellow onions have the right balance of sweetness and bite, and the thinner you slice them, the crispier they become without turning bitter.
- 1 cup all-purpose flour: This is your base coating that catches and crisps in the oil.
- 1/2 cup cornstarch: This is the secret ingredient that makes them extra crunchy instead of just crispy.
- 1 tsp salt: Season generously because the coating needs to carry all the flavor.
- 1/2 tsp black pepper: Fresh ground pepper makes a noticeable difference here.
- 1/2 tsp paprika (optional): A tiny bit adds warmth and color without overwhelming the dish.
- 2 cups vegetable oil for frying: Use neutral oil like canola or vegetable oil so the onion flavor stays the star.
Instructions
- Separate and prep your onions:
- Slice your onions as thin as you can manage, then gently separate them into rings so they don't stay clumped together. This step matters more than you'd think because thin, separated rings fry evenly.
- Build your coating mixture:
- Whisk together your flour, cornstarch, salt, pepper, and paprika in a bowl. The cornstarch is what makes the difference between regular crispy and that satisfying shatter-when-you-bite-it crispy.
- Coat the onions:
- Toss your onion rings in the flour mixture and really work it so every piece gets covered. Shake off the excess because too much coating makes them gummy instead of crunchy.
- Get your oil ready:
- Heat your oil to 350°F if you have a thermometer, or until a tiny piece of onion sizzles immediately when it hits the oil. This temperature is the sweet spot between cooking them through and burning the coating.
- Fry in batches:
- Work in small batches so the pan stays hot and the oil doesn't cool down, which is what causes greasy results. You'll want them golden and crispy, which takes about 2 to 3 minutes.
- Drain and finish:
- Use a slotted spoon to pull them out and lay them on paper towels while they're still warm. They'll crisp up even more as they cool, so resist the urge to eat them right away if you can.
 Save
Save My friend brought these to a potluck and they disappeared before anything else, even the main dish. Watching people's faces light up when they realized what they were eating made me understand that the simplest ingredients done well beat complicated cooking every single time.
Timing and Temperature Matter
The oil temperature is honestly more important than following any other step perfectly. If it's too cool, you get soggy onions that taste greasy. If it's too hot, the outside burns before the inside has time to cook through. I learned this by making several batches at the wrong temperature before I finally invested in a cheap thermometer, and it changed everything.
Making Them Your Own
Once you nail the basic technique, you can experiment with different seasonings in the coating. Garlic powder, cayenne pepper, smoked paprika, or even a tiny pinch of cumin all work beautifully depending on what you're topping. Some people swear by substituting half the flour with rice flour for an even lighter, airier crisp.
Storage and Second Day Magic
Store them in an airtight container and they'll stay crispy for a solid two days, which means you can make them ahead for busy nights. They're equally good crumbled on top of mac and cheese or eaten straight from the container while you're standing in front of the fridge at midnight, not that I would know anything about that.
- If they get a bit soft, you can actually re-crisp them in a 300°F oven for a few minutes.
- Double the batch because they disappear faster than anything else you'll make.
- Keep a container of the dry coating mixture in your pantry so you can make these on impulse whenever you need them.
 Save
Save These onion crisps prove that sometimes the best things in cooking come from happy accidents and simple ingredients treated with respect. Once you master this, you'll find yourself making them all the time.
Questions & Answers
- → How do I achieve the crispiest onion slices?
-
Thin, even slices and a well-coated flour mixture ensure maximum crunch. Avoid overcrowding the pan during frying to maintain oil temperature.
- → Can I use a different type of flour for the coating?
-
Yes, substituting half the all-purpose flour with rice flour can make the crisps lighter and extra crispy.
- → What spices enhance the flavor of the crisps?
-
Beyond salt and pepper, adding paprika, garlic powder, or a pinch of cayenne pepper gives a savory, slightly smoky, or mildly spicy kick.
- → How should the onion crisps be stored?
-
Let the crisps cool completely, then store in an airtight container for up to two days to preserve their crunch.
- → What dishes pair well with these crispy onions?
-
These crisps make excellent toppings for salads, casseroles, and burgers, or can be enjoyed on their own as a savory snack.
