 Save
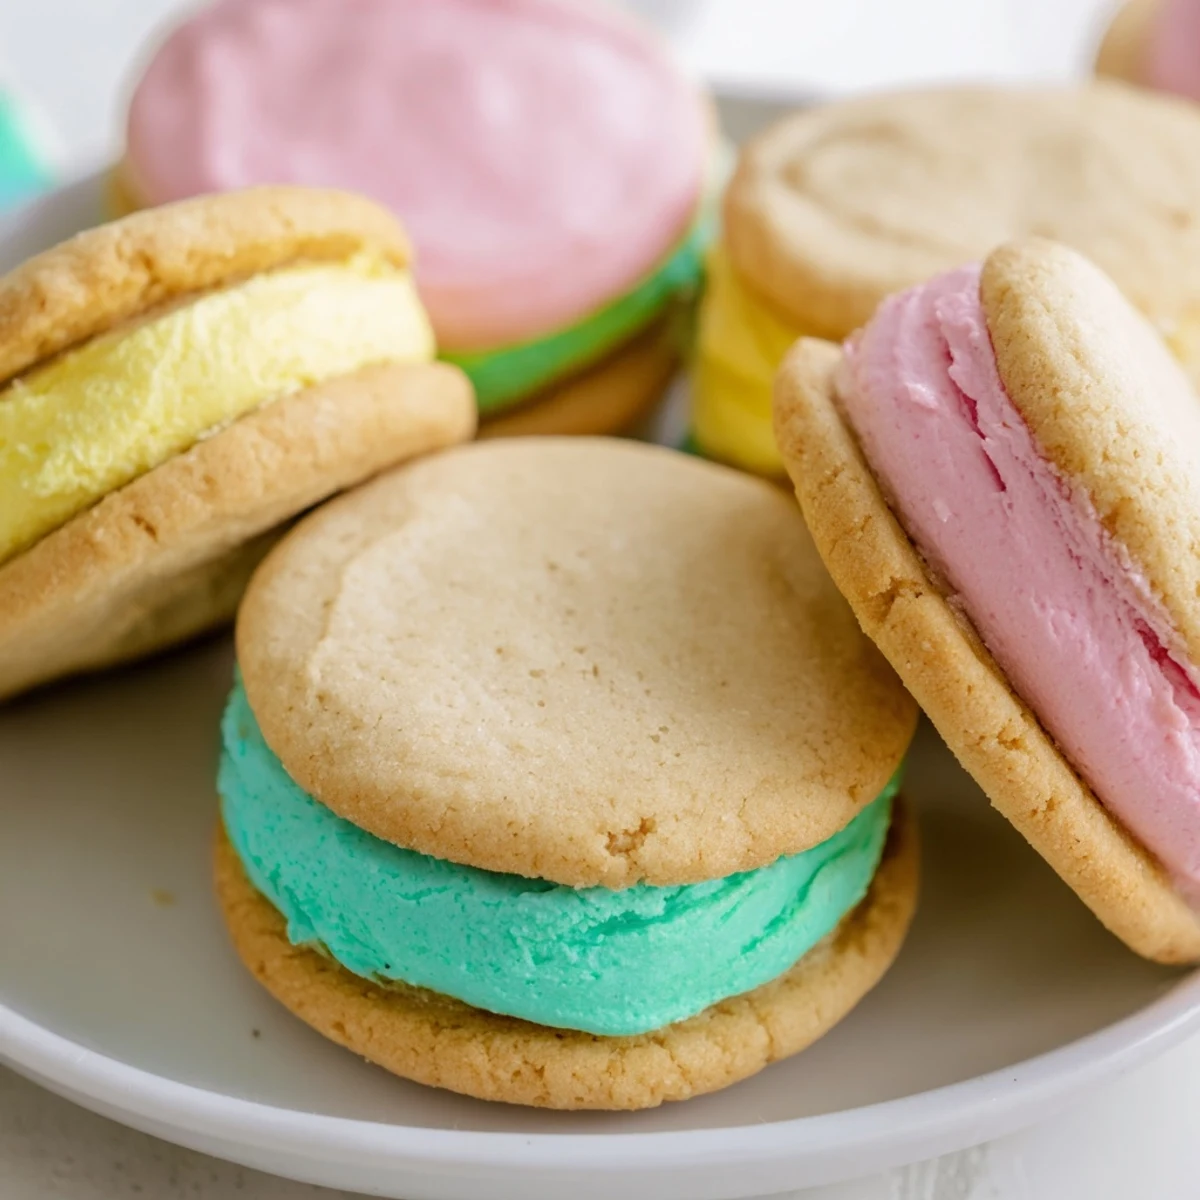
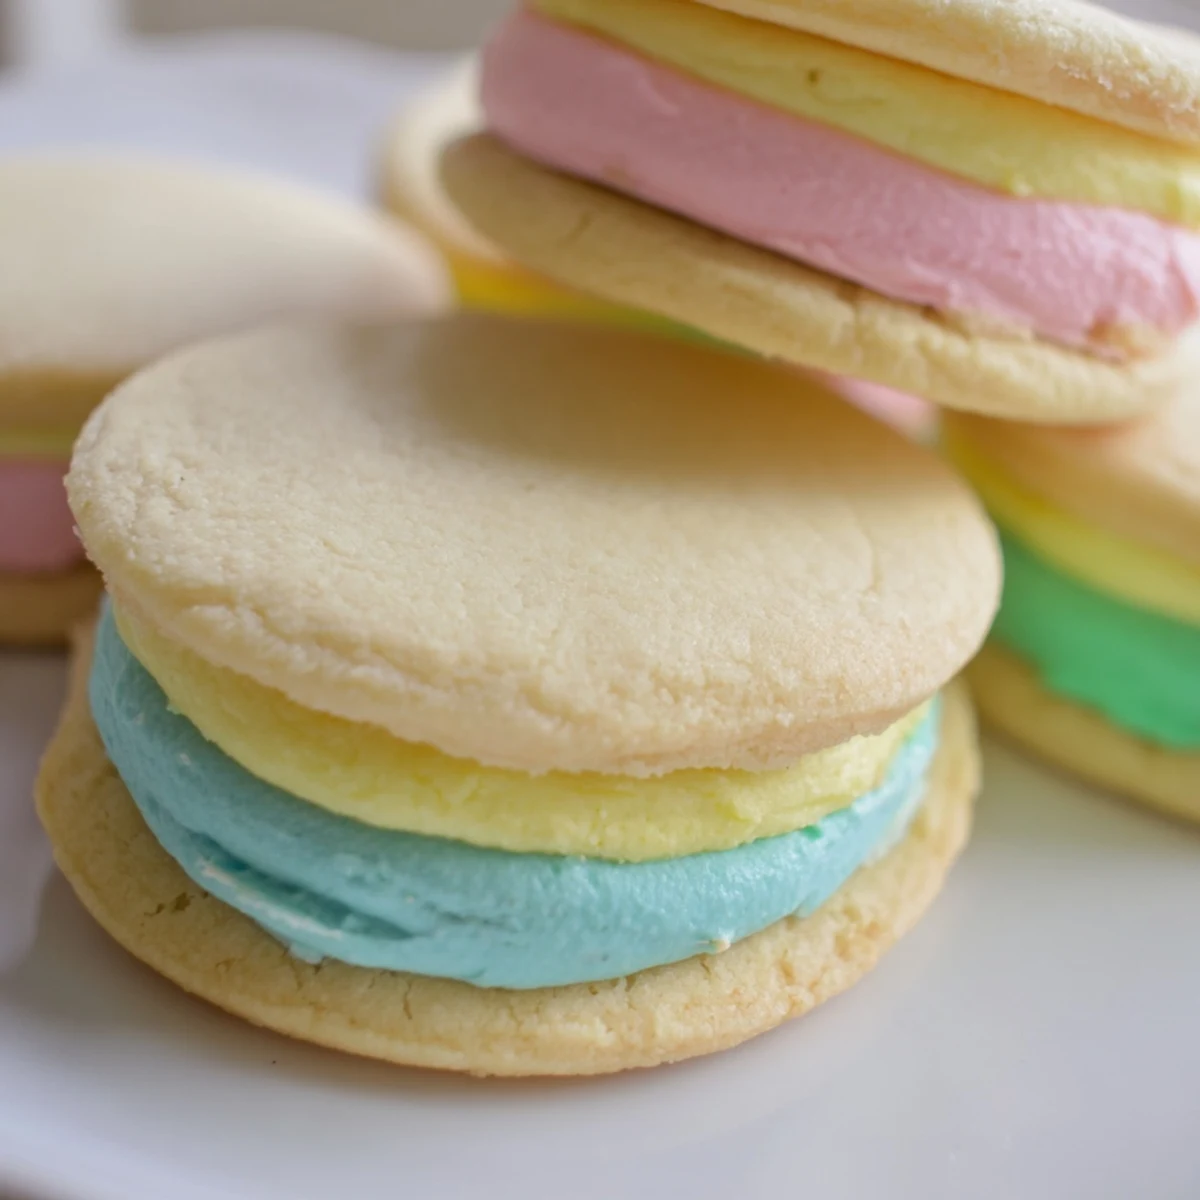
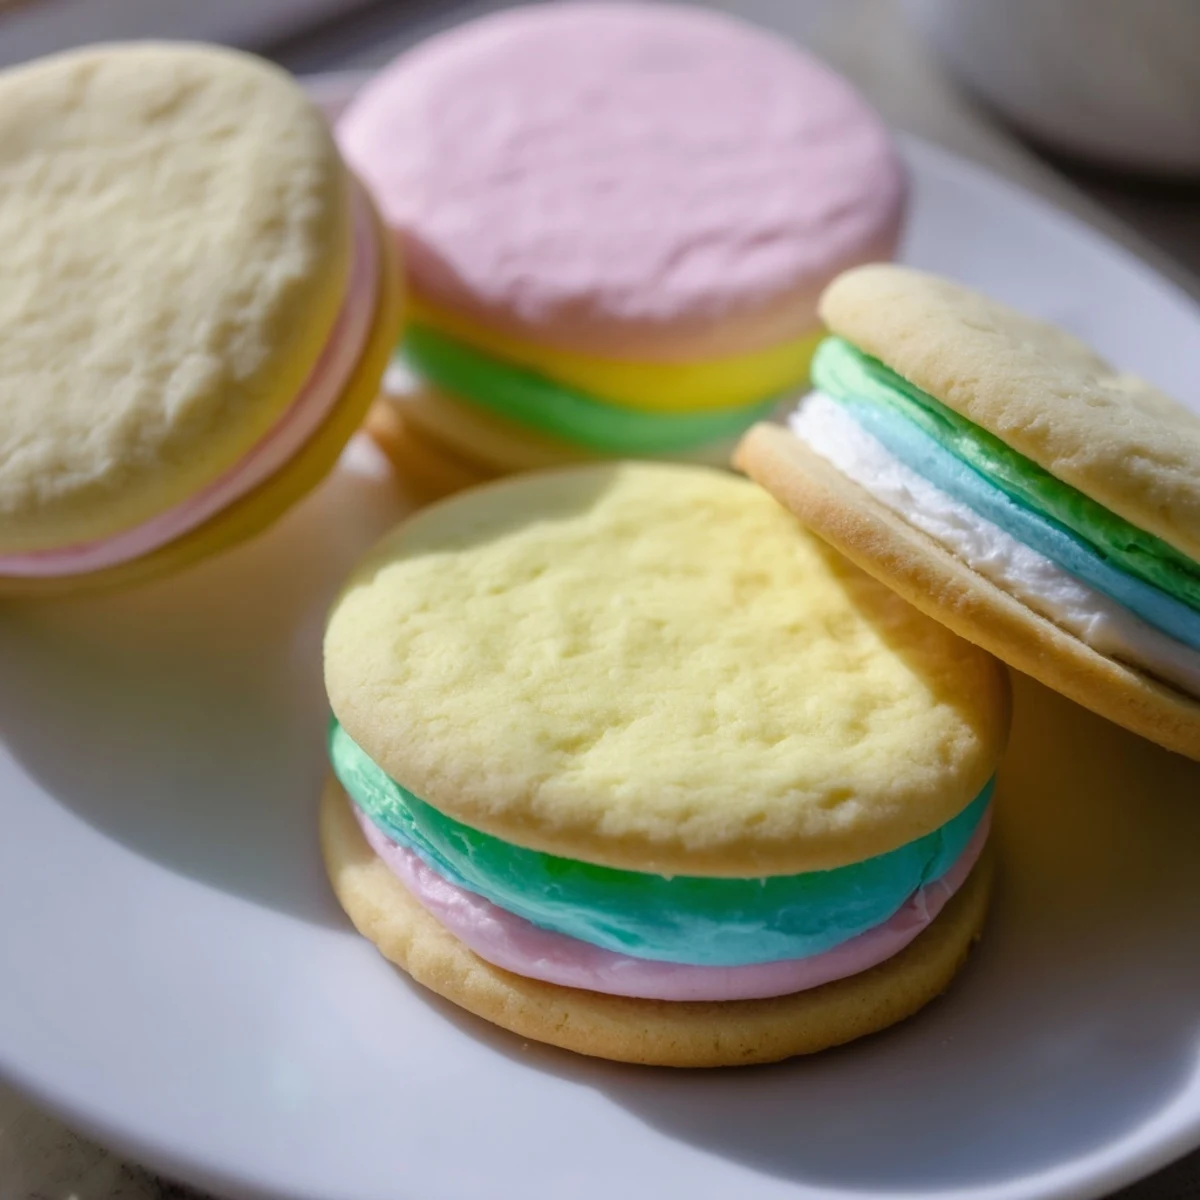
Save These delicate sandwich cookies feature tender, buttery sugar cookies with a light crumb, sandwiched together with silky pastel buttercream. The dough requires chilling for easy rolling and cutting, while the filling can be customized with any soft pastel shades you prefer. Each bite delivers the perfect balance of sweet vanilla cookie and creamy frosting.
The process comes together in under an hour of active time, with most of that spent chilling the dough. The final result yields 18 sandwich cookies that store beautifully for up to three days, making them an excellent make-ahead option for parties and gatherings.
The kitchen smelled like pure vanilla and buttered happiness when I first attempted these for my daughter's spring birthday. I'd never made sandwich cookies before, and somewhere between rolling out the dough and mixing pastel frosting, flour dusted every surface including my forehead. That afternoon taught me that sometimes the messiest kitchen adventures create the sweetest memories.
My neighbor's daughter saw the cooling racks through the window and actually knocked on our door to ask if she could please watch the frosting process. She ended up staying to help pipe the swirls, leaving with pink buttercream somehow smeared on her nose and a box of cookies for her family. Now every time I see pastel colors, I think about how something as simple as a cookie can connect people.
Ingredients
- All-purpose flour: The backbone of these tender cookies, providing structure while keeping them melt in your mouth soft
- Baking powder: Just enough to give the cookies a subtle lift without losing that classic sugar cookie density
- Salt: A pinch that balances the sweetness and makes all the flavors pop
- Unsalted butter: Use this softened to room temperature for perfectly creamy dough that rolls out like a dream
- Granulated sugar: Creates that crisp edge while keeping the centers tender and buttery
- Egg: Binds everything together and adds richness to the cookie crumb
- Vanilla extract: The aromatic heart of these cookies, warming the entire kitchen as they bake
- Powdered sugar: Sift this first for buttercream that's silky smooth without any gritty texture
- Milk: Just enough to loosen the frosting to a spreadable consistency
- Gel food coloring: These concentrated colors give you those dreamy pastel shades without adding liquid
Instructions
- Whisk the dry ingredients:
- In a medium bowl, combine the flour, baking powder, and salt until well blended
- Cream butter and sugar:
- Beat butter and sugar until the mixture transforms into a pale, fluffy cloud that looks like edible snow
- Add egg and vanilla:
- Beat until everything comes together into a smooth, glossy batter that smells like a bakery
- Combine dough:
- Gradually mix in the flour mixture just until no dry streaks remain, being careful not to overwork it
- Chill the dough:
- Divide in half, flatten into discs, wrap tightly, and let the dough rest in the fridge for at least one hour
- Prep for baking:
- Preheat your oven to 350°F and line baking sheets with parchment paper for easy cleanup
- Roll and cut:
- On a floured surface, roll dough to 1/4 inch thickness and cut into circles or shapes with a 2 inch cutter
- Bake to perfection:
- Place cookies 1 inch apart and bake for 8 to 10 minutes until edges just barely hint at golden
- Cool completely:
- Let the cookies rest on wire racks until they're completely cool to the touch before filling
- Make the buttercream:
- Beat butter until creamy, gradually add powdered sugar, then mix in milk and vanilla until fluffy
- Add pastel colors:
- Divide frosting into small bowls and tint each with a tiny drop of gel coloring until pastel perfection
- Assemble sandwiches:
- Spread or pipe colored buttercream onto half the cookies and gently press remaining cookies on top
 Save
Save These became our go-to treat for spring picnics after my sister mentioned they reminded her of the tea parties our grandmother used to host. Now whenever I bring them to gatherings, someone always asks for the recipe, and I love explaining how the simplest cookies can carry so much joy inside them.
Making Ahead and Storage
The cookie dough actually benefits from some time in the fridge, so you can make it up to three days before baking. Once assembled, these beauties stay fresh in an airtight container for three days, though they rarely last that long in my house.
Flavor Variations
Sometimes I swap the vanilla extract for almond or lemon, and the way it transforms the frosting is absolutely magical. A friend of mine adds a tiny pinch of lavender to her yellow buttercream, creating something that tastes like spring itself.
Decorating Ideas
The first time I rolled the cookie edges in pastel sprinkles, my kids acted like I'd performed some kind of kitchen wizardry. There's something about that extra sparkle that makes these cookies feel even more special.
- Use a small offset spatula for the smoothest frosting application
- Try piping different colors on the same sandwich for a swirled effect
- Chill filled cookies for 30 minutes before serving to set the buttercream perfectly
 Save
Save There's something deeply satisfying about biting into a cookie that looks as beautiful as it tastes, especially when you made it with your own hands.
Questions & Answers
- → Can I make the cookie dough ahead of time?
-
Yes, the dough can be wrapped and refrigerated for up to 3 days before baking. For longer storage, freeze the dough discs for up to 3 months and thaw in the refrigerator before rolling.
- → How do I achieve pastel colors without making them too dark?
-
Start with a tiny amount of gel food coloring on a toothpick. Gel coloring is highly concentrated, so less is more. Add gradually until you reach soft, pastel shades. You can always add more, but you can't remove color once it's mixed.
- → Can I use natural food coloring instead of gel?
-
Absolutely! Natural food colorings from fruit and vegetable concentrates work well, though they may produce slightly muted tones. You may need to add a bit more to achieve the desired pastel intensity.
- → Why did my cookies spread too much during baking?
-
This usually happens when the dough becomes too warm before baking. Ensure your dough is properly chilled, and work in batches keeping unused dough in the refrigerator. Also verify your oven temperature with an accurate thermometer.
- → Can I pipe the buttercream instead of spreading it?
-
Yes! Piping creates a beautiful, professional finish. Use a piping bag fitted with a large star tip or round tip to swirl the buttercream onto the cookie bottoms. This technique also helps control the amount of filling per cookie.
- → How should I store the finished sandwich cookies?
-
Store in an airtight container at room temperature for up to 3 days. Place parchment paper between layers if stacking. Avoid refrigerating as the cookies may become stale and the buttercream could harden.
