 Save
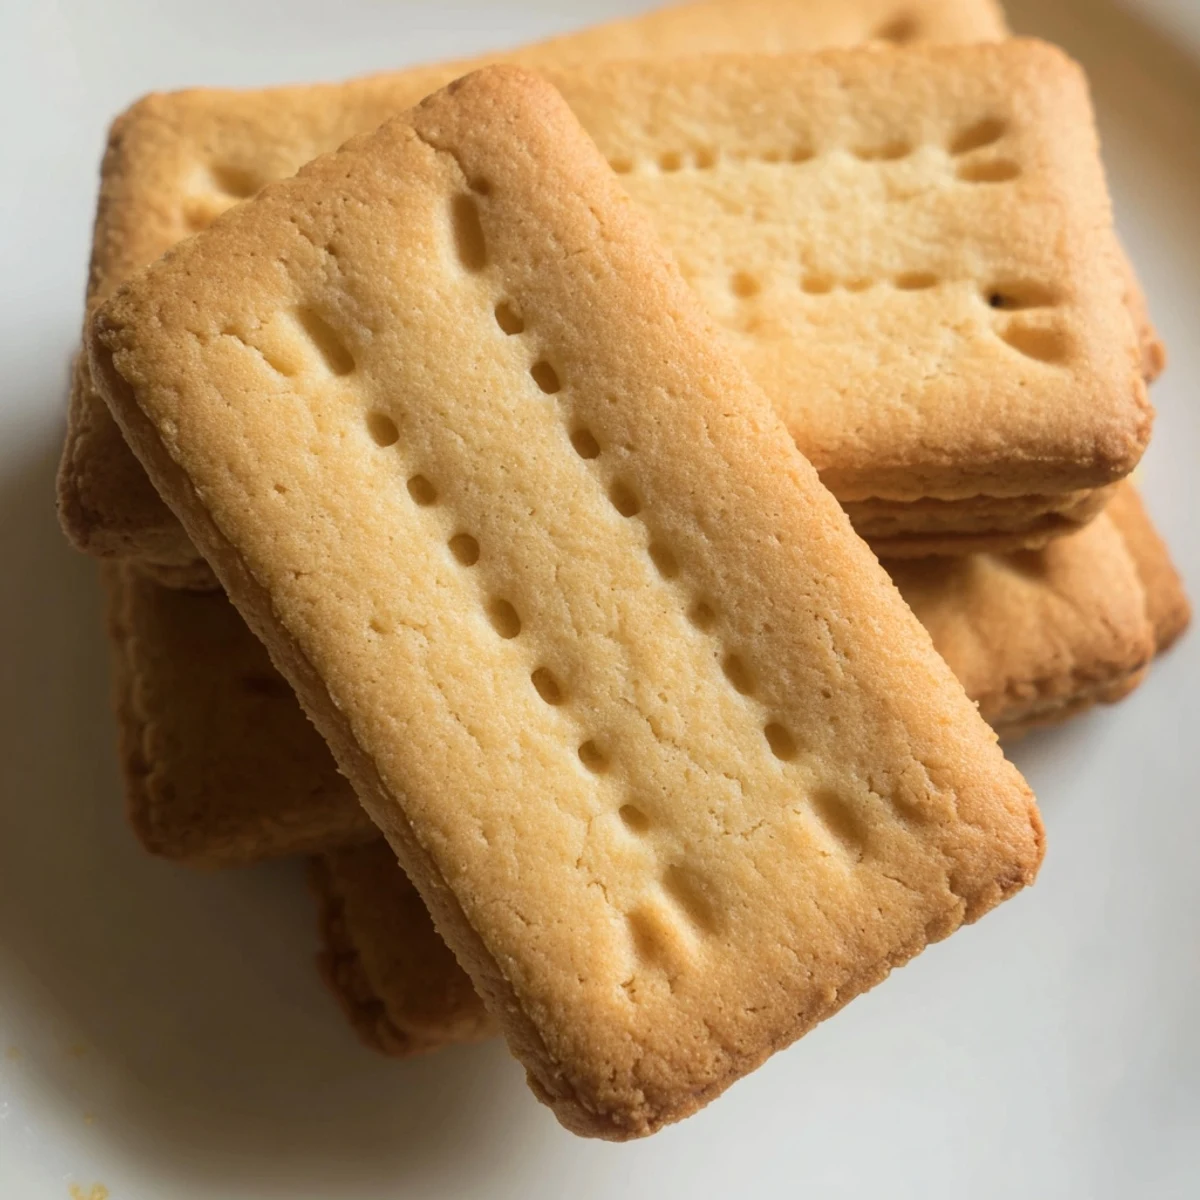
Save Les petits beurre sont des biscuits emblématiques de la pâtisserie française, reconnus pour leur texture dorée et craquante. Préparés à partir d'une pâte simple au beurre, lait et sucre, ils se dégustent aussi bien au goûter qu'au petit-déjeuner.
La préparation ne nécessite que 20 minutes de travail et 12 minutes de cuisson. Après un repos de 30 minutes au réfrigérateur, la pâte est étalée, découpée et piquée à la fourchette avant d'être enfournée.
Ces biscuits se conservent jusqu'à une semaine dans une boîte hermétique et peuvent être personnalisés avec de la vanille, du zeste de citron ou un enrobage au chocolat fondu.
The afternoon I decided to tackle petit beurre at home my kitchen smelled like a buttered French bakery and my cat sat on the counter judging every move. These little golden biscuits with their crisp edges and fork pricked charm are deceptively simple. I burned the first batch because I got distracted folding laundry. The second batch was perfect.
I packed a tin of these for a road trip with friends and they vanished before we hit the highway. Someone asked if I had bought them from a bakery and I pretended to be offended.
Ingredients
- 100 g unsalted butter: Good butter makes all the difference here since it is the soul of the flavor.
- 100 g granulated sugar: Regular white sugar gives the classic crispness without overpowering the butter.
- 60 ml whole milk: Whole milk creates a softer dough that rolls out smoothly.
- 1 pinch of salt: Just a pinch lifts every flavor and keeps the sweetness honest.
- 250 g all purpose flour: Standard flour gives the right tender snap after baking.
- 5 g baking powder: A small amount keeps them light without turning them into puffy cookies.
Instructions
- Melt and combine the wet base:
- In a saucepan over low heat melt the butter with the milk sugar and salt stirring gently until the butter is fully dissolved. Let it cool until it is just warm to the touch.
- Mix the dry ingredients:
- In a large bowl whisk together the flour and baking powder until evenly distributed.
- Bring the dough together:
- Pour the warm butter mixture into the flour and stir with a wooden spoon until it starts coming together then knead lightly by hand until you have a smooth ball.
- Rest the dough:
- Wrap the dough ball tightly in plastic wrap and refrigerate for 30 minutes so it firms up enough to roll cleanly.
- Preheat and roll:
- Preheat your oven to 180 degrees Celsius conventional heat then roll the chilled dough out on a floured surface to about 5 millimeters thick.
- Cut and prick:
- Use a petit beurre cutter or any small cutter you like and transfer the biscuits to a parchment lined baking sheet then prick each one a few times with a fork for that classic look.
- Bake until golden:
- Bake for 12 minutes watching carefully until the edges turn a lovely golden brown then transfer to a wire rack to cool completely.
 Save
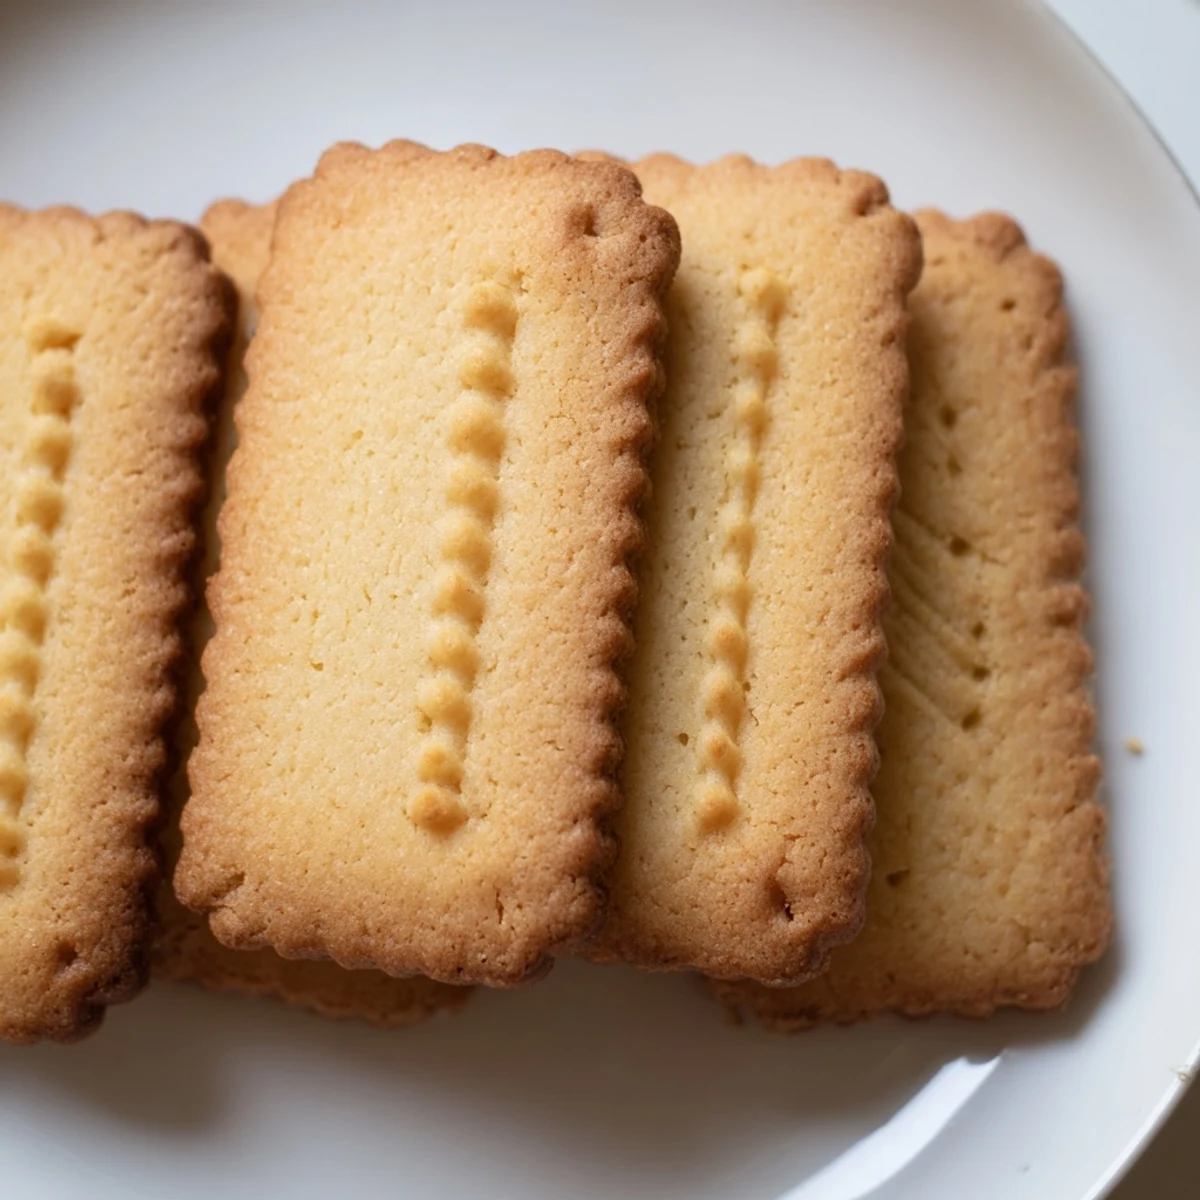
Save The moment I pulled that second golden batch from the oven and heard the faint crackle as they cooled on the rack I knew this recipe was permanent. They tasted like something from a childhood I never actually had.
Serving Ideas Worth Trying
Dipping these in dark chocolate transforms them into something dangerously addictive that disappears within hours. A cup of Earl Grey alongside is my favorite afternoon ritual now.
Storing Your Biscuits Properly
An airtight tin keeps them crisp and delicious for up to a full week if they last that long. Layer them with parchment paper if you stack them to prevent sticking.
Getting Creative With Flavor
Try adding a half teaspoon of vanilla extract or some lemon zest to the dough for a lovely variation on the classic. The beauty of this recipe is how willingly it adapts to whatever mood you are in.
- A pinch of cinnamon in winter makes them feel like holiday biscuits.
- Orange zest pairs beautifully with the butter for a brighter flavor.
- Always let them cool completely before storing or they will soften.
 Save
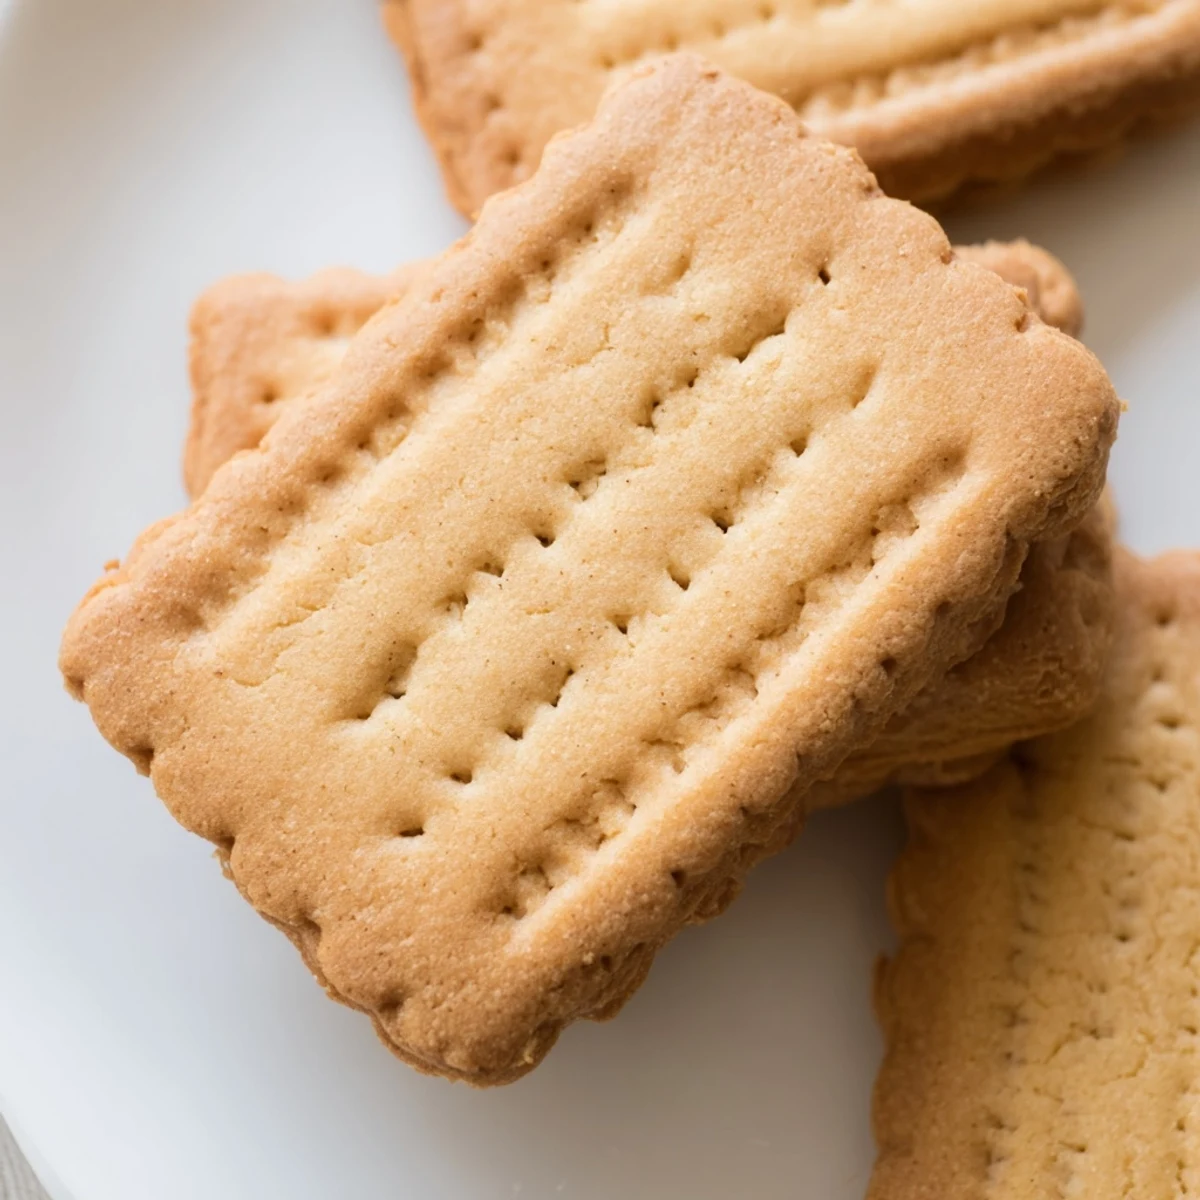
Save Keep a batch in your kitchen and you will always have something warm and welcoming to offer unexpected guests. That is really all anyone needs.
Questions & Answers
- → Pourquoi faut-il piquer les petits beurre avec une fourchette ?
-
Le piquage à la fourchette permet d'éviter que les biscuits ne gonflent excessivement pendant la cuisson. Cela permet également de créer le motif décoratif traditionnel qui caractérise les petits beurre authentiques.
- → Peut-on congserver les petits beurre plus d'une semaine ?
-
Dans une boîte hermétique à température ambiante, les petits beurre se conservent parfaitement pendant une semaine. Pour une conservation plus longue, vous pouvez les congeler jusqu'à trois mois en les plaçant dans un sac congélation hermétique.
- → Comment obtenir des biscuits bien réguliers ?
-
Pour des biscuits uniformes, étalez la pâte sur une épaisseur régulière de 5 mm en utilisant des guides de pâtisserie. Utilisez un emporte-pièce spécial petit-beurre pour un résultat fidèle à la tradition française.
- → Peut-on remplacer le beurre doux par du beurre salé ?
-
Oui, vous pouvez utiliser du beurre demi-sel à la place du beurre doux. Dans ce cas, réduisez ou supprimez la pincée de sel indiquée dans les ingrédients pour éviter un résultat trop salé.
- → Pourquoi la pâte doit-elle reposer au réfrigérateur ?
-
Le repos au frais pendant 30 minutes permet au beurre de se solidifier, ce qui rend la pâte plus facile à étaler et à découper. Il permet également au gluten de se détendre, évitant ainsi que les biscuits ne se rétractent à la cuisson.
- → Comment tremper les petits beurre dans le chocolat ?
-
Faites fondre du chocolat noir ou au lait au bain-marie. Trempez la moitié de chaque biscuit dans le chocolat fondu, puis déposez-les sur du papier cuisson. Laissez le chocolat figer à température ambiante ou au réfrigérateur pendant 30 minutes.
