 Save
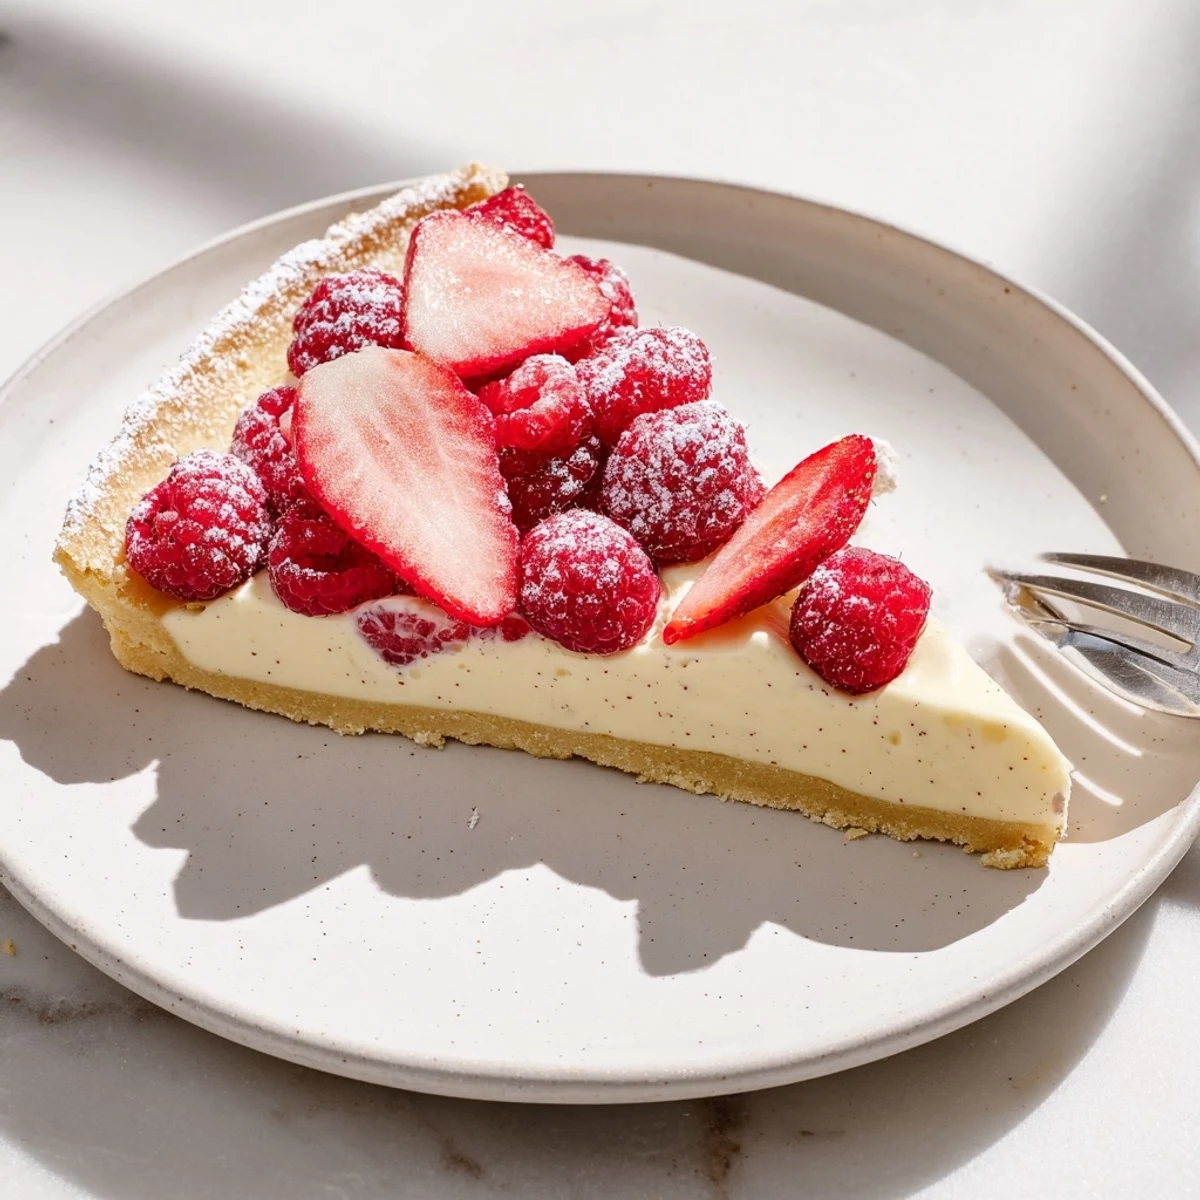
Save This stunning tart combines a tender, buttery pastry shell with an incredibly smooth vanilla bean pastry cream. The crust is made from scratch using cold butter and flour, then blind-baked to golden perfection. The filling features real vanilla bean seeds infused into rich whole milk, then thickened with egg yolks and cornstarch for that signature silky texture. After chilling, the creamy filling is nestled into the cooled crust and finished with fresh berries or a dusting of powdered sugar.
The first time I made vanilla bean pastry cream, I stood over that stove stirring until my arm actually ached, terrified I would scramble the eggs. That moment when it suddenly transformed into this velvety, thick perfection felt like pure magic. Now this tart has become my go to when I need something that looks impressive but tastes even better than it looks.
I brought this tart to a friends dinner party last spring, and honestly, I was nervous because French desserts can feel so finicky. But when I sliced into it and that perfectly golden crust gave way to the creamiest vanilla filling, everyone went quiet for a second. The host actually asked for the recipe before we even finished dessert.
Ingredients
- All purpose flour: Creates the structure for that classic shortbread style crust that bakes up tender and crisp
- Cold unsalted butter: Keeping it ice cold is the secret to achieving those flaky layers in the pastry
- Powdered sugar: Dissolves more easily than granulated sugar and gives the crust a delicate sweetness
- Sea salt: Just a pinch enhances all the flavors and balances the sweetness beautifully
- Egg yolk: Adds richness to the crust and helps bind everything together into a cohesive dough
- Ice water: Use only as much as needed to bring the dough together, adding it gradually
- Whole milk: Full fat milk creates the silkiest, most luxurious pastry cream base
- Vanilla bean: Fresh vanilla beans give an incomparable depth of flavor, though paste works wonderfully too
- Egg yolks: These create the rich, custardy body of the pastry cream and help it set properly
- Granulated sugar: Sweetens the cream and also helps stabilize the egg proteins during cooking
- Cornstarch: The thickening agent that transforms the milk mixture into a smooth, sliceable filling
- Unsalted butter: Stirred in at the end, this adds an incredible glossy finish and extra creaminess
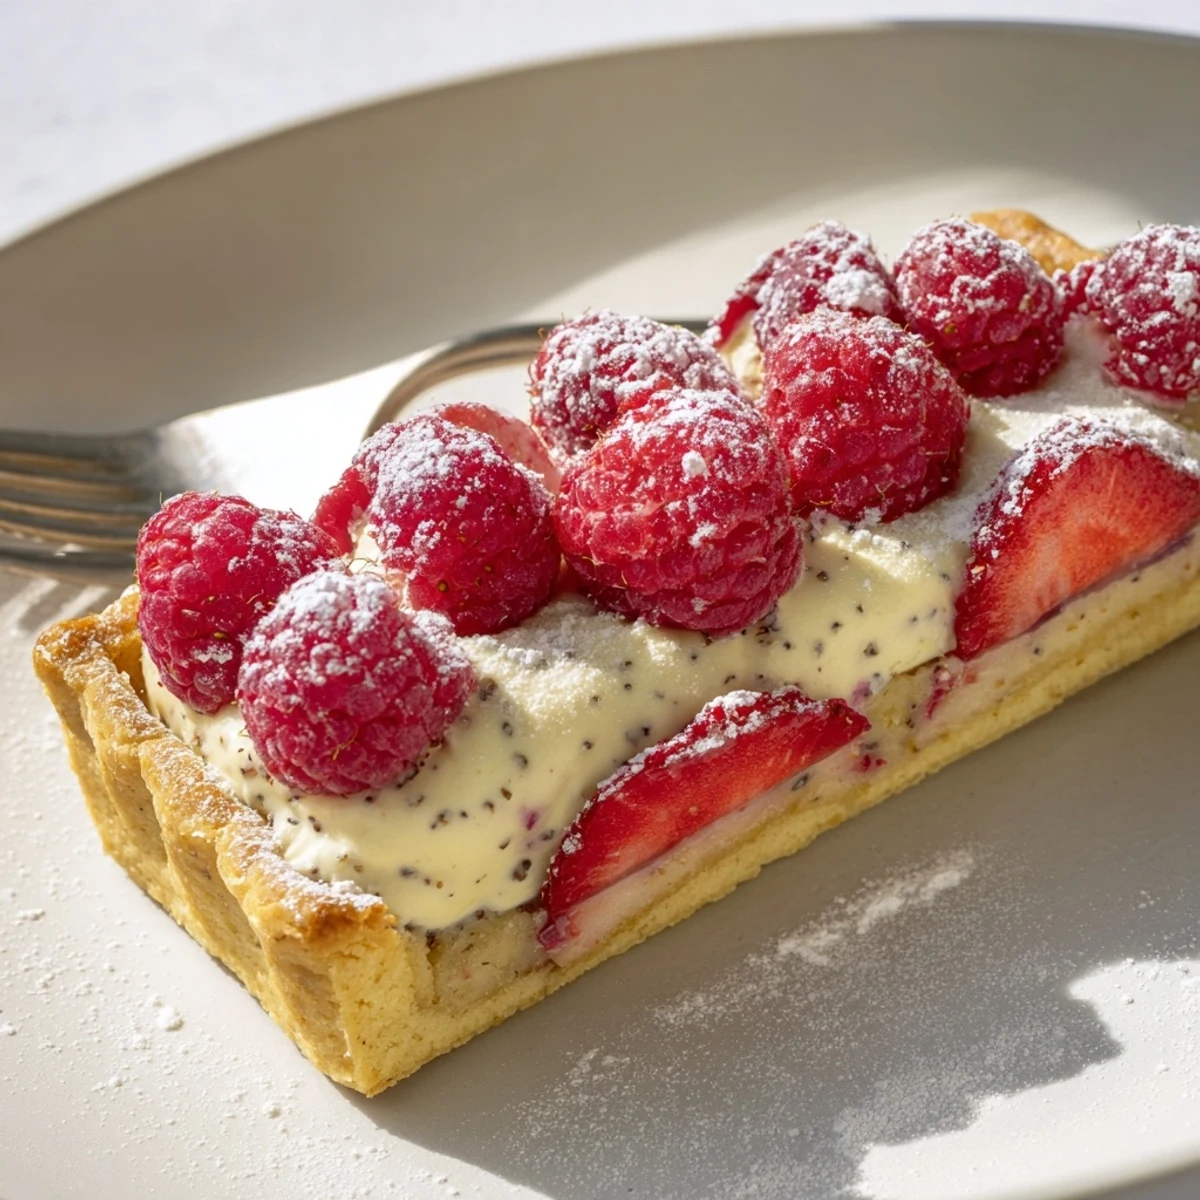
- Fresh berries: Optional but lovely for adding color, freshness, and a tart contrast to the rich cream
- Powdered sugar: A light dusting on top gives that bakery finish look
Instructions
- Make the dough:
- Pulse flour, powdered sugar, and salt in a food processor until combined, then add cold butter and pulse until you see coarse crumbs forming throughout
- Bind the dough:
- Add the egg yolk and pulse again, then drizzle in ice water one tablespoon at a time until the dough just starts to come together when you pinch it
- Chill thoroughly:
- Press the dough into a disk, wrap it tightly, and let it rest in the refrigerator for at least an hour so the gluten relaxes and the butter firms up
- Preheat and prepare:
- Heat your oven to 350°F and get your tart pan ready while the dough chills
- Roll out the crust:
- On a lightly floured surface, roll the dough into a circle that will fit your 9-inch tart pan with some overhang
- Line the pan:
- Gently press the dough into the pan, lifting the edges to drape rather than stretching, then trim the excess by rolling your pin across the top
- Pre bake the shell:
- Prick the base all over with a fork, line with parchment, fill with weights, and bake for 15 minutes before removing the weights and baking until golden
- Infuse the milk:
- Heat the milk with both the vanilla bean seeds and the pod until just simmering, then remove the pod and let it sit for 10 minutes
- Prepare the base:
- Whisk egg yolks, sugar, cornstarch, and salt until pale and completely smooth with no lumps remaining
- Temper the eggs:
- Slowly pour about a cup of the hot milk into the egg mixture while whisking constantly, then return everything to the saucepan
- Cook to thickness:
- Whisk over medium heat until the mixture bubbles and thickens dramatically, about 2 to 3 minutes
- Finish the cream:
- Remove from heat and stir in the softened butter until melted and completely incorporated
- Chill completely:
- Press plastic wrap directly onto the surface and refrigerate for at least an hour until cold and set
- Assemble the tart:
- Spread the chilled pastry cream evenly into the completely cooled tart shell
- Add final touches:
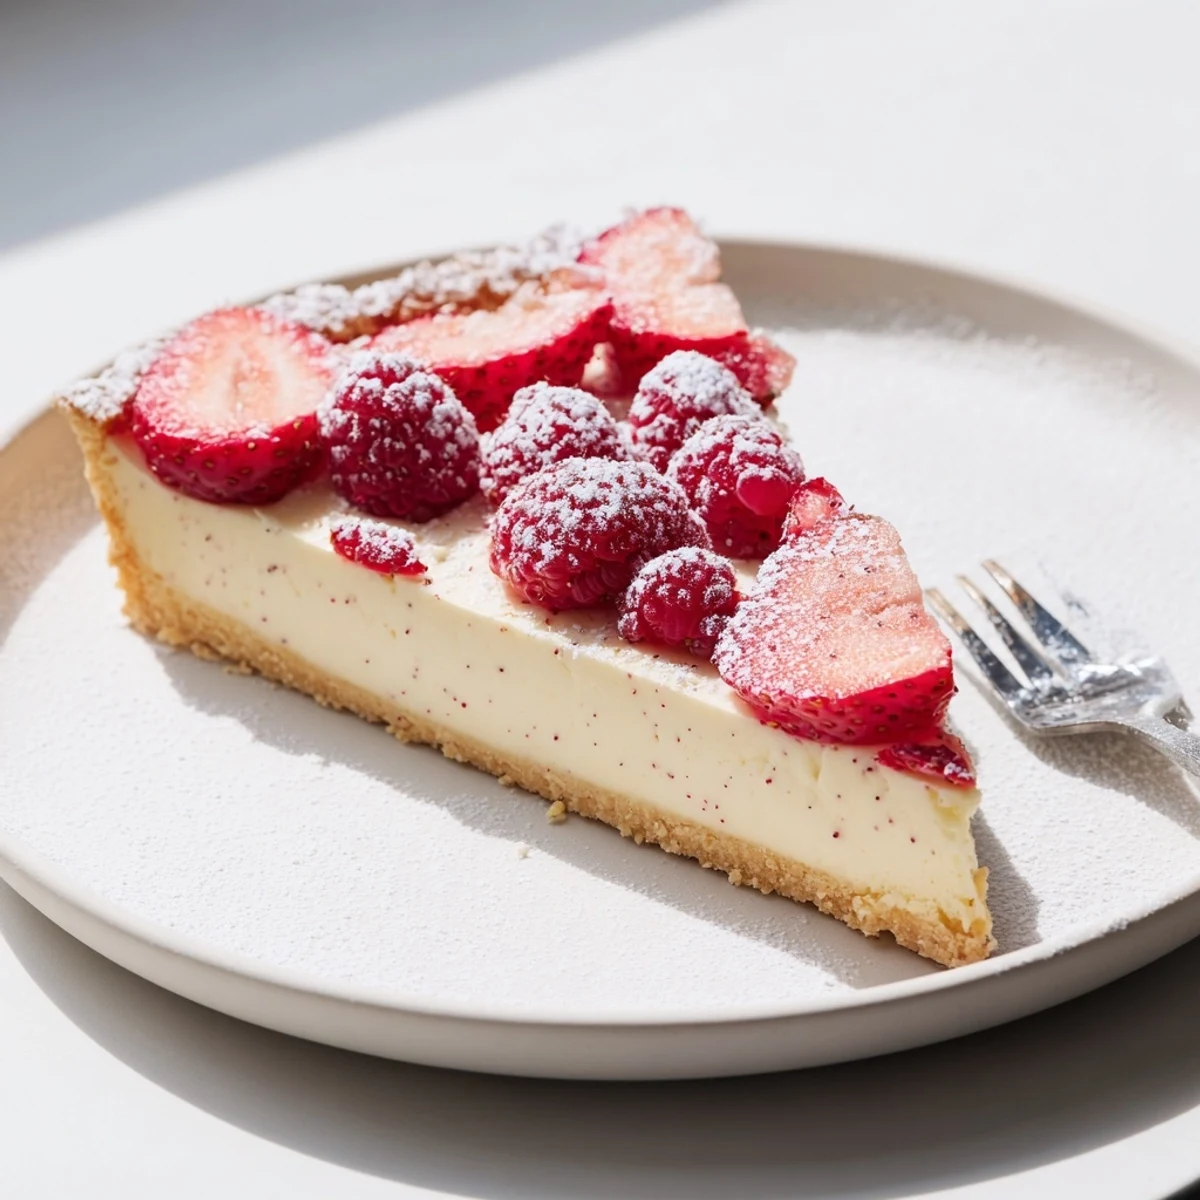
- Arrange fresh berries on top if desired and finish with a light dusting of powdered sugar right before serving
 Save
Save My grandmother once told me that the best desserts are the ones that make people close their eyes for a second when they take the first bite. This tart does exactly that every single time.
Making It Ahead
The pastry cream can actually be made up to two days in advance and stored in the refrigerator with plastic wrap pressed directly onto the surface. The tart crust can also be baked a day ahead and kept at room temperature, wrapped tightly. Just assemble them within a few hours of serving for the best texture.
Getting That Perfect Crust
Keep everything cold when making the dough, and do not overwork it or the gluten will develop and make the crust tough. When pre baking, if you see any bubbles forming, press them down gently with the back of a spoon. The crust should be golden brown all over, not pale, for the best flavor and texture.
Serving And Storage
This tart is actually best served within a few hours of assembly because the crust will start to soften over time. Use a sharp knife dipped in hot water to get clean slices. If you need to store leftovers, keep them in the refrigerator but know the texture will be best the first day.
- Slice this tart while it is slightly chilled for the cleanest cuts
- Let it sit at room temperature for about 15 minutes before serving so the pastry cream softens
- A dollop of lightly sweetened whipped cream on the side never hurt anyone
 Save
Save There is something so satisfying about serving a dessert that looks this elegant but comes together with such straightforward techniques. Enjoy every bite of this vanilla filled moment.
Questions & Answers
- → Can I make the pastry cream ahead of time?
-
Yes, the pastry cream can be prepared up to 2 days in advance. Store it in an airtight container with plastic wrap pressed directly onto the surface to prevent a skin from forming.
- → What if I don't have a vanilla bean?
-
You can substitute 2 teaspoons of pure vanilla bean paste or 1 tablespoon of high-quality vanilla extract. The flavor will still be delicious, though the vanilla bean specks won't be visible.
- → How do I prevent the crust from getting soggy?
-
Ensure the crust is completely cooled before adding the filling. For extra protection, brush the cooled crust with melted white chocolate and let it set before filling with the pastry cream.
- → Can I use a different type of milk?
-
Whole milk works best for the creamiest texture. Lower-fat milks may result in a thinner consistency. For dairy-free options, coconut milk can work but will alter the flavor profile.
- → How long should I chill the tart before serving?
-
Chill the assembled tart for at least 2 hours to allow the filling to set properly. This makes slicing easier and ensures the best texture. It can be refrigerated up to 24 hours before serving.
- → What toppings work best with this tart?
-
Fresh berries like strawberries, raspberries, or blueberries complement the vanilla beautifully. Sliced stone fruits, poached pears, or even candied citrus make elegant additions.
