 Save
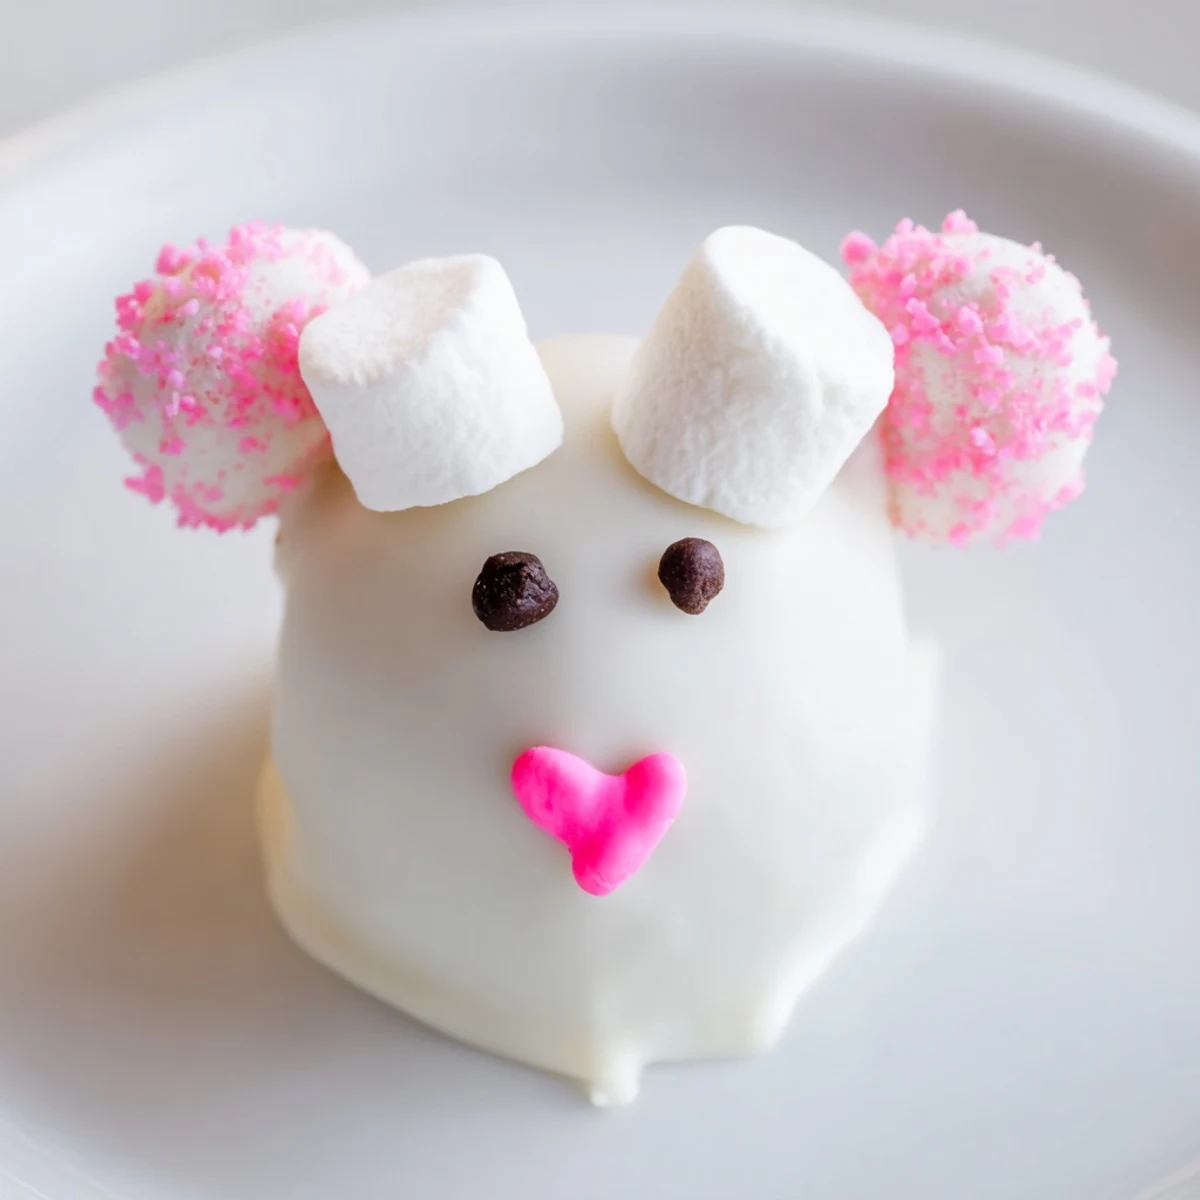
Save These adorable bunny-shaped treats combine crushed Oreo cookies with cream cheese for a rich, creamy center. Each ball gets dipped in smooth white chocolate and transformed into an irresistible bunny with marshmallow ears, pink sugar details, chocolate chip eyes, and a fluffy marshmallow tail. The no-bake preparation makes them perfect for busy spring weekends, while the festive bunny design creates an eye-catching centerpiece for Easter gatherings or spring parties.
Last spring my daughter asked if we could make something together that looked like bunnies but actually tasted like dessert. We ended up spending a rainy Sunday afternoon covered in white chocolate and pink sprinkles, giggling every time one of our bunny ears fell sideways. These little Oreo balls became an instant tradition after that.
I brought a plate of these to my book club meeting and watched three adults immediately revert to childhood, choosing their bunnies based on whose ears looked perkiest. Somehow the conversation shifted entirely to Easter memories while white chocolate fingerprints appeared on everyone's copies of the monthly read.
Ingredients
- 36 Oreo cookies: Food processor makes quick work of these, or crush them in a sealed bag with a rolling pin
- 225 g cream cheese, softened: Let it sit out for 30 minutes so it blends smoothly without lumps
- 400 g white chocolate or candy melts: Candy melts coat more evenly but white chocolate tastes richer
- 48 mini marshmallows: Cut these diagonally for the most convincing bunny ears
- Pink sanding sugar or edible gel: This is what gives the ears that sweet pink center
- 48 mini chocolate chips: Press them in point-side up for beady eyes
- 24 pink heart sprinkles: Heart shapes make the perfect bunny noses
- 24 mini white marshmallows: These little tails are optional but absolutely charming
Instructions
- Prep your workspace:
- Line a baking sheet with parchment paper so the balls don't stick while chilling
- Make the dough:
- Pulse the Oreos into fine crumbs, then add cream cheese and blend until a thick, dark dough forms
- Shape the bunnies:
- Scoop tablespoon portions and roll them into smooth balls, placing them on your prepared sheet
- Chill thoroughly:
- Freeze for 20 to 30 minutes until firm enough to dip without falling apart
- Melt the coating:
- Heat white chocolate in 30 second intervals, stirring between each until completely smooth
- Dip each ball:
- Use a fork to lower each chilled ball into chocolate, lift gently and let excess drip off
- Decorate while wet:
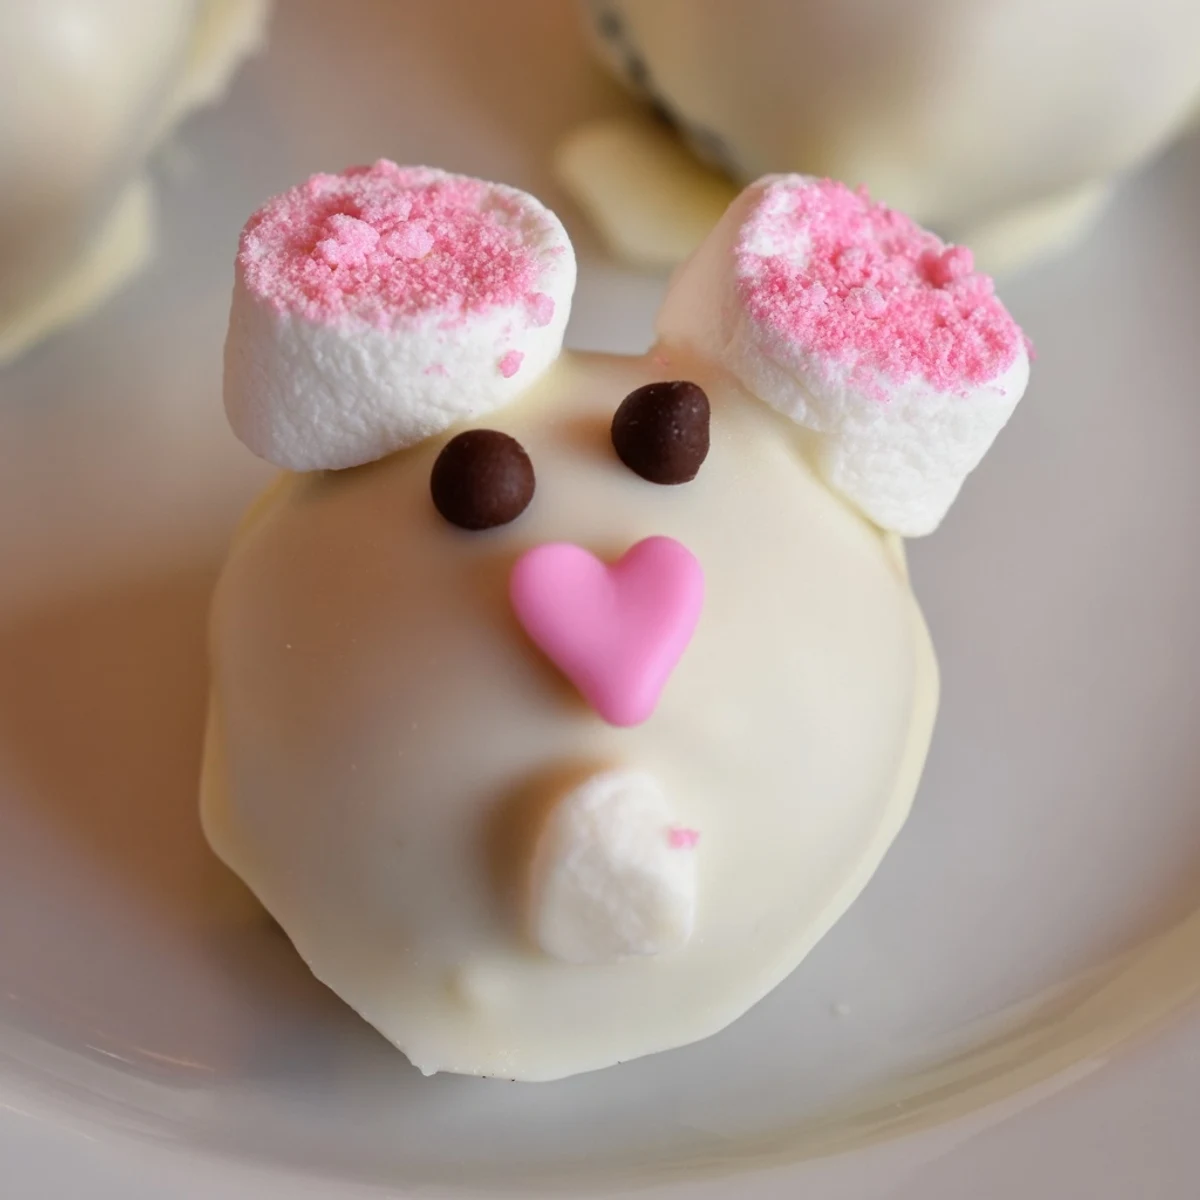
- Quickly add marshmallow ears, sugar dipped centers, chip eyes, heart noses, and fluffy tails
- Set completely:
- Refrigerate for at least 30 minutes until the coating is firm and the decorations stay put
 Save
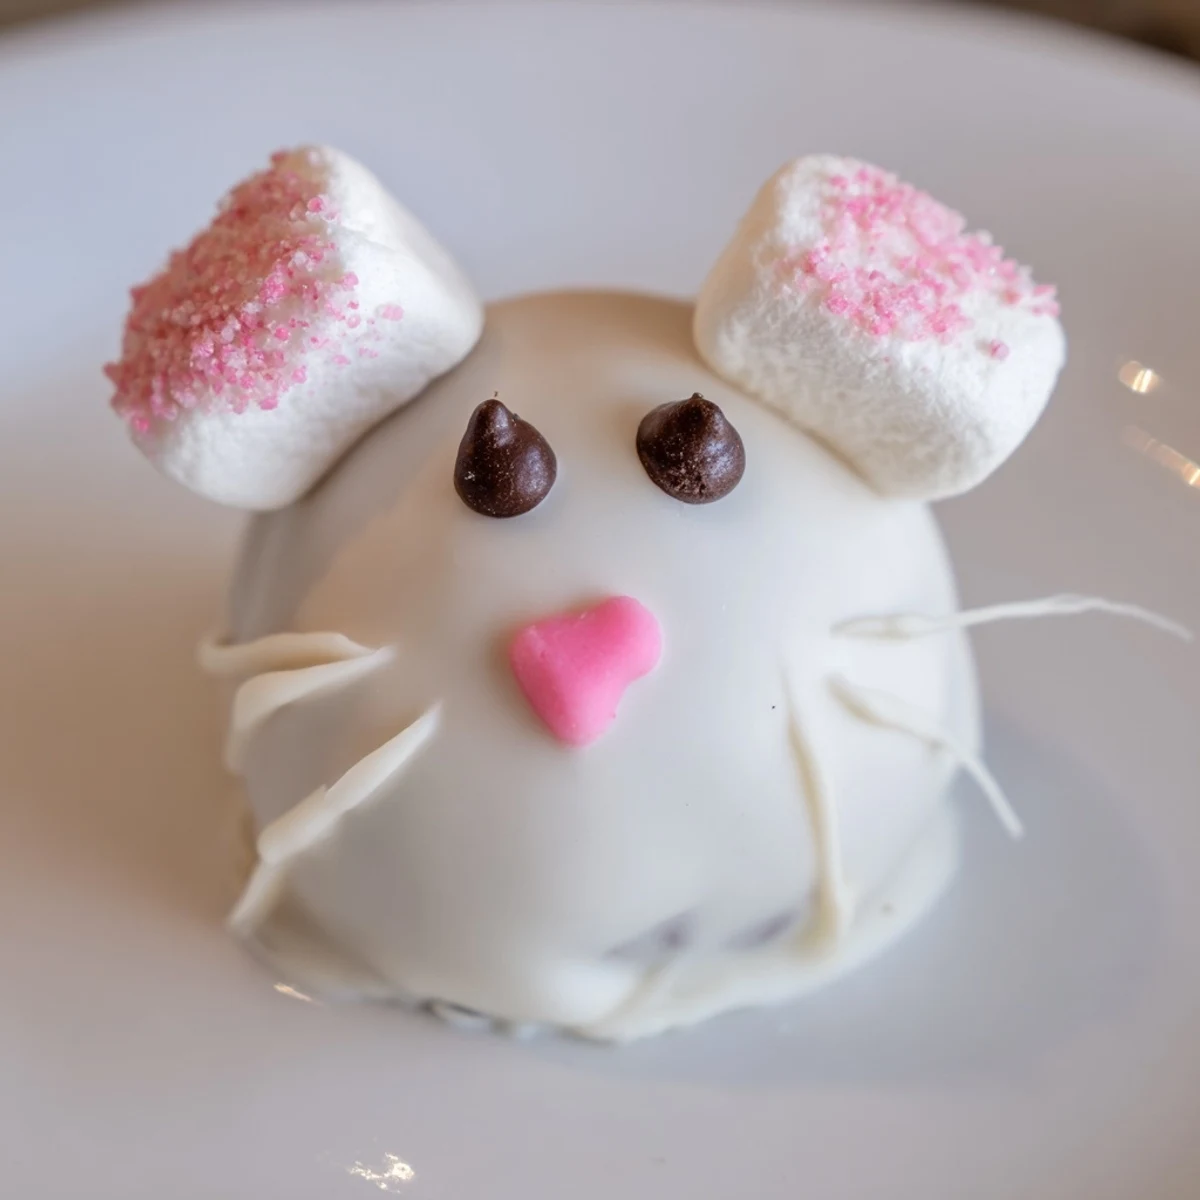
Save Now every time spring approaches my kids start asking about the bunny balls, and honestly I am just as eager to make them again. There is something about those little pink sugar ears that makes even the grayest March afternoon feel festive.
Making Them Ahead
You can form the Oreo balls and freeze them undipped for up to a week, then thaw slightly before coating. The finished bunnies keep well in the refrigerator for several days in an airtight container, though the sugar decorations might start getting slightly sticky after day three.
Decoration Alternatives
Pastel candy melts in lilac, mint, or pale yellow create the sweetest Easter egg palette without extra effort. Some years I have used edible food markers to draw whiskers and pink noses instead of sprinkles, which works beautifully if you have a steadier hand than I do.
Kid Friendly Tips
Little hands are surprisingly good at rolling the Oreo mixture into balls, though you might end up with some creative sizes. The decorating step is where children really shine, especially when given permission to be creative with facial expressions.
- Set up a decorating station with small bowls of each topping
- Keep damp paper towels nearby for sticky chocolate fingers
- Embrace the imperfect bunnies, they often have the most personality
 Save
Save Hope these bunny balls bring as much joy to your spring celebrations as they have to ours. Happy dipping.
Questions & Answers
- → How long do bunny Oreo balls stay fresh?
-
Store in an airtight container in the refrigerator for up to 1 week. For longer storage, freeze undecorated balls for up to 2 months and decorate when ready to serve.
- → Can I make these ahead of time?
-
Yes, prepare the Oreo balls and freeze them undecorated. Thaw in the refrigerator overnight, then dip in chocolate and decorate when needed.
- → What can I use instead of white chocolate?
-
White candy melts work beautifully and set faster than white chocolate. You can also use colored candy melts in pastel shades for a variety of spring colors.
- → Why do my Oreo balls crack when dipping?
-
Cracking happens when balls are too cold. Let them sit at room temperature for 5 minutes before dipping, and ensure your chocolate isn't too hot.
- → Can I use regular Oreos instead of original?
-
Golden Oreos work well for a lighter appearance. Double Stuf provides extra creaminess. Avoid flavored varieties that might clash with white chocolate.
- → What's the best way to attach marshmallow ears?
-
Work quickly while the white coating is still tacky. Cut marshmallows diagonally, dip the cut side in pink sugar, and gently press onto the top of each ball.
