 Save
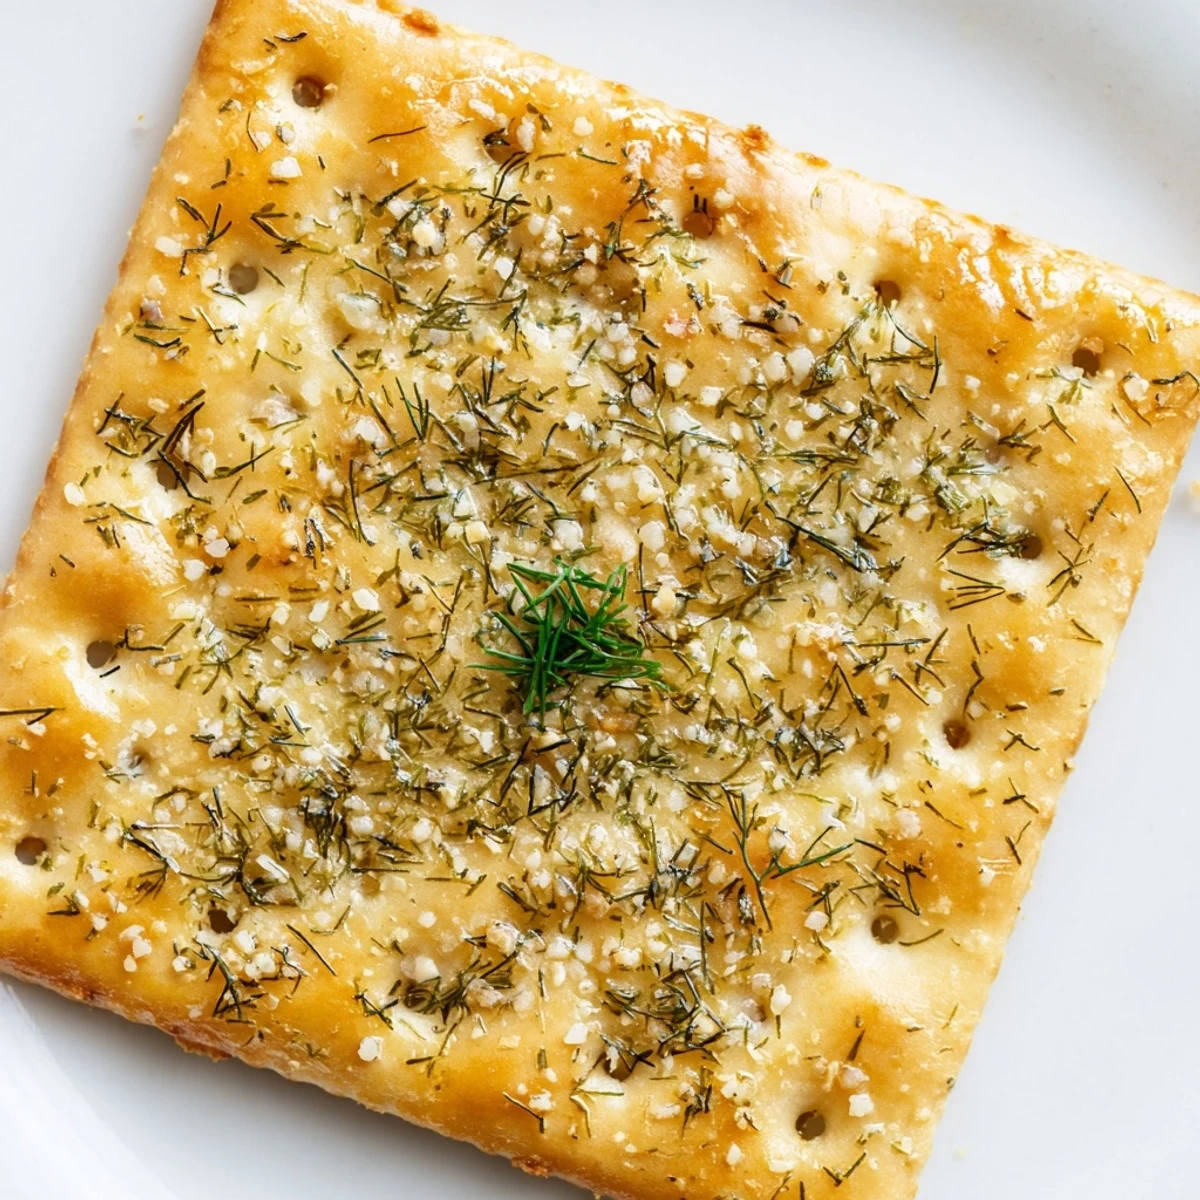
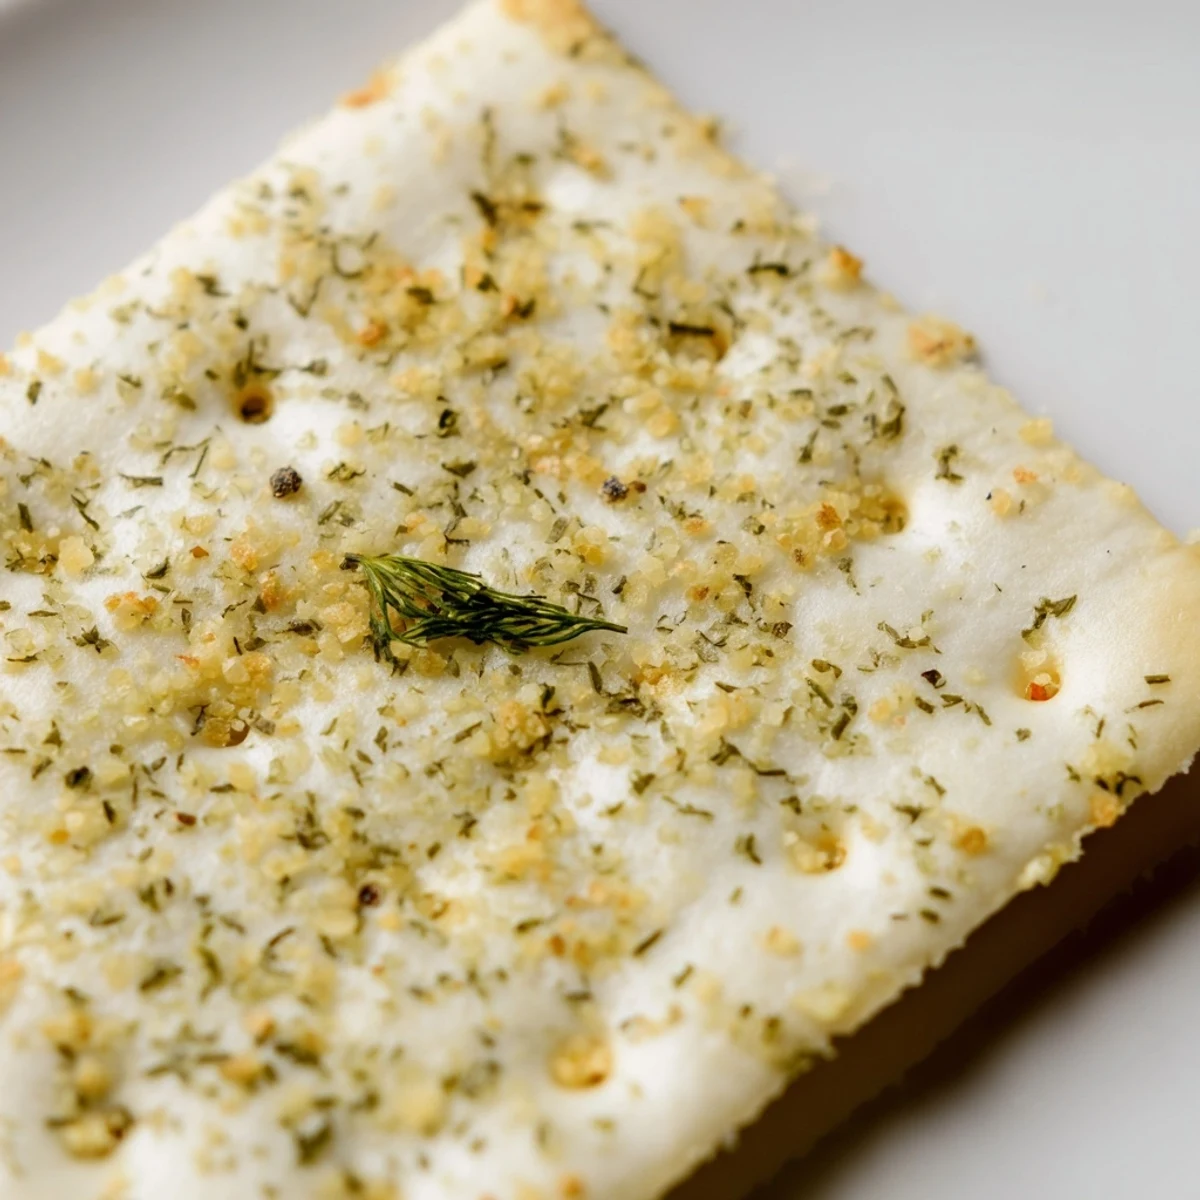
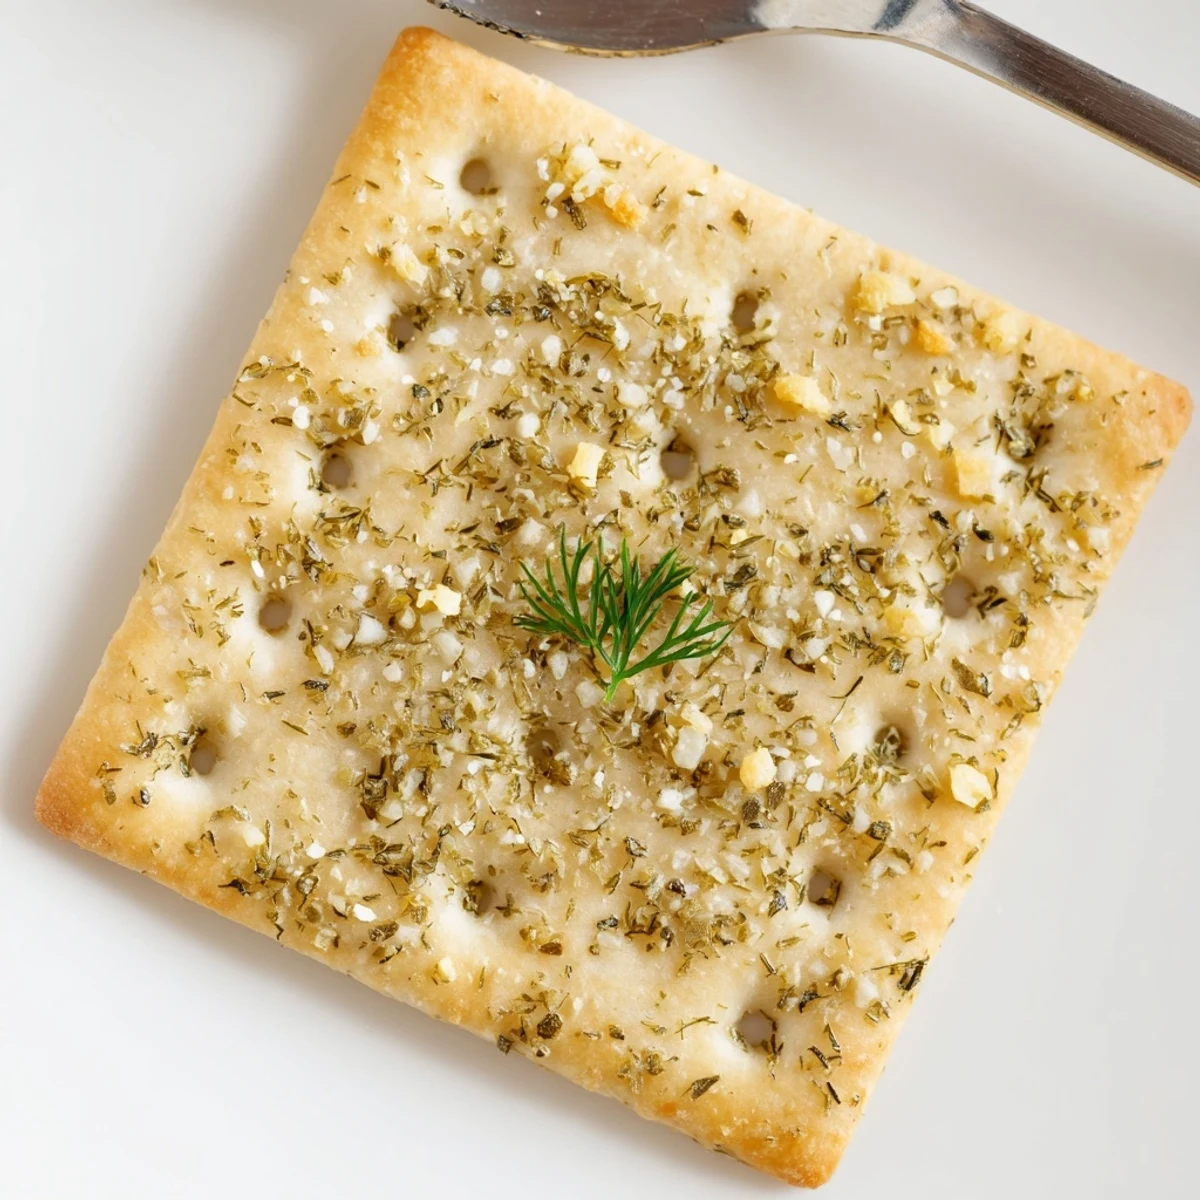
Save These dill pickle saltines are made by brushing saltine crackers with melted butter and dill pickle juice, then tossing with dried dill, garlic and onion powders, salt, pepper and an optional pinch of sugar. Arrange in a single layer and bake at 150°C (300°F) for 12–15 minutes until crisp and aromatic. Cool completely to lock in the crunch, garnish with fresh dill if desired, swap butter for olive oil for a dairy-free option, and store airtight for several days.
The summer my neighbor left a crate of pickles on my porch, I spent an entire weekend trying to figure out what to do with the brine besides dump it down the drain. That is how these dill pickle saltines were born, out of stubbornness and a kitchen that smelled like a deli. Now they are the first thing disappearing at every potluck I attend.
My friend Dave stood in my kitchen eating half the baking sheet before they even cooled, burning his fingers and not caring one bit. That moment told me these were a keeper.
Ingredients
- Saltine crackers (1 sleeve, about 120 g): Plain saltines work best because their neutral base lets the dill flavor shine without competing.
- Unsalted butter (3 tbsp, melted): Butter carries the seasoning and helps it adhere while adding richness olive oil simply cannot match.
- Dill pickle juice (1 1/2 tbsp): Use juice straight from your pickle jar for the most authentic tang.
- Dried dill weed (1 tbsp): This is the backbone of the flavor so do not skimp on it.
- Garlic powder (1 tsp): It adds a savory depth without the harshness of raw garlic.
- Onion powder (1/2 tsp): Works quietly in the background to round everything out.
- Kosher salt (1/2 tsp): A light hand here because the crackers and pickle juice already bring salt.
- Cracked black pepper (1/2 tsp): Freshly cracked makes a noticeable difference over pre ground.
- Sugar (1/2 tsp, optional): A tiny pinch balances the acid from the pickle juice beautifully.
- Fresh dill (1 tbsp, chopped, optional): A finishing sprinkle that makes them look as good as they taste.
Instructions
- Preheat and prepare:
- Set your oven to 150 degrees Celsius (300 degrees Fahrenheit) and line a large baking sheet with parchment paper so nothing sticks.
- Lay out the crackers:
- Arrange the saltines in a single even layer with a little space between each one so the edges crisp properly.
- Mix the seasoning:
- Whisk the melted butter, pickle juice, dried dill, garlic powder, onion powder, salt, pepper, and sugar in a small bowl until everything is smoothly blended and fragrant.
- Coat the crackers:
- Use a pastry brush or spoon to drizzle the mixture over every cracker, making sure each one gets an even coat without pooling.
- Bake until golden:
- Slide the sheet into the oven for 12 to 15 minutes, watching for the edges to turn a warm toasty color and your kitchen to fill with that unmistakable dill aroma.
- Cool and finish:
- Pull them out and let them sit on the sheet until completely cool and crunchy, then scatter fresh dill over the top if you are feeling fancy.
 Save
Save I packed a tin of these for a road trip last fall and my partner ate the whole batch before we hit the highway. Somehow that made the drive better.
Serving Ideas Worth Trying
These crackers sit happily beside a bowl of ranch dip or on a charcuterie board next to sharp cheddar and summer sausage. They also crush beautifully over a bowl of tomato soup for a quick garnish that elevates the whole bowl.
Storage That Actually Works
Keep them in an airtight container at room temperature and they stay crisp for about five days, though in my house they never last that long. Avoid the refrigerator because the moisture softens them fast.
Quick Variations to Play With
Once you have the base technique down you can run with it and make it your own. The seasoning blend is forgiving and welcomes experimentation.
- Try a pinch of crushed red pepper flakes for a salty spicy kick that surprises people.
- Swap the butter for olive oil if dairy is a concern and the texture stays almost identical.
- Double the batch immediately because you will wish you had.
 Save
Save Keep a jar of pickle juice in your fridge and these snack crackers are never more than twenty minutes away. That is the kind of backup plan every kitchen needs.
Questions & Answers
- → How do I keep the crackers crisp?
-
Cool the crackers completely on a rack before storing; any residual steam softens them. Store in an airtight container at room temperature with a paper towel to absorb moisture and enjoy within 2–3 days for best crunch.
- → Can I make these dairy-free?
-
Yes. Replace melted butter with a neutral oil like olive oil or light avocado oil. Brush lightly to avoid sogginess and bake until the crackers are dry and aromatic to achieve the same crisp texture.
- → How can I increase the tang or heat?
-
Boost tang with extra dill pickle juice or a splash of white vinegar. For heat, add crushed red pepper flakes or a pinch of cayenne to the seasoning mix; adjust to taste and mix well so flavors distribute evenly.
- → Will other crackers work instead of saltines?
-
Yes. Thinner, neutral-flavored crackers or water crackers mimic the crispness best. Thicker or heavily seasoned crackers may alter bake time and final texture, so monitor closely while baking.
- → What are good serving ideas?
-
Serve alongside creamy dips, soft cheeses, or a charcuterie board. They also work as a crunchy garnish for soups or salads that benefit from a tangy, savory bite.
- → Any tips for even coating?
-
Whisk the liquid and dry seasonings until smooth, then either brush or drizzle and gently toss each cracker on the sheet so the mixture distributes without saturating. A light, even layer yields the crispiest result.
