 Save
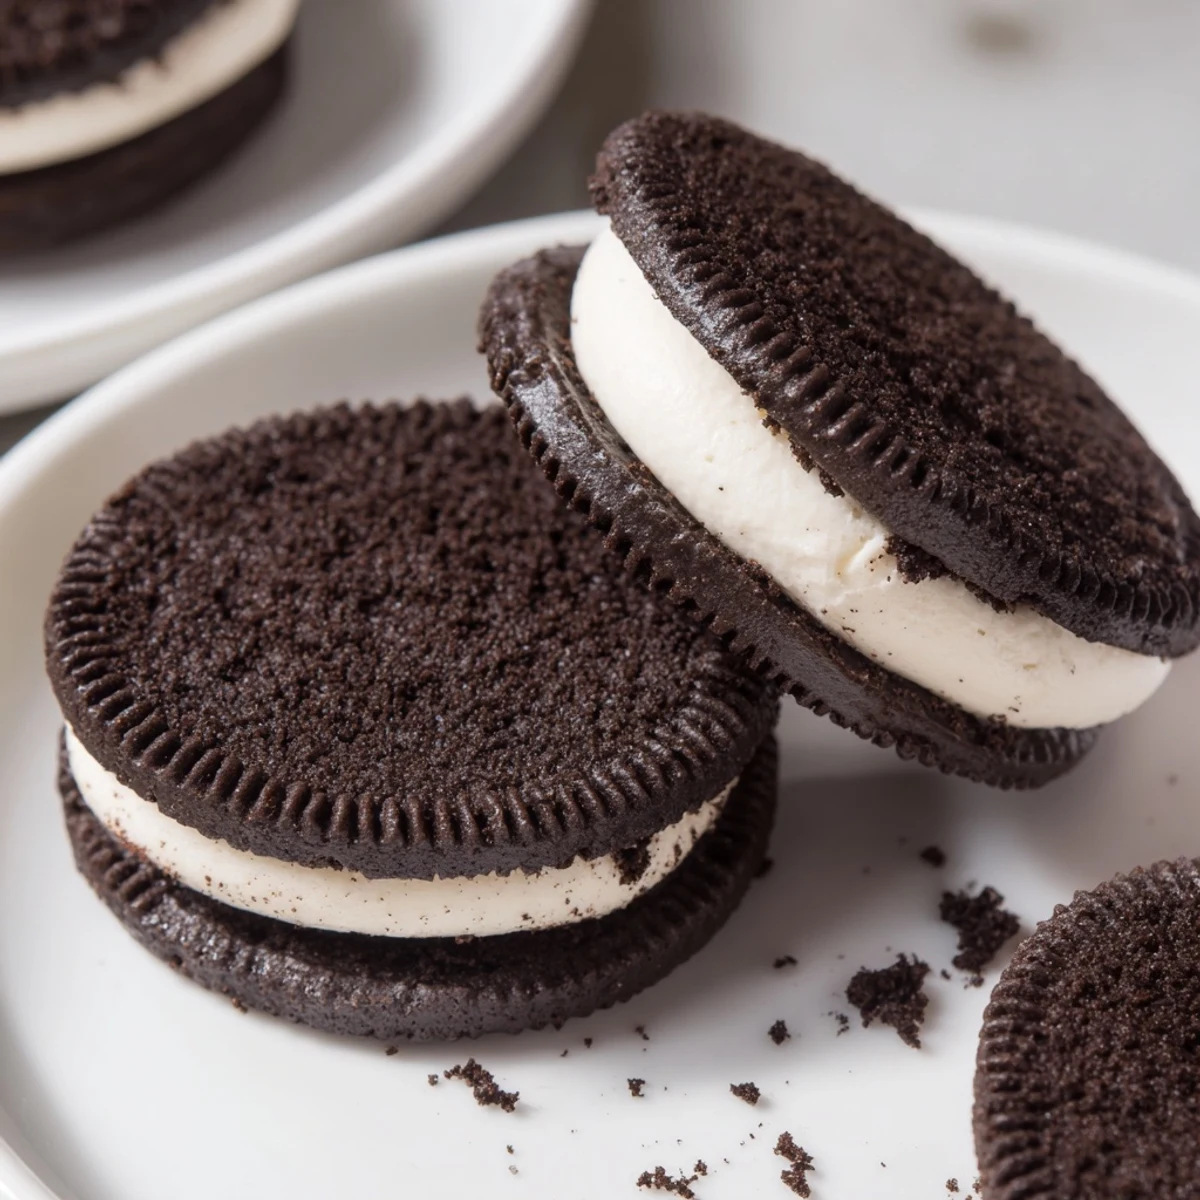
Save These classic dark chocolate sandwich cookies pair crisp cocoa rounds with a smooth vanilla cream filling. The dough comes together by creaming butter and sugar, adding an egg and vanilla, then folding in sifted flour and cocoa. Scoop, flatten, and bake 10–12 minutes; cool before piping about 1 tablespoon of filling and sandwiching. Makes 18; finishes in ~1 hour. Optional espresso boosts the cocoa depth.
The smell of dark cocoa hitting softened butter on a Tuesday evening changed my entire perspective on store bought cookies forever. My kitchen looked like a flour bomb had gone off and I was pretty sure I had cocoa powder in my eyebrow. But those first homemade sandwich cookies cooling on the rack had a depth of chocolate flavor no package could ever replicate.
I brought a plate of these to a friend who claimed she did not like chocolate cookies and watched her eat four without coming up for air. She later texted me at midnight asking if the recipe was hard because she needed them in her life permanently.
Ingredients
- All purpose flour (1 cup): Gives the cookie structure without making it cakey so measure carefully and do not pack it down.
- Unsweetened Dutch process cocoa powder: This is the soul of the cookie and Dutch process gives that deep dark color and mellow bitterness.
- Granulated sugar: Sweetens the dough and helps create those crisp edges that snap when you break the cookie.
- Baking soda and salt: A tiny lift for the dough and salt to balance all that dark chocolate intensity.
- Unsalted butter, softened: Temperature matters here so pull it out an hour ahead and it should yield to a gentle press.
- One large egg: Binds everything together into a cohesive dough that rolls without cracking.
- Vanilla extract: Use the real stuff because fake vanilla in a cookie this simple will show.
- Vegetable shortening: The secret to that classic creamy filling texture that stays stable at room temperature.
- Powdered sugar, sifted: Always sift it because even tiny lumps will leave ugly streaks in your smooth filling.
Instructions
- Get the oven ready:
- Preheat to 350 degrees and line two baking sheets with parchment paper so nothing sticks and cleanup is effortless.
- Build the dry mix:
- Sift the flour, cocoa powder, baking soda, and salt together in a bowl and watch for any tiny cocoa lumps hiding in the corners.
- Cream the butter and sugar:
- Beat the softened butter and granulated sugar until the mixture looks pale and cloud like which takes about two minutes with an electric mixer.
- Add the egg and vanilla:
- Drop in the egg and vanilla then beat until everything is combined and the dough looks glossy and inviting.
- Bring the dough together:
- Add the dry ingredients gradually and mix until a stiff dark dough forms that pulls away clean from the sides of the bowl.
- Shape and flatten:
- Roll tablespoon sized balls and place them two inches apart then press each one gently with the bottom of a glass until they are about a quarter inch thick.
- Bake and cool:
- Bake for 10 to 12 minutes until set and slightly firm then let them rest on the sheet for five minutes before moving to a wire rack to cool completely.
- Whip the filling:
- Beat the butter, shortening, powdered sugar, vanilla, and a pinch of salt together until the mixture is fluffy and smooth like thick clouds.
- Assemble the sandwiches:
- Pipe or spread a generous tablespoon of filling onto half the cookies then top with the remaining cookies and press gently until the cream reaches the edges.
 Save
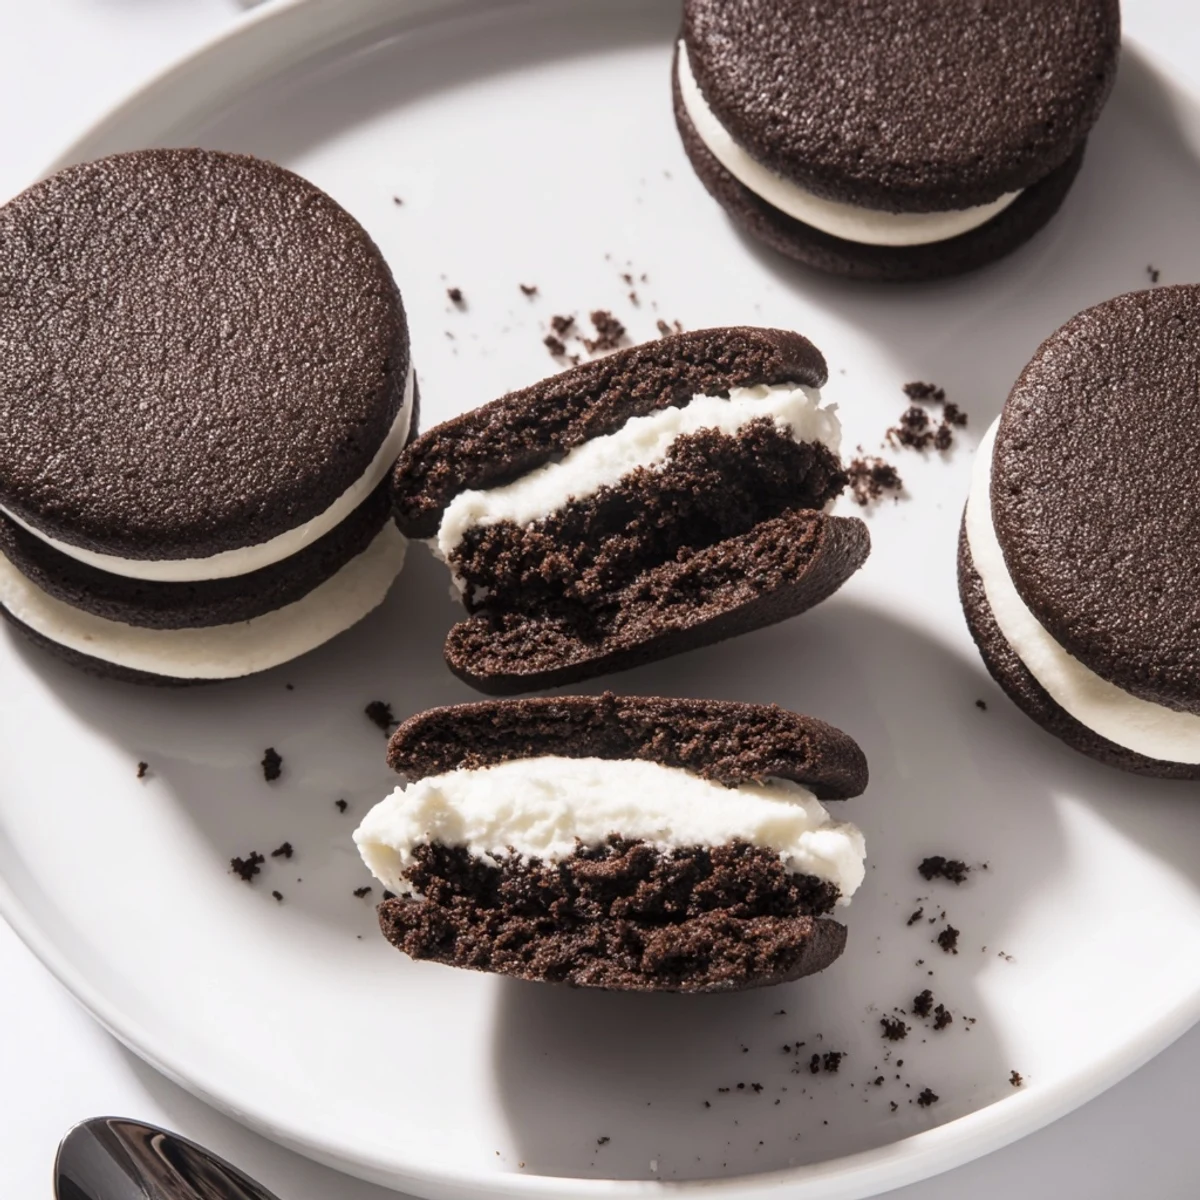
Save The moment my daughter twisted one of these cookies apart and licked the cream filling first I knew this recipe had earned a permanent spot in our family rotation.
What I Learned About the Dough
This dough is stiffer than most cookie doughs and that is completely normal. If it feels too dry to hold together try letting it rest at room temperature for ten minutes before rolling. The cocoa powder absorbs moisture differently depending on humidity so trust your hands over the recipe on this one.
The Filling Makes All the Difference
Shortening might feel like an old fashioned ingredient but it gives the filling that unmistakable creamy texture that does not melt on contact. You can swap it for all butter if you prefer a softer richer filling but the cookies will need refrigeration in warm weather.
Storing and Serving These Cookies
Store assembled cookies in an airtight container at room temperature and they stay perfect for up to five days though they rarely last that long in my house. A glass of cold milk is not optional here, it is required.
- Freeze unbaked dough balls for up to three months and bake straight from frozen adding two extra minutes.
- Espresso powder in the dough amplifies the chocolate flavor without adding any coffee taste.
- Always taste a cookie before serving to guests so you know the filling sweetness level is right.
 Save
Save There is something deeply satisfying about building a cookie from scratch that most people only know from a plastic package. Share them with someone who will appreciate the effort and watch their eyes close on the first bite.
Questions & Answers
- → How can I deepen the chocolate flavor?
-
Stir 1 teaspoon of espresso powder into the dry ingredients. It intensifies the cocoa without adding coffee flavor and enhances overall chocolate complexity.
- → Can I replace vegetable shortening in the filling?
-
Yes—swap shortening for an equal amount of butter for a richer, more buttery filling. Beat until smooth and adjust powdered sugar for desired stiffness.
- → How do I prevent the cookies from spreading too much?
-
Avoid overcreaming the butter and sugar, chill the dough 15–30 minutes if needed, and space balls about 2 inches apart to keep shape during baking.
- → What's the best way to pipe the filling neatly?
-
Use a piping bag fitted with a round tip or a resealable bag with the corner snipped. Ensure the filling is smooth and free of lumps by sifting powdered sugar first.
- → How should I store the finished sandwiches?
-
Layer in an airtight container at room temperature for up to five days. For longer storage, freeze unfilled cookies or assembled sandwiches in a single layer, then transfer to a sealed bag.
- → Can I change the cookie size?
-
Yes—make smaller or larger balls and adjust the bake time: mini cookies need less time, while larger rounds will require a few extra minutes. Watch for a set edge and slight firmness.
