 Save
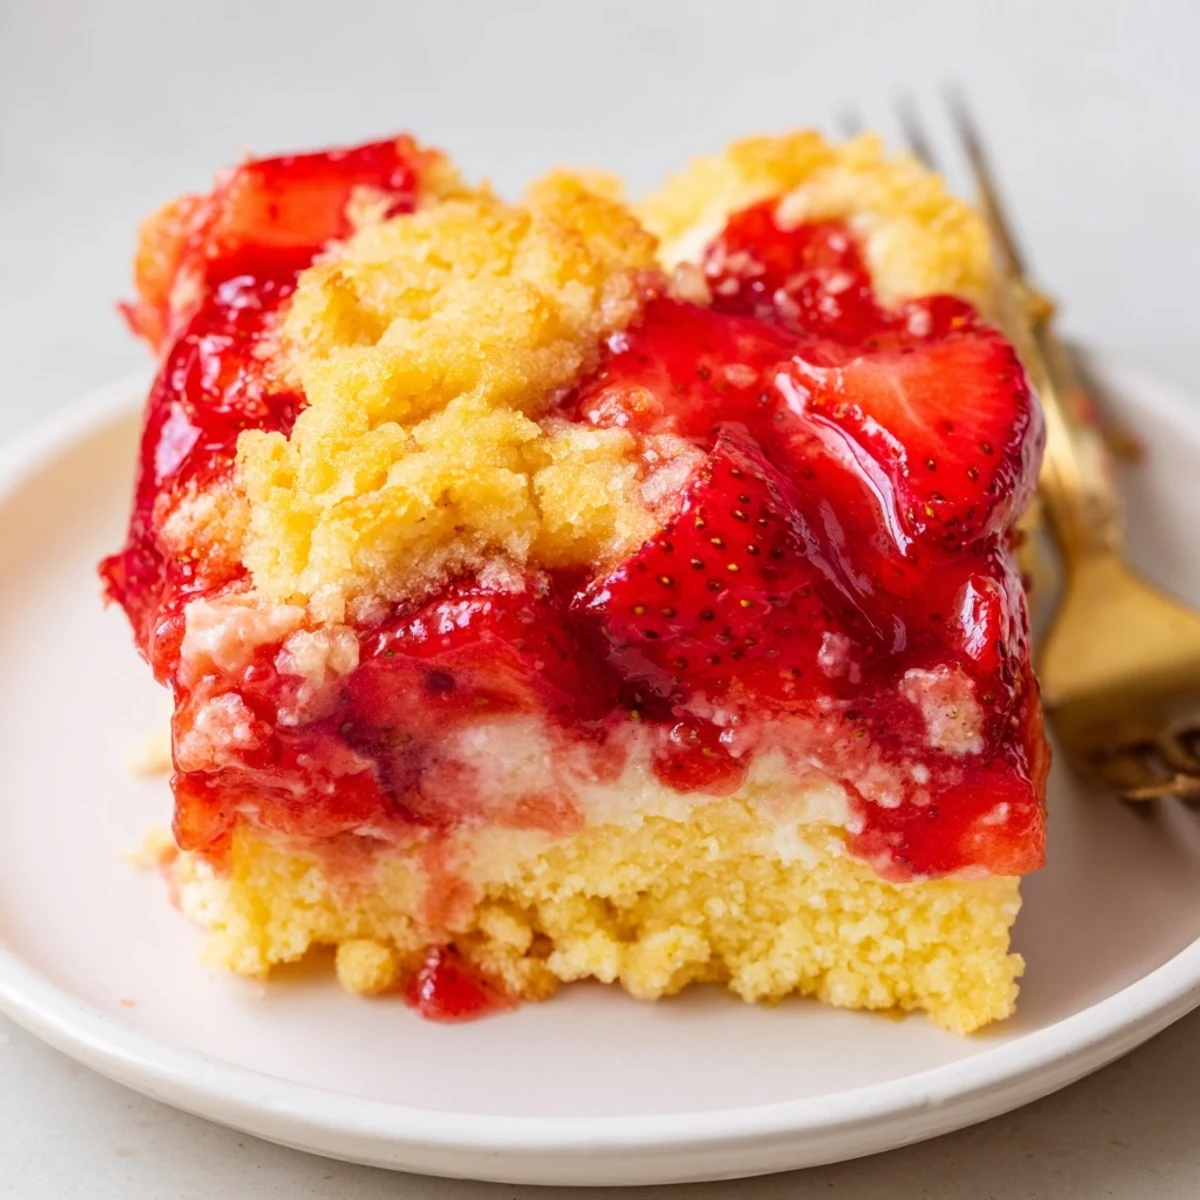
Save This dump-cake layers sliced strawberries and strawberry pie filling, dollops of a sweetened cream cheese mixture, and a dry yellow cake mix topped with melted butter. Bake 40–45 minutes at 175°C (350°F) until golden and bubbling; it yields about 8 servings. Let cool at least 20 minutes for cleaner slices. Serve warm with ice cream or whipped cream. Swap berry fillings or use gluten-free mix as needed.
The oven door had barely clicked shut when my sister appeared in the kitchen doorway, drawn by the smell of butter hitting dry cake mix. She leaned against the frame and asked what I was making, and I honestly was not sure how to answer. Dump cake sounds unglamorous, but when you layer strawberries, cheesecake, and buttery cake into one pan, the result is pure comfort. Forty five minutes later we were both standing over the dish with spoons before it had even properly cooled.
I brought this to a potluck last summer and watched three people go back for seconds before the main course was even served. There is something about the combination of warm fruit and creamy pockets of cheesecake that makes people lose all self control.
Ingredients
- Strawberries: Fresh or frozen both work beautifully, but frozen strawberries release more juice and create a saucier base.
- Strawberry pie filling: The canned filling adds a thick sweetness that binds the fruit layer together without extra effort.
- Cream cheese: Make sure it is fully softened so it blends smoothly and drops in easy spoonfuls across the top.
- Granulated sugar: Just enough to sweeten the cheesecake layer without making it cloying.
- Vanilla extract: A teaspoon elevates the cream cheese from plain to something that actually tastes like cheesecake.
- Cake mix: Yellow or white both work, and you use it dry straight from the box.
- Unsalted butter: Melted and drizzled over the dry mix to create that golden baked topping.
Instructions
- Prepare the oven and dish:
- Heat your oven to 175 degrees Celsius and grease a 9 by 13 inch baking dish so nothing sticks later.
- Build the strawberry base:
- Scatter the sliced strawberries across the bottom of the dish, then spoon the pie filling over them and spread gently to cover every corner.
- Whip the cheesecake layer:
- Beat the softened cream cheese with sugar and vanilla until completely smooth and lump free, then drop generous spoonfuls evenly over the strawberry layer.
- Add the dry cake mix:
- Sprinkle the entire box of dry cake mix over the surface in an even layer and whatever you do, resist the urge to stir.
- Drizzle the butter:
- Pour the melted butter slowly across the top, trying to hit as much of the dry mix as possible so it bakes into a golden crust.
- Bake until golden:
- Slide it into the oven for 40 to 45 minutes until the top is deeply golden and you can see the cheesecake bubbling at the edges.
- Cool before serving:
- Let it rest for at least 20 minutes so the layers settle, then serve it warm or at room temperature.
 Save
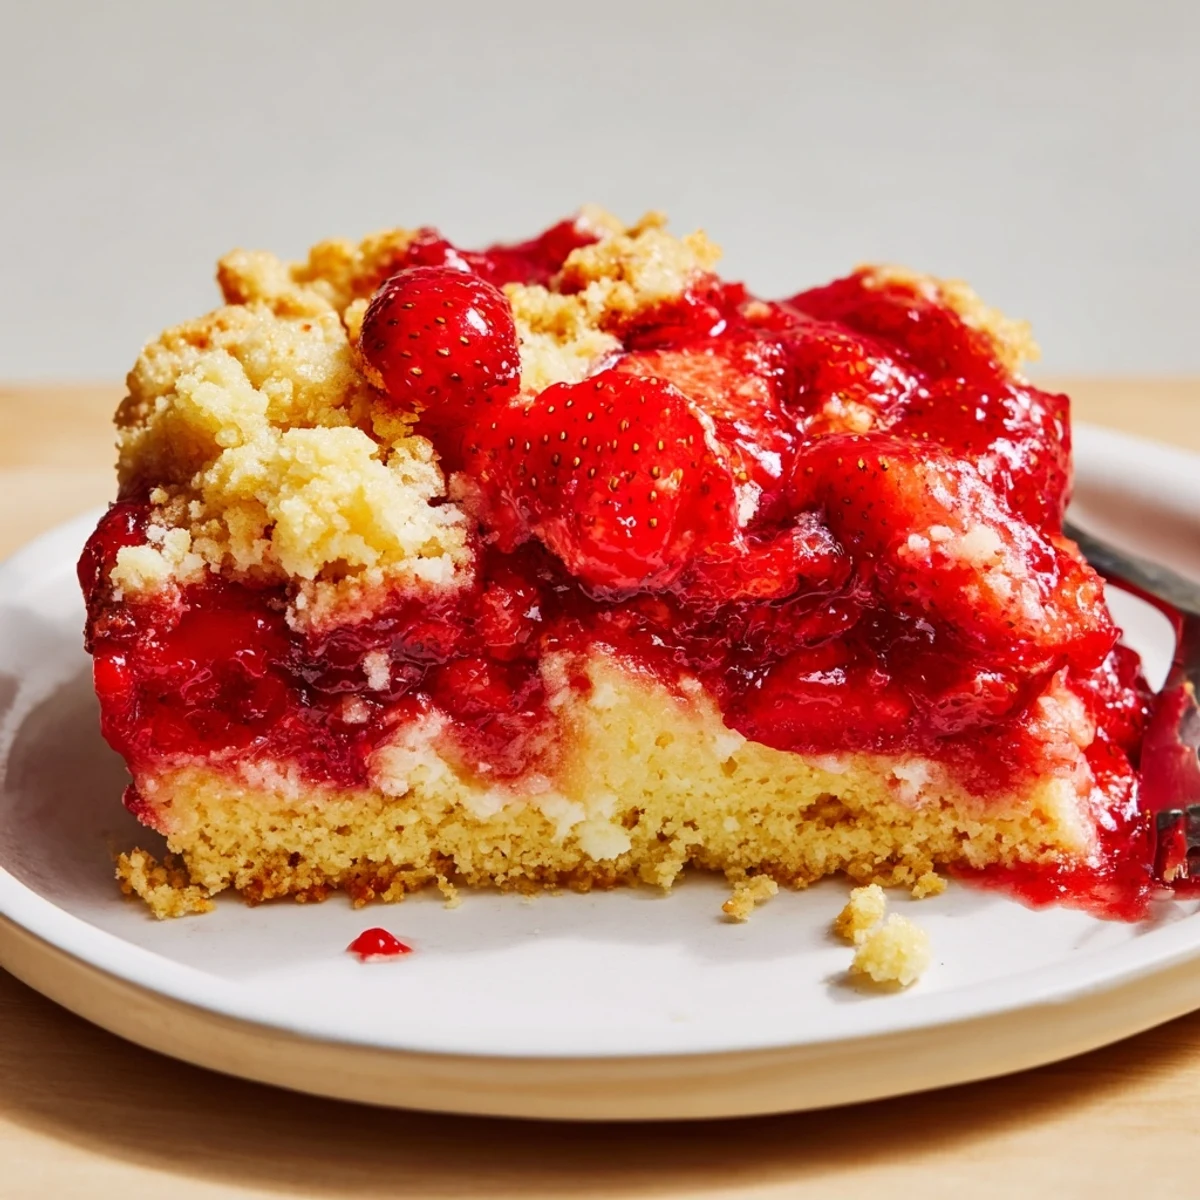
Save One rainy Tuesday I made this just because the strawberries in my fridge were about to turn, and my roommate declared it the best accidental dessert she had ever eaten.
Serving Ideas That Take It Further
A big scoop of vanilla ice cream melting over a warm square of this cake is genuinely transformative. The cold cream against the hot bubbly fruit and cheesecake creates a contrast that makes everyone at the table go quiet for a moment.
Easy Variations to Try
Swap the strawberry pie filling for cherry, raspberry, or blueberry and suddenly you have an entirely different dessert with zero extra effort. Mixed berry is particularly good when you want something that feels a little more complex without actually being more work.
Storage and Make Ahead
This keeps well covered in the fridge for up to three days and reheats beautifully in the microwave for about thirty seconds per square. The texture actually firms up overnight, making it easier to cut clean slices for a crowd.
- Use gluten free cake mix if you need to accommodate dietary restrictions without changing anything else.
- Check your cake mix box for egg and allergen information since brands vary.
- Always let it rest those full 20 minutes or the filling will run everywhere when you cut into it.
 Save
Save Some desserts earn their place in your rotation through elegance, but this one earns it through sheer reliability and the way people grin when they take the first bite. Keep a box of cake mix and a can of pie filling in your pantry and you are never more than an hour away from happy people.
Questions & Answers
- → Can I use frozen strawberries?
-
Yes. Use frozen sliced berries straight from the freezer; they release more juice, so spread them evenly and bake a few minutes longer if needed to evaporate excess moisture.
- → How do I prevent a soggy topping?
-
Drain very juicy fruit slightly, sprinkle the dry cake mix evenly without stirring, and distribute melted butter thoroughly across the surface so the mix browns instead of staying wet.
- → What can I use instead of canned pie filling?
-
Combine fresh or thawed strawberries with 1/3 cup sugar and a splash of cornstarch cooked briefly, or swap in raspberry, cherry, or blueberry fillings for a different fruit profile.
- → How should I store leftovers and reheat?
-
Cover and refrigerate leftovers up to 3 days. Reheat individual portions in the microwave or warm the dish in a 160°C (325°F) oven for 10–15 minutes until heated through.
- → Can I make this ahead or freeze it?
-
Assemble and refrigerate the unbaked pan up to 24 hours before baking. Fully baked portions freeze well up to 2 months; thaw overnight in the fridge and rewarm before serving.
- → Are there easy allergen-friendly swaps?
-
Use a gluten-free cake mix and check labels. For dairy-free, try plant-based cream cheese and vegan margarine, though texture and richness will differ slightly.
