 Save
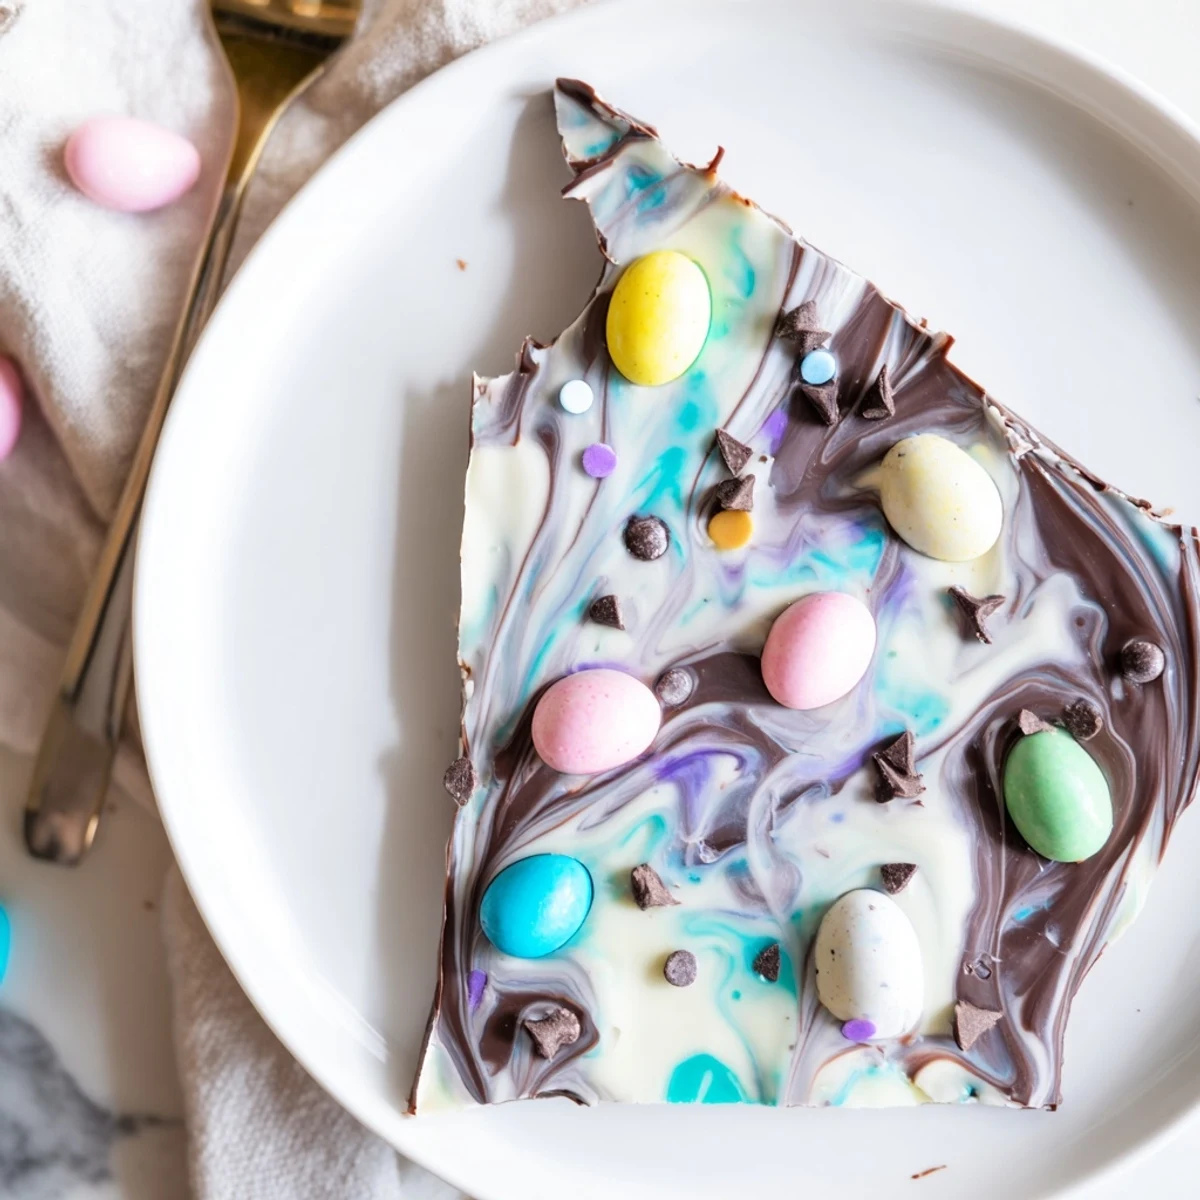
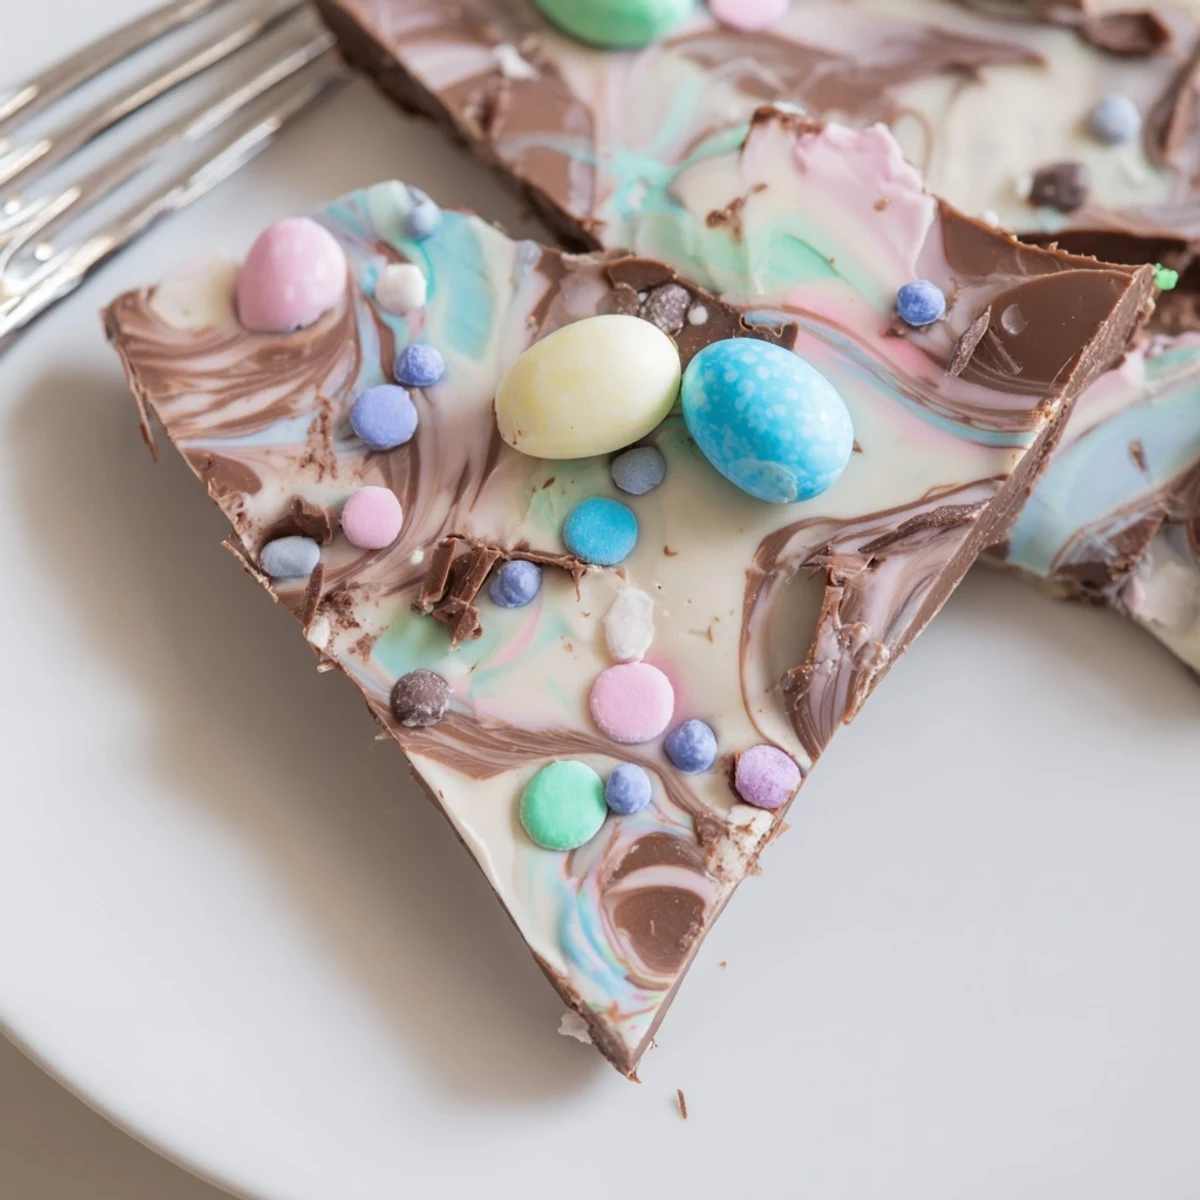
Save This colorful no‑bake chocolate bark layers melted white and semi‑sweet chocolate for a marbled base, then is scattered with candy robin eggs, pastel sprinkles and optional mini chips. Melt gently over a double boiler or in short microwave bursts, swirl for a marbled look, press larger candies so they adhere, and chill until firm. Break into pieces, store airtight at room temperature, and swap in crushed pretzels or coconut for texture.
Easter morning at my house always smelled like chocolate and coffee by 8 a.m., long before any egg hunt got underway. My mother would set out small dishes of pastel candies on the counter, and somehow a few always vanished before they made it onto anything baked. This robin egg bark captures that chaotic, joyful energy in the easiest dessert imaginable.
I brought a tray of this bark to a neighbors potluck one April and watched three adults ignore the homemade pie completely to hover over the chocolate shards. One friend asked which bakery I ordered it from, and I honestly laughed out loud.
Ingredients
- White chocolate (340 g): Use decent quality here because this is the base everything else sits on, and waxy chocolate will taste flat no matter how pretty it looks.
- Semi-sweet or milk chocolate (170 g): This is your contrast for the marble, so pick whichever you prefer, though milk adds a sweeter, creamier swirl.
- Candy-coated robin eggs (150 g): Press these in gently so they anchor into the chocolate before it sets.
- Pastel sprinkles (2 tbsp): These fill in the gaps between the larger candies and make everything feel festive.
- Mini chocolate chips (1 tbsp, optional): A nice touch if you want extra texture but not strictly necessary.
Instructions
- Prep your workspace:
- Line a baking sheet with parchment paper and clear plenty of counter space because you will need to move quickly once the chocolate is melted.
- Melt the white chocolate:
- Set a heatproof bowl over a saucepan of gently simmering water and stir the white chocolate until it flows smoothly with no lumps.
- Spread the base layer:
- Pour the melted white chocolate onto your parchment and spread it into a rectangle roughly half a centimeter thick, working edge to edge.
- Melt and marble the dark chocolate:
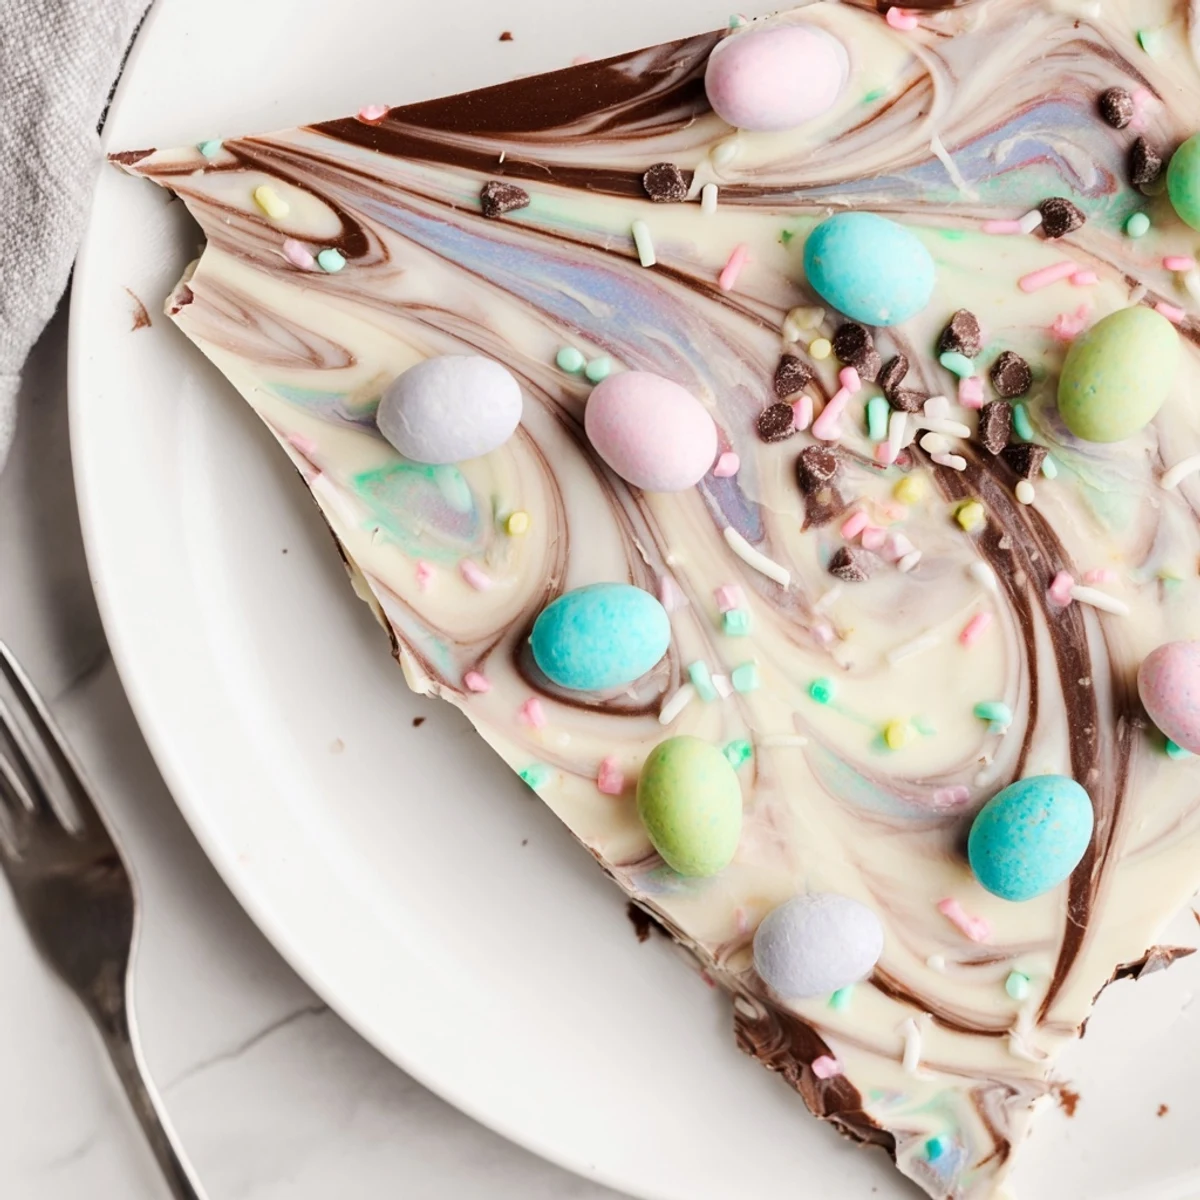
- Melt the semi-sweet chocolate the same way, then drizzle it over the white layer in thin zigzag lines and drag a toothpick through both layers to create swirls.
- Add all the toppings:
- Scatter robin eggs, sprinkles, and mini chips over the surface right away, pressing the heavier candies down gently so they do not roll off later.
- Let it set:
- Leave the bark at room temperature for about 35 minutes, or pop it in the refrigerator for 15 minutes if you are impatient like me.
- Break and serve:
- Once completely firm, use your hands to snap the bark into rustic, uneven shards and pile them onto a plate.
 Save
Save The best part of making this bark is handing someone a jagged, candy-studded piece and watching their face shift from polite interest to genuine delight.
Storage and Make-Ahead
Keep the bark in an airtight container at room temperature and it stays perfectly crisp for up to a week, though it rarely lasts that long in my kitchen. Avoid stacking pieces directly on top of each other without parchment between them or the toppings will stick and create a mess.
Allergy-Friendly Swaps
You can absolutely make this dairy-free by using vegan chocolate bars and checking that your candy coating contains no milk solids. The texture stays nearly identical and nobody at the table will suspect a thing.
Texture Variations Worth Trying
Adding crushed pretzels or toasted coconut changes the whole experience by introducing salt and crunch alongside the sweetness. Think of the bark as a blank canvas and raid your pantry with confidence.
- Salted peanuts bring a wonderful savory balance to the sweet white chocolate base.
- Freeze-dried strawberry pieces add a tart pop of flavor and a gorgeous pink color.
- Always taste your add-ins alongside the chocolate first to make sure they complement each other.
 Save
Save This bark is less a recipe and more an excuse to play with chocolate, and that freedom is exactly what makes it worth returning to every spring.
Questions & Answers
- → What’s the best way to melt the chocolate?
-
Melt over a double boiler for gentle, even heat or use the microwave in 20–30 second bursts, stirring between each interval. Remove from heat slightly before fully melted and stir to finish for a silky, lump‑free finish.
- → How do I achieve the marbled chocolate effect?
-
Pour the white chocolate into an even layer, then drizzle melted semi‑sweet or milk chocolate on top. Use a toothpick or skewer to drag through the lines in short, random strokes until you see a marbled pattern.
- → How can I prevent chocolate from seizing?
-
Keep all utensils dry and avoid any contact with water. If using the microwave, heat in short bursts and stir well. If a little moisture gets in, gently add a small amount of neutral oil to loosen the chocolate.
- → What are good substitutions for dairy or texture?
-
Use vegan or dairy‑free chocolate and candy for a non‑dairy version. Add crushed pretzels, toasted coconut, or chopped nuts for crunch, or swap mini chips for different chocolate notes.
- → How long should the bark set and how do I speed it up?
-
Allow the bark to set at room temperature for 30–40 minutes. To speed setting, chill in the refrigerator for 15–20 minutes until firm, then break into pieces.
- → How should I store the finished bark and how long does it keep?
-
Store in an airtight container at room temperature away from heat and humidity for up to one week. For longer storage, keep in the fridge but bring to room temperature before serving to soften the chocolate slightly.
